Showing posts with label Amy Lynne Lassiter. Show all posts

Friday, October 03, 2014

Zombie Gnomes Mini Canvas


Goood morning, and a very happy October to you! This month is always my favorite....with the spooky stories and things to see, the falling bright leaves, crisp apples, and chubby pumpkins, October is a delight!
Today I have a mini canvas to share (it is 4x5) that I created to bring a little Halloween into Sparkling Gnome Studios.


To begin my canvas, I added some rust, silver, and orange paints to the canvas in small amounts, and then smoothed them out, also including the 4 outsides of the canvas. I had a faux "newspaper" from a local restaurant here in Des Moines, called "Zombie Burger," that had all kinds of funny headlines pertaining to the zombie apocalypse. I cut those on and collaged them onto the page, along with some dark papers from 7 Dots Studio's Cold Country collection. When the glue had dried, I added just a few dots of gesso, and smoothed it over the collaged areas, to mute it somewhat. I wanted my zombie/skeleton gnomes to be the focus.
My next layer was stamping using the Writing Background 4x4, to add a bit of a vintage vibe. The rest was layering on trims and washi tapes until I felt the layering was complete.


I used the awesome Gnome Lady Skeleton as well as the Gnome Skeleton and stamped them onto cardstock, using Memento Ink in Tuxedo Black. I colored them lightly with watercolor, and placed them on the canvas using 3D foam dots.
The gnomes look so calm and casual, I thought they needed something to be casual about, so I added an UmWowStudio chipboard piece, with zombie hands, at the bottom of the piece.
I'm so excited about how this little canvas came out, and I already have it on the wall in my studio. These gnomes may not sparkle, but they have edge, which definitely has a place in my creative space.
Thanks so much for having a look today, and a very happy fall day to you!
~Amy

Supply List:
Viva Las VegaStamps! Gnome Lady Skeleton, Gnome Skeleton, Writing Background
Ink: Tsukineko/Imagine Crafts, Ranger
Paint: 13 Arts, Folk Art (Plaid), Sakura
Trims: Webster's Pages
Washi Tape: Tim Holtz
Paper: 7 Dots Studio
Chipboard: UmWowStudio

Wednesday, September 03, 2014

Foxy Adventures

be adventurous, VLVS, ALL
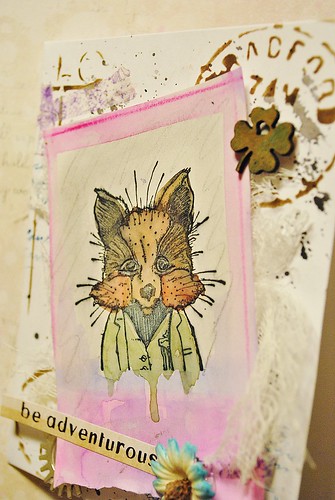
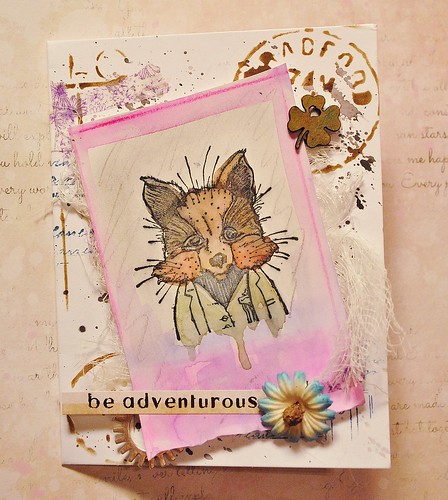
Hello my stamper friends! It's Amy here today to share a card I made, using a bit of an art journal page that went a little awry. :) I had created a set of watercolored art journal pages, when I dropped a stamp very inconveniently on the page....causing an irreparable smudge. I was sad, but realized I could cut out sections that I really loved, and use them for cards!
After stamping the Cute Fox in Coat using Memento ink in tuxedo black over the top of a watercolored section. I painted him in watercolors as well, making sure to have the green in his coat drip slightly. I liked how that made him sort of seamlessly blend into the page. adventurous, side close
I then used a ruler and penciled with pink Faber Castell Design Memory Craft Aquarelles (smudging with my wet paintbrush), and then cut along those edges, adhering it to the card with foam adhesive dots. I gave the card a little pizazz with ink splotches, stenciling, and stamping with the Waybill/Invoice Background stamp, before adding my foxy little dude. I added some embellishments, and voila! My card had come together, easy as pie! The best part of this project? I saved a "mistake," from the waste bin, and gave it a new life as a card I can send to a friend.
 I hope you were inspired, and smiled a little at the sweet fox in his green coat.  :)
~Amy  

Supply List: 
Viva Las VegaStamps!:Cute Fox in Coat, waybill invoice
Paper: Strathmore Mixed Media
Watercolors: Sakura
Sticker: 7 Dots Studio
Chipboard: UmWowStudio
Stencil: The Crafter's Workshop
Flower: Prima
Metal: Bead Landing
Ink: IMAGINE Crafts- Memento Ink, Tuxedo Black, Teal; Ranger Ink-Potting Soil
Washi Tape: Gauche Alchemy

Friday, August 15, 2014

Vintage Britophile Mixed Media Canvas

Britophile canvas, VLVS!
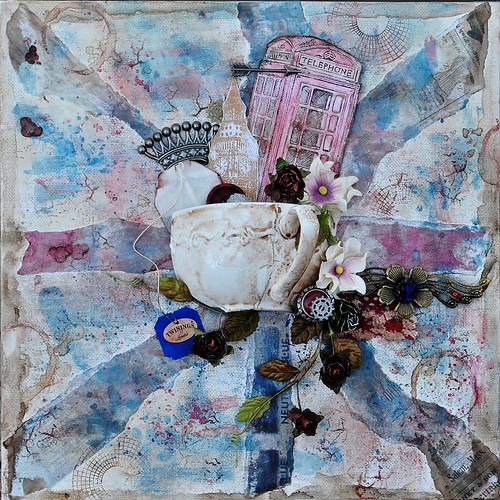
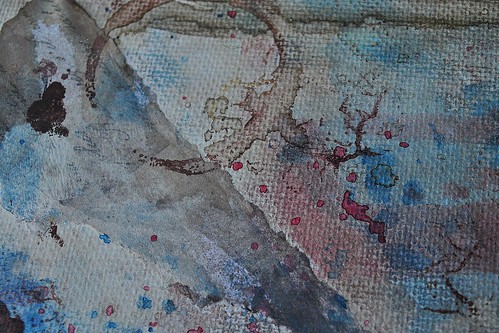
Hello stamperphiles! It's Amy here today, to share a canvas I made for my daughter, who is a serious Britophile. She loves ALLL things UK. I wanted to make something that encompassed all things she loves about Brit style, and so I started with a 12x12 canvas board, and strips of vintage style papers. I arranged the torn strips in a loose interpretation of the union jack, and adhered with Mod Podge. To distress the background, I added several mists in light browns, and rolled over them with a brayer to blend. I used the cracked background stamp to add more "distressing," and to go with the tea theme, I stamped with the coffee ring stain stamp. To give the stamp a more muted look, I went over it using the blunt end of a paintbrush, and actual coffee in small amount.
tearing, brito
stamping close, brito
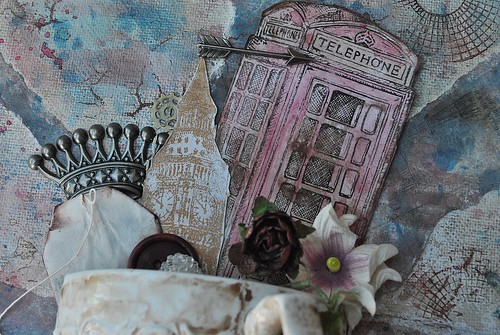
 I took a thrift store teacup, and broke it, adding half to the canvas with E6000. I misted over the cup with brown mist, to give it a vintage look, and then stamped the London telephone booth with Memento ink in tuxedo black. I sprayed over it with fixative once dry, to keep it safe for misting and watercolor. I misted/brayered, and then painted using red watercolor. I like the faded appearance it gives. I also stamped the Big Ben using Delicata Ink, by Imagine Crafts in gold, and fussy cut it out. I added them "inside the teacup, along with a teabag, and embellished. Because I thought the canvas needed a little extra movement, I finished by stamping with the color wheel lines. floral flourish, brito Thanks so much for having a look today, and I hope you go get your stampin' on!! ;) Loves, Amy

Saturday, August 02, 2014

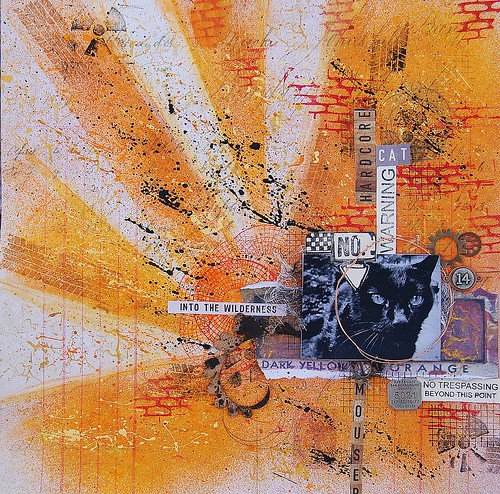
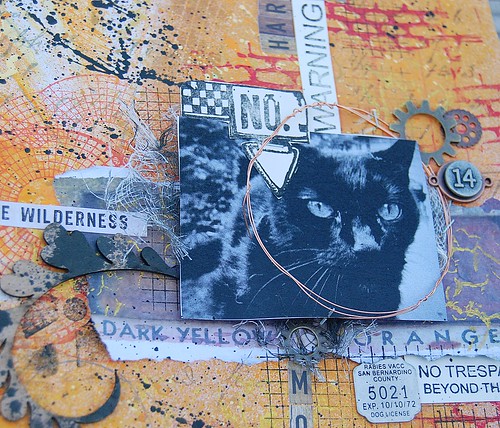
Warning: Hardcore Cat (August Challenge Inspiration)

hardcore cat, full, allassiter, VLVS
Welcome to Friday and a bit of inspiration, from me, Amy using the fabulous illustration for August here at Viva Las VegaStamps! This inspiration is so awesome, unique, and punk rock, I couldn't wait to dig in. I grabbed a piece of 12x12 paper from the Crowded Attic collection by Tim Holtz, and though the vintage theme is a strange mix with the graphic boldness of the inspiration board, I liked how it worked.

title, hardcore, ALLassiter
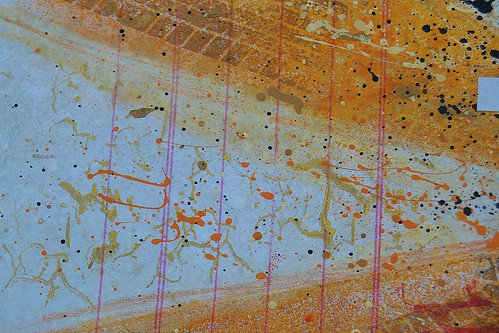
I began the mixed media journey here, by creating lines for the sun rays,using a ruler and a pencil. To get the brighter orange lines, I needed to cover the "white" area with a piece of paper, and on the other side of the ruler. I used Dylusions mist in Pure Sunshine, to create the orange sunbeams. When those were complete, I added Pan Pastel in orange along the edges, to soften them a bit. I stamped over the "beams" using the tire tread stamp and silver ink. For the "sun" I used the color wheel lines stamp, and overlapped it a bit in a circular area. bg, hardcore, ALLassiter
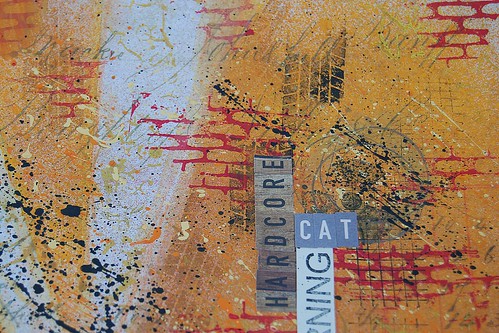
I added some "punch" to the plain lines, with the cracked background stamp, and gold ink. On top of all of this, I added lots of paint drippings and flickings. Hehe. The brick background was perfect for getting that "graffiti-ed wall"/Banksy's palette I was looking for. photo cluster, hardcore, ALLassiter
Finally, I created a layered cluster around the photo. First, I stamped around the area with the washi grid background, and then I added some black misted cheesecloth, and popped the photo up on 3D foam dots. I stamped the area 51 warning,and the top portion of the No.5 tag using memento ink in tuxedo black, onto library cards, and cut and layered them up. All that was left, was adding embellishments, like the UmWowStudio flourish, metal bits, and alphas to create the title. Voila! I created a way to honor my sweet but hardcore cat, who lived 8 years indoors, before sneaking outside one day....and disappearing for 4 months....then returning one day looking like he had been in a gang fight. He now hangs out on our deck, and catches mice and rats that he presents to me as a lovely gift. ;)
 Thanks for having a look today, and get busy making your own creation using this month's inspiration! (here's a reminder):

Supplies Used:
Viva Las VegaStamps!:Tire tread, color wheel lines, cracked background, brick background, washi grid background, area 51 warning, No. 5 tag
Miracle Tape, Memento Ink-tuxedo black
Paper: Tim Holtz
Inks: IMAGINE Crafts
Paint: Plaid, 13 Arts
Pan Pastel-orange
Metal-Bead Landing
Chipboard-UmWowStudio

Wednesday, June 25, 2014

A Carnival of Happy

It's Amy here today to share a blast from the past, the HERE stamp.
I had fun getting this funny Mardi Gras gal ready for a carnival atmosphere, on this layered ATC (I'm clearly big on those these days).


I used my gelli plate to make the background, using purple and green paints, and neon pink Hero Arts ink, spreading it with a brayer, over a stencil. I then added some drywall tape, cut down, for texture, and rolled the brayer over the top.

For the ATC card with the Mardi Gras Mask stamp on it, I stamped with IMAGINE Crafts Neon and Memento inks in Pink and Green shades, and colored it in with watercolor pencils. The background is shaded with purple watercolor pencil.


Finally, I added layers of embellishments, including the vintage plastic ballerina. I tried to keep everything light and fun, using some cupcake flags from Ruby Rock-it for little banners.


Thanks for having a look today, and I hope you enjoyed taking a trip back in time, to find a new stamp!
Loves,
Amy

Supplies:
Stamp: Mardi Gras Mask
Adhesive: Miracle Tape, E6000
Ink: IMAGINE Crafts/Tsukineko
Chipboard Frame/Hearts: Studio Calico/Pink Paislee-Heidi Swapp
Metal: Bead Landing/Tim Holtz
Ballerina/Laces: Vintage
Cupcake Flags: Ruby Rock-It
Rhinestone word: Unknown


Wednesday, June 11, 2014

She IS The Key

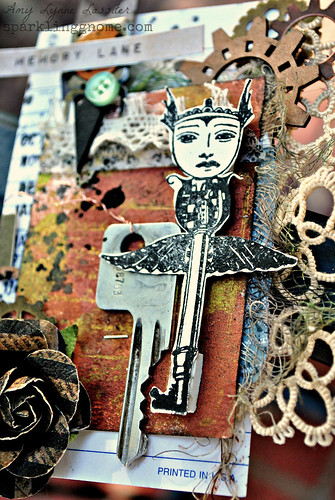
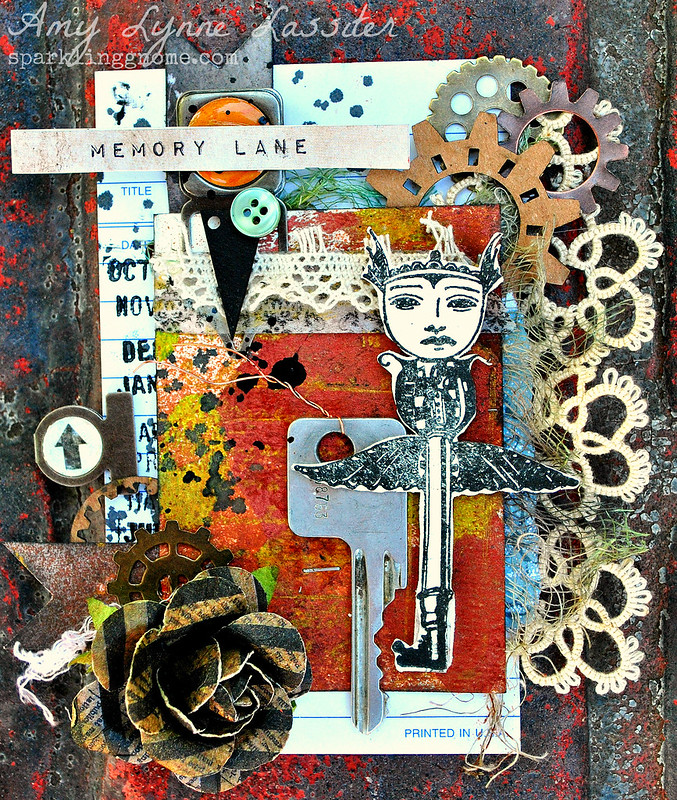
queenfullvlvs, alassiter Hello stampy friends! It's Amy  here, to share a layered and oversized ATC.  I'm not sure if that is something that has existed with a different name until now, but if not....I'm coining the term. ;)

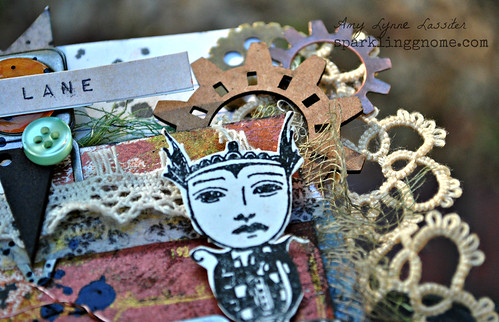
I began with a regular ATC card, and layered on some copper and green paints. When those had dried, I stamped using the Waybill/Invoice Background, using Delicata Ink from IMAGINE Crafts in gold. I attached a couple of little banner die cut pieces from 7 Dots, using a stapler.
A few fibers were pretty easy to adhere to the back, using miracle tape.
queencloseside
When all of that was complete, I added the ATC to a vintage library card. I stamped the Flying Face Key on a piece of cream cardstock, using Memento Ink in tuxedo black. I fussy cut her out, and added her to the card using foam tape. queentop
I finished my layered oversized ATC by adding plenty of chipboard, metal embellishments (including an old house key I had back in college), other fun bits, and a piece of lace from a vintage doily. When I stood back and had a look, I was quite pleased with my lady...who doesn't just hold the key..she IS the key. I think that's a nice metaphor in life. BE the key to your dreams. Have a lovely day, and go stamp up something wonderful. ~Amy

 Supply List: Viva Las VegaStamps!: Waybill/Invoice Background, Flying Face
Adhesive: Miracle Tape (from VLVS!), Helmar, Tombow
Chipboard: UmWowStudio
 Paint: Folkart, Luminarte Silks
Ink: IMAGINE Crafts-Tsukineko
Paper/Stickers/Die cuts: 7 Dots Studio, Fab Scraps
Flower: Prima
Metal Clip: 7 Gypsies Metal Tab: Tim Holtz
Fibers: Vintage (Fab Scraps paper and Flower from Scraps of Darkness Kits)