Showing posts with label washi grid background. Show all posts

Wednesday, August 05, 2015

Paint your dream with Banksy girls


Hello my dear crafty friends and welcome to my new tutorial made for VLVS blog.
It becomes harder and harder to make tutorials as actually everything was already made and shown over the web.
 So if not the new techniques, maybe a new arrangement of pieces or just a way I think when I  make a big project that involves Mixed Media art and stamping.
 So this is a tutorial about all of those: my way of thinking when I make a new art piece/pieces; some of my favorite techniques and last, but not least- 4  canvases arrangement into one single art adventure.
I decided to make 4 canvases art piece with 3 Banksy stamps and to connect them all as a part of wall paint art. So  each stamp has it's own small (4*4'' ) canvas and the title canvas(7*7'') it the one that connect all small art pieces to one single " something".
Step by step tutorial:
1. Stamp background over each small canvas with some small background stamps. I picked small stamps and even with them I just stamped on the edges as the central part  intended to be for the main stamped image. I used pigmented black ink (Clearsnap) and clear embossing powder to heat emboss the backgrounds. 4 background were used here: Six Hexagons, Washi Grid, Think to thin round and Grunge circles.
I made the same stamping over the larger canvas using Brick background.


2. For the next step I used a few of my stencils (Memory box this time) and Gel medium. Yes, I didn't use texture paste but a very gentle gel medium that is almost translucent when it's dry. I covered the whole canvas with the stencil, but added gel medium randomly here and there. Let the wet medium dry. It takes time. You can do step 3 while your are waiting.


And the large canvas after stamping and adding gel medium texture:


3. Stamp all three main images with black permanent ink (Ranger) over tissue white paper. As our canvases are very textured, the only way to add good stamped image is to stamp over tissue, to tear the image and to adhere it with the very same gel medium.


4.Mist your 4 textured canvases with a mix of mists, according to the colors you want to see with each image. Wipe the mists a bit as we really want to see the gel medium stencilled texture and our primary background stamping.


5. Adhere the torn stamped over tissue images over  those three small canvases and let it dry.
6. Glue letters over the large canvas to make your title. I used simple stickers and Thickers to make my title. As always the sticky backs are not sticky, so I used my usual trick and it's to make a thin line or a few lines with some clear glaze to connect the letters and to adhere them to the background. The dry glaze looks divine (like water drops) and adds some interest to  your finished piece.


7. Add some drops of color to each canvas and arrange them to your favorite group arrangement.


VLVS STAMPS USED TO MAKE THIS PIECE:
6 Hexagon background Item 19076 Plate 917
Washi Grid Background Item 19074 Plate 917
Thick to thin Round Item 900 Plate 272 Page 279
Brick backround- Item 19077 Plate 917
Grunge cricles Item 19563 Plate 1451
Banksy Rain Under Umbrella girl  Item 19486 Plate 1447
Banksy Swing girl Item 19425 Plate 1443
Banksy Girl Floating with Balloons Item 19421 Plate 1443

Other products:
Canvases
Stencils- Memory Box
Mists: Tattered Angels
Inks: Ranger, Clearsnap
Gel medium
Letter stickers- AC,Pebbles

My new design adventure

Saturday, August 02, 2014

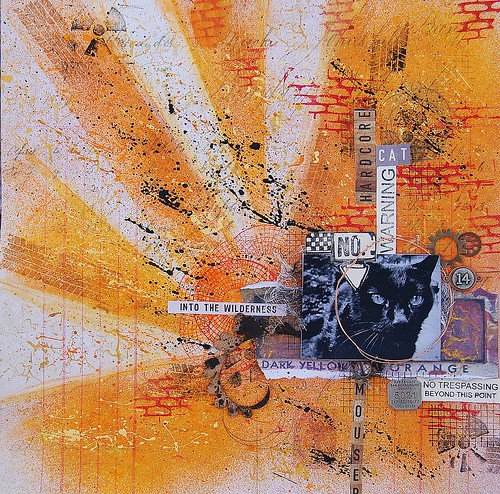
Warning: Hardcore Cat (August Challenge Inspiration)

hardcore cat, full, allassiter, VLVS
Welcome to Friday and a bit of inspiration, from me, Amy using the fabulous illustration for August here at Viva Las VegaStamps! This inspiration is so awesome, unique, and punk rock, I couldn't wait to dig in. I grabbed a piece of 12x12 paper from the Crowded Attic collection by Tim Holtz, and though the vintage theme is a strange mix with the graphic boldness of the inspiration board, I liked how it worked.

title, hardcore, ALLassiter
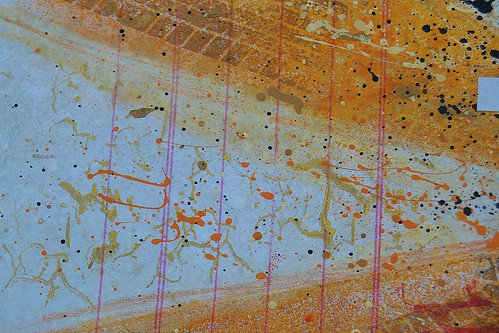
I began the mixed media journey here, by creating lines for the sun rays,using a ruler and a pencil. To get the brighter orange lines, I needed to cover the "white" area with a piece of paper, and on the other side of the ruler. I used Dylusions mist in Pure Sunshine, to create the orange sunbeams. When those were complete, I added Pan Pastel in orange along the edges, to soften them a bit. I stamped over the "beams" using the tire tread stamp and silver ink. For the "sun" I used the color wheel lines stamp, and overlapped it a bit in a circular area. bg, hardcore, ALLassiter
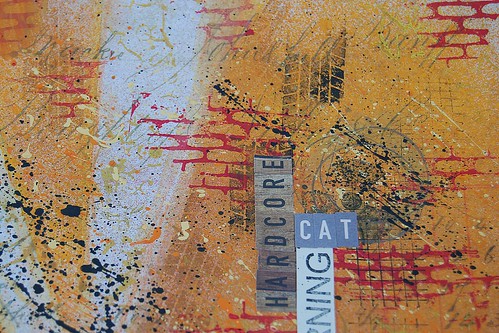
I added some "punch" to the plain lines, with the cracked background stamp, and gold ink. On top of all of this, I added lots of paint drippings and flickings. Hehe. The brick background was perfect for getting that "graffiti-ed wall"/Banksy's palette I was looking for. photo cluster, hardcore, ALLassiter
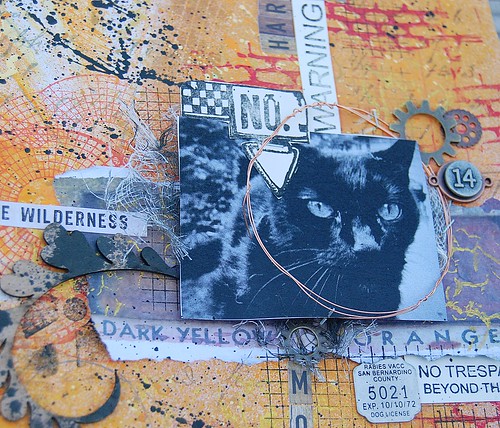
Finally, I created a layered cluster around the photo. First, I stamped around the area with the washi grid background, and then I added some black misted cheesecloth, and popped the photo up on 3D foam dots. I stamped the area 51 warning,and the top portion of the No.5 tag using memento ink in tuxedo black, onto library cards, and cut and layered them up. All that was left, was adding embellishments, like the UmWowStudio flourish, metal bits, and alphas to create the title. Voila! I created a way to honor my sweet but hardcore cat, who lived 8 years indoors, before sneaking outside one day....and disappearing for 4 months....then returning one day looking like he had been in a gang fight. He now hangs out on our deck, and catches mice and rats that he presents to me as a lovely gift. ;)
 Thanks for having a look today, and get busy making your own creation using this month's inspiration! (here's a reminder):

Supplies Used:
Viva Las VegaStamps!:Tire tread, color wheel lines, cracked background, brick background, washi grid background, area 51 warning, No. 5 tag
Miracle Tape, Memento Ink-tuxedo black
Paper: Tim Holtz
Inks: IMAGINE Crafts
Paint: Plaid, 13 Arts
Pan Pastel-orange
Metal-Bead Landing
Chipboard-UmWowStudio

Wednesday, May 14, 2014

Stamping with Pan Pastels {with technique video}

Our 2nd post today is brought to you by Amy Lassiter and she's stamping with a paste made from her PanPastels -- CHECK IT OUT!

 
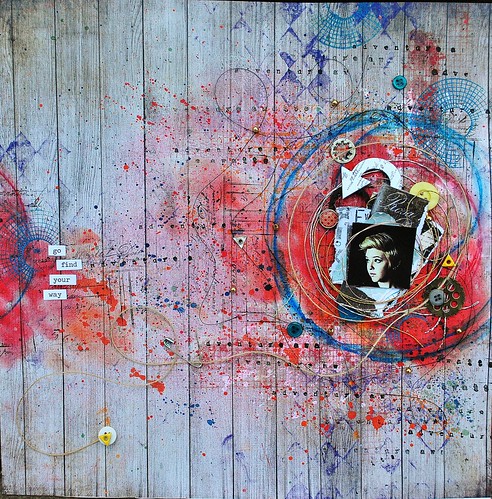
Hello stampy friends! It's Amy here today,to share a layout I created using some fun techniques with Pan Pastels AND Viva Las VegaStamps! It was so fun to play with a new medium, and to create something a little bit out of my box in style. :)
go full, VLVS, allassiter


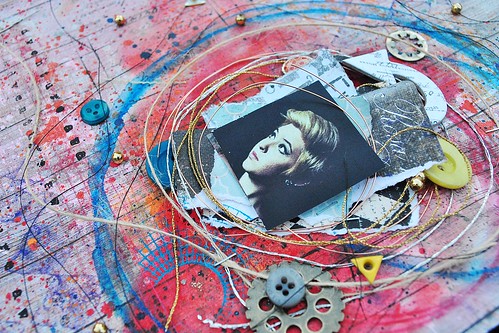
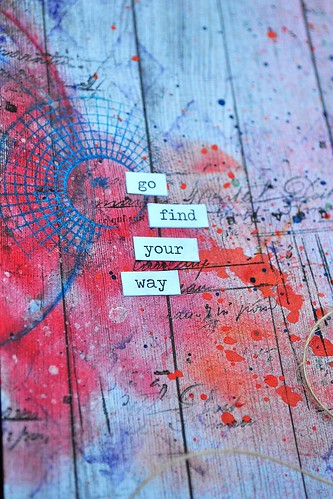
I used the Pan Pastels both wet and dry. I had fun finding a few techniques, that were easy and gave a big impact at the same time. The vibrant colors were great to blend and layer, and I used them all over the page, to give the paint splash look, as well as to stamp with!
photo, go, close
top stamping, go


For the wider sections of the page that are covered in color, I used the sponge wand, and gently blended colors from the inside out. Between each layer I added, I sprayed the page with Fixative to keep the pastels from flaking off. As you can see in my video below, even after using the pastels wet(which makes for a great texture relief), the fixative keeps it all in place. I could even stamp with black and blue ink over the top,as well as draw and blend (using water) with Aquarelle without smudging the pastels.
pan pastels, side, close


Have a look at the quick video I created to show the stamping technique I used with the Pan Pastels:
 If you'd like to see how I created a chalky type texture "paint splatter....." head over HERE to watch that video.
Thanks so much for having a look today....and give Pan Pastels a try, you may find a new medium you love (like I did!)  
Supply List: Viva Las VegaStamps!: Harlequin Diamond Background, adventure awaits, color wheel lines,, waybill/invoice background
Paper: 7 Dots Studio- Nature Walk, Prima, Glitz Design, Graphic 45
Ink: IMAGINE Crafts/Tsukineko, Liquitex, Lindy's Stamp Gang, Heidi Swapp Color Shine
watercolor pencil: Faber-Castell Design Memory Craft Aquarelles
 Fibers: May Arts (twine), vintage Chipboard: UmWowStudio, Pink Paislee
Embellishments: 7 Gypsies, Bead Landing, Gauche Alchemy (yellow color kit), vintage
Pan Pastels: Violet, Permanent Red, Orange