Friday, February 28, 2020

What would you do with a brain .... ► Majo

Hello Folks,

this is another art journal page with the beautiful bird, I love this stamp so much, it goes on most of my mail art envelopes.


My goodness, I just noticed that my text was gone.

Let's start all over.

I applied Gesso to my journal page and added an old book page. I repeated the Gesso coating and added distress ink with a sponge to really wipe the color into the paper.


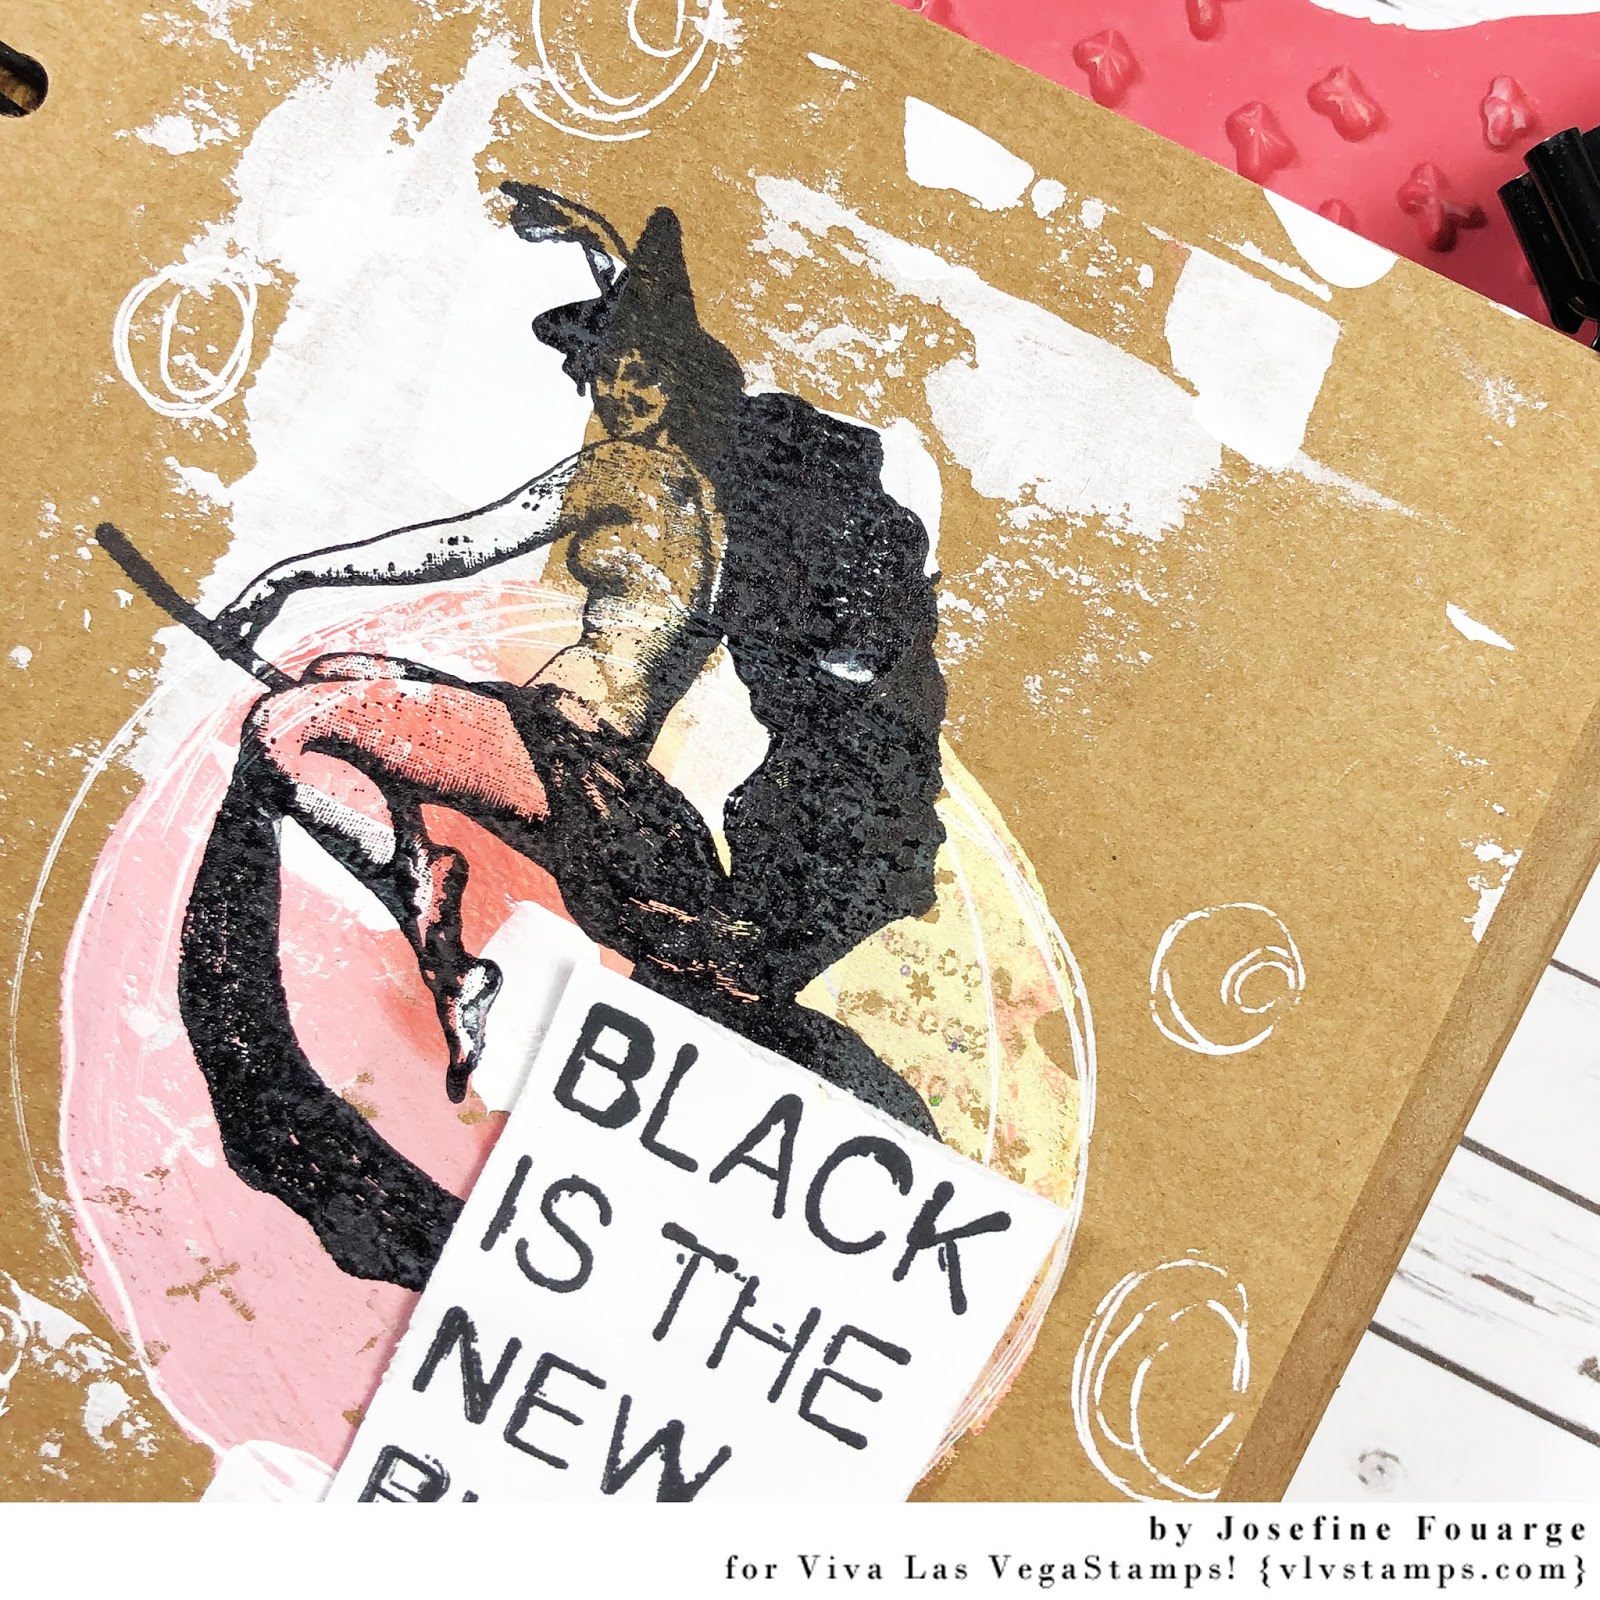
I stamped the beautiful flowers and the little stars. The businessmen silhouette was stamped on scrap paper, fuzzy cut an glued to my page. I stamped the bird and added the sentiment.


Please forgive me for not looking into this on time, 
I ♥ you all!

I have used the following stamps:

20363

Happy Crafting, my friends ♥


Thursday, February 27, 2020

Hippo Racing

Hello Again Crafty Friends!

Tera here again, and today I'm going back to my vintage and grungy roots!

(Also Hippo Racing, Why not!?!)


Stamps Used: 


Start with an A2 card base.
 Cut black kraft stock to- 5 3/8in x 4 1/8 inches, a piece in 2in x 4 1/8 in, and  3 7/8in x 2 5/8in. 
The scrapbook paper layers measure- 5 1/8in x 3 7/8in, and 4 1/8 x 1 3/4in
The stamped image layer is 2.5 in x 3.5 in. 

I distressed Everything with frayed burlap and antique linen distress ink. 

When my stamped image was colored (using Zig clean color markers), I stitched around the edges. (I meant to stitch the top and bottom of the skinny piece but glued it down too soon, so I hand drew faux stitching on it. )

Finally when everything was glued down, I stamped my quote using my stamping tool. 
(Tim Holtz stamp press)

 To finish everything off, I used various rub-ons from Tim Holtz and 7 gypsies for added details. 


What do you think? 

Do you want to try hippo racing?


Wednesday, February 26, 2020

Spend your Life - Art Journal Page by Elisa Ablett


Hi VLV Stamp fans, 

Elisa here from the design team with my latest project for Viva Las VegaStamps, a fun art journal page.

Just love using some of the vintage people stamps to create something snarky and fun.

I also used a few vintage items in the background including the Nautical Collage stamp from Viva and also a vintage tag.

To add some extra texture and depth, I stamped the Nautical Collage stamp onto Acetate and fussy cut it out. I added some stitching with a sewing machine.

Here are a few of the products used from the Viva Store:


Einstein's Tongue 2 1/2 x 2 1/2 Spend Your Life 1 3/4 x 2 1/4 

Nautical Collage 3 x 6 1/4 Row of Scribble Squares 1 x 2 3/4


Other products:

Brusho's, Line Stencil, Tissue Paper, Tag from 7 Dot's studio, grid die cut, acetate, staz on ink, black cotton

Here are some close ups for the finer details...


Thanks for stopping by the blog today, make sure you leave some love in the comments!

Elisa x


Tuesday, February 25, 2020

Clean and simple art journal pages with Josefine

Hi everyone! Can you believe it's the end of February already? So much to do and not enough time in the day. Does that happen to you? I'm in the middle of several projects at work, doing my MBA, life in general - sometimes there is just not enough time to craft. But crafting is what keeps us sane, right? That's why I wanted to share some "clean and simple" (CAS) art journal pages with you that can be done in a few minutes. Just some fun, crafting, mess - and at the end, happiness.

To do that, I found a small art journal, so it feels less daunting to start. A small page is easier to fill, at least that was the idea. I added just a bit of white paint as my first layer.


Next, I used my small, round Gel Press, added three little paint drops to it, and spread it out. Then I used the "Cross Marks" and "Row of Numbers" stamp to remove paint from the Gel Press. Because I didn't want to waste it, I stamped them onto the next page.

To incorporate the mono print a bit more into the background, I used my palette knife to scrape a bit more white paint on top of it.

I added a few additional marks using a white gel pen and then stamped "Witch with Scarf on Broom" on top of the page. 

For the sentiment, I stamped the "Black is the new Black" stamp onto a separate piece of paper, crumbled it up a bit, and then adhered it to the page.

And here is what I did with the second page. I also added a mono print with the same colors, but then stamped the "Scribbled Circle" on top in a slightly darker color.

For my focal image, I stamped "Death riding Pegasus" onto a piece of tissue paper and adhered it onto the page. Unfortunately, the tissue paper didn't disappear far enough into the background, so I had to get creative.

First, I added some white, watered-down, paint to simulate a cloud...

and then I added the "I'm not afraid" sentiment around it. Now it's barely noticeable.

Here are the two CAS art journal pages. I hope you enjoyed them and got some ideas for your quick projects when you have just a few minutes time.


Thanks for stopping by!


Stamps I used:


Monday, February 24, 2020

The World is my Runway


Guess who...???  Yep, it is me again!  AND I have another page to show you from my book, just like I promised last time.

Stamps used: Spiky Hair Scribble Girl, The World is my Runway

This page has the matching scribble girl chip board piece from Um Wow Studio, OMG!  I colored her with Posca Paint Pens.

I love the stamp and matching chip layered!


If you remember from last time I have used Dina Wakley Media Gloss Sprays, Paints and Stencils for the background.  I outlined and doodled on the stenciled images with Posca Paint Pens.

So I will make another promise to bring you another page next month...actually 2 pages for both of my spots for March.  AND probably some pages in April too.  I am in LOVE with these scribble girls!!!  I just can't get enough of using them and I am excited to have an entire little book dedicated to them!!  Maybe is it because they remind me of ME.

Until next time...get inky!

Friday, February 21, 2020

If this is reality: Negative Hearts

hi Everyone...
I know it's Late in the MONTH but here is my take on the February Challenge
Negative Hearts
check out Facebook and #feb2020
for a chance to win a Pound of Rubber 
 I started off in my junk journal. I used a brayer to add some white to make a grounded and uniform area to start.... I then added some water and Lindy's Magical Shaker: Autumn Maple Crimson
then I stamped on the Banksy Not my Mother stamp, added the wings and then I used a pen to "join" the wings to the Figure... 

 Added the Squiggle Heart with Distress oxide: Lucky Clover

I then went over it the squiggle heart with stazon black again. 
the heart and wings and Part of Diana's dress were then coloured with some more Lindy's shaker.
Finally I stamped the quote on a piece of paper and then coloured it, like the background piece.

so here you go..
the finished product.


VLVS! used:

If This is Reality (sku: 19884)
I Am Banksy's Mother (sku: 20448)
Squiggle Heart (sku: 19644)

Other Materials Used:

Junk Journal
Lindy's Magical Shaker: Autumn Maple Crimson
Ranger: Tim Holtz Distress Oxide: Lucky Clover
Dina Wakley Media: Ocean
Stazon Jet Black
Stencil Girls Stencil

Live with Respect
xoxo


Thursday, February 20, 2020

Dreamer's disease

Hello everyone,

anyone else here who is as addicted to old books as I am? I love to include vintage paper to my projects or even journal into old books directly. The spread that I want to share with you today is made in one of those books.


Before working in an old book, you should make a few preparations. I always seperate a few pages to get some space for my layers so the book can be closed without getting too bulky. And I glue two or three sheets together, depending on the texture and thickness of the paper. This helps to make the surface sturdier. I also prefer to prime my pages with gesso as I'm often working with fluid mediums like inks or watercolor.


I chose the girl in the paper boat as my focal image, just because it's one of my all time favorite stamps. I created layers with gesso, texture paste and Distress Oxide Sprays. To keep that vintage look of the spread I tried not to add too much color. Some background stamping made everything come together.


To finish it off, my page just needed a quote and "you've got the dreamers disease" was the perfect one. I stamped it onto a piece of old book paper (one of the sheets that I seperated from the book), and sewed it onto a piece of cloth that I dyed with Oxide Ink spray. I always like those sewing or stitching accents in my projects. If you don't have a sewing machine you can always add them by hand.


Here you'll find the stamps I used for my project:
Banksy Child Fishing In Paper Boat (19939)
You've got the Dreamers (20354)
Postcatd - ATC size (19931)
Row of numbers (20170)


Other materials:
- Old book + additional page
- Gesso
- Texture paste
- Versafine Ink (Onyx Black)
- Archival Ink (Coffee, Garden Patina)
- Oxide Sprays (Cracked Pistachio, Wilted Violet, Walnut Stain)
- Stencil
TCW554S from The Crafter's Workshop
- Sewing machine and piece of old cloth


I hope that my spread inspired you. See you soon!


Wednesday, February 19, 2020

Something Supernatural...

Hello Crafty Friends!!!

Tera Here...Today is a super fun one for me. 

I am a HUGE Supernatural fan!

Before you ask I can not pick between Sam and Dean, they are both yummy in their own way! But Sam's car..... OK so probably Sam if he comes with the car. 

(I've always loved a men with sexy black cars... aka Batman, Sam, I'm sure there's more)

Ok, Back to business...

Stamps Used:
(you are going to want them all so just get the plate it will be cheaper)
(all but the last 2 are on that plate of rubber!!)

I just love how this card came Together!

This one is gong to live with one of may patients, She is also a huge Supernatural fan, so I am going to surprise her at her next visit.

Want to recreate it?
Start with an A2 card Base, and some scrapbook paper.
 This piece is from a park lane paper pad ( Maps, Text & Ledgers)
I distressed the edges using hickory smoke and antique linen Distress ink and oxides. 
Then, I stitched around the outer boarder for added texture. 

Next, I created 3 tags for layering. I used inks in : Tuxedo Black Archival, Shadow Grey Archival, and Watering can Archival. 

I again distressed each piece with antique linen ans hickory smoke distress ink. 


Here you can see them all layered and glued. 


Ten for the final piece I glued the tags and Demon Hunter strip down using distress collage medium. 
For the car, I used pop dots to give added depth and interest. 

I hope you enjoy this too!

So, who wold you choose? 
Sam or Dean... or someone else?