Monday, August 31, 2015

Alice in Wonderland - Artist Trading Cards

Hi my dear Viva Las Vegastamps Friends!

I am such a big fan of the lovely Alice in Wonderland stamps. So today I'd like to share with you three Alice in Wonderland ATCs.

I used Distress Inks for the background and color pencils for my images. But I don't want to talk so much today, because I made a short video for you to see how these are done. Have fun watching!


Here are some more detailed images:

The little mushroom on the bottom right is from a border die by Noor! Design. I cut it apart and colored it with watercolor pencils. The white dots are made with a uniPOSCA marker.


Thank you for stopping by today, Susanne.

http://clayscrapkreativ.blogspot.de/


Viva Las Vegasstamps:
Wilderness
Wonderland
The Playing Cards
Alice with Fawn/Deer
Wild Mushrooms
Victorian Flourish
Dictionary Page

Sunday, August 30, 2015

Be An Adventurer

Who is up for another adventure??!!  I always am and today I am sharing a card to wish adventures to others.


Hi all, Michele here today with a fun layered background technique that can be used so many different ways!!


 I used my background for a card so I started with a bit of watercolor paper.  You could also do this on a tag or ATC...  You also need Distress ink, embossing ink and embossing power, I used Ultra High Gloss from VLVS!


I used the Numbers Set to stamp my background in Distress ink.


I gave it a quick heat set.


Then stamped the Map of the World in embossing ink.


 Sprinkled on the Ultra High Gloss embossing powder.


Heat embossed.


For a clear resist.


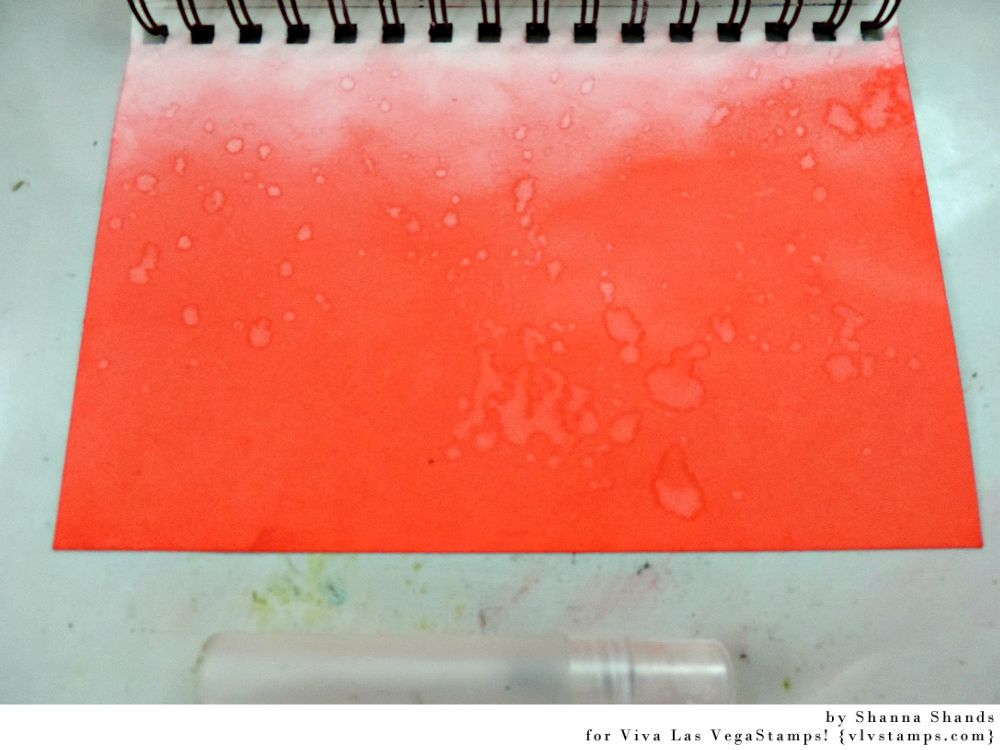
Then I covered the entire paper with Distress ink.


I used a baby wipe over the embossed stamp.


Then used a darker Distress ink around the edges.

I added layers of paper before I finished the rest of my stamping.

I stamped the Flock of Geese in archival ink.


Then the Toy Airplane too and embossed it.

 
I stamped Be An Adventurer on a scrap bit and tied some May Arts burlap string to the banner and poked a hole in the plane tail and tucked it under.


All the paper I used on this fun card was from my scrap bin...I LOVE it when that works out!!!

Until next time...stamp, stamp, stamp!!

Saturday, August 29, 2015

tag and clip

Hi Hermine here, I found these awesome super large paperclips and I simmply had to do something with it, so here a little tutorial.


step 1: take a piece of paper and add different colours with colouring pencils, blend them with a paper stump and white spirit. Take a circle stencil, colour the circles with colouring pencils and blend them with white spirit, and do the same with another stencils. Then make some high lights with a black fineliner. Put aside for a while.

step 2: take 1 small tag and stamp with Stazon the stamp XO 19462. On the larger tag stamp with Versamark Writing circles background 19567 and on a piece of  paper the large bird flying 19001, cut out and colour with Lyra crayons.

 
step 3: Take a piece of paper, tear at the bottom and cut out the top like on the photo.

step 4: Matt the background on a piece of black paper, then fold the tags on the richt hand side. Fasten the white piece on the paper clip and slide the paperclip at its place. Then flue the bird on it. Finish off by glueing the whole inner side on a double kraftpaper squared card with foam tape.


Hope you like it.

Warmly Hermine

used materials:
 

Thursday, August 27, 2015

Guest Designer TINA WALKER!

Hello Everyone! I'm so excited to bring back Tina Walker as a guest designer. She's been super busy in her life and crafting career she can't quite fit in a full term but I'm glad she's here for a short period! Her work is STUNNING, full of texture, mixed media, different products and of course.. our stamps. So HERE SHE IS! : 


Her Blog

And from Tina:


Hi...

Happy August!

Tina Walker here today with my first Guest Designer project for Viva Las VegaStamps!

I LOVE VLVS stamps!  They are perfect for all types of projects and the selection is endless!  It literally takes hours to peruse the online store, creating a huge wishlist of stamps.

For my first project, I am sharing a Mini Leather, Hand-bound Journal book, using VLVS stamps to embellish my signature header pages.

To create my signature headers, I started with a blank piece of felt.  I added color to each section of felt with Distress Stains, allowing the colors to blend and mix.

Once the felt was dry, I heat embossed each signature header with the 'Writing Background' stamp. (there are 3 signature headers pages in total)

(be careful to move your heat around so the felt doesn't burn)


For each signature page, I stamped a different image on a square piece of silk, then dipped the silk into coffee, to stain the fabric.

 I then layered the stamped, silk fabric on top of other fabrics for texture and interest, using Matte Medium to adhere them together.

Once the matte medium was dry, I stitched over each stamped image, embellishing the image where I desired.


Stamp used: Design Crosses


Stamp used:  Whimsical Moon Face


Stamp Used: Owl in Vest

Once the stitching was done, I adhered each stamped embellishment to the cover of each signature page.

I added several additional blank journal pages to each signature and hand-bound the book together, using a pamphlet stitch.


I added a blanket stitch around the entire outside edge, and a metal embellishment for my cover.


I hope you enjoyed my mini leather journal book!  I really love how it turned out!  These would make the perfect little gift!  (hint-hint)

Be sure and stop back again in September for another Guest Designer project.  Thank you for stopping by!  Have a wonderful day!

Wednesday, August 26, 2015

Winner Winners Chicken DINNERS!!!

We have some winners to announce today!

From our June Challenge:


Our randomly selected winner is : Gerda.


From our July Challenge:


our very own Michele Kosciolek!


Our randomly selected winner is : Paradise Lost


Congrats to all of our winners! If everyone can just email me : deedee430@gmail.com we'll be sure to get you grab bags in the mail. Please include your shipping address in the email :) 


Want to be featured and or win your own grab bag?! Enter our Current Challenge!

Sunday, August 23, 2015

Never Change

Hello blogland. Shanna here to inspire you all with some Viva goodness.

I found inspiration from DeeDee's art journal page she recently did and I wanted to give it a go.

I played with a new stamp. 


I decided to play with some Distress Inks and I went ahead and took some pictures as I created. So grab a cup of something and following along with this quick tutorial. 


I smooshed some the new 2015 color Abandoned Coral all over the page. 


Sprinkled some water on it. 


Then I pulled out a tag and the tree stamp Leafless Trees in Field (19719). I used three colors of the Distress Ink to give the tag an ombre effect. 


Of course I add a sentiment via Tim Holtz stickers after doing a smidgen more stamping using the stamp Color Wheel with Lines (19338) and Torn Paper (19341)


Here are some close ups. I am bummed that I ended up with black ink smudged above the tree, but I loved the sentiment and was glad to add it. 


Again I was just so inspired and loved how simple and fun this page turned out to be.

Items Used:
Black Ink
Distress Ink: Abandoned Coral, Fossilized Amber, Squeezed Lemonade, and Mustard Seed
Tim Holtz - Conversation Stickers