Showing posts with label ultra high gloss embossing powder. Show all posts

Wednesday, September 09, 2015

She Was A Wildflower

Hi all!!  Michele here today.
Summer is winding down and school has started so I created a card to send sometime in the future as a reminder of the summer days.


I have a quick tutorial for this layered stamping technique.  I just love the depth the color creates!!


I used the She Was a Wildflower, Wildflower Silhouette and Bumble Bee stamps along with the Ultra High Gloss embossing powder.   I also used Abandoned Coral and Fossilized Amber Distress ink, archival ink, May Arts ribbon and a Tim Holtz pin.
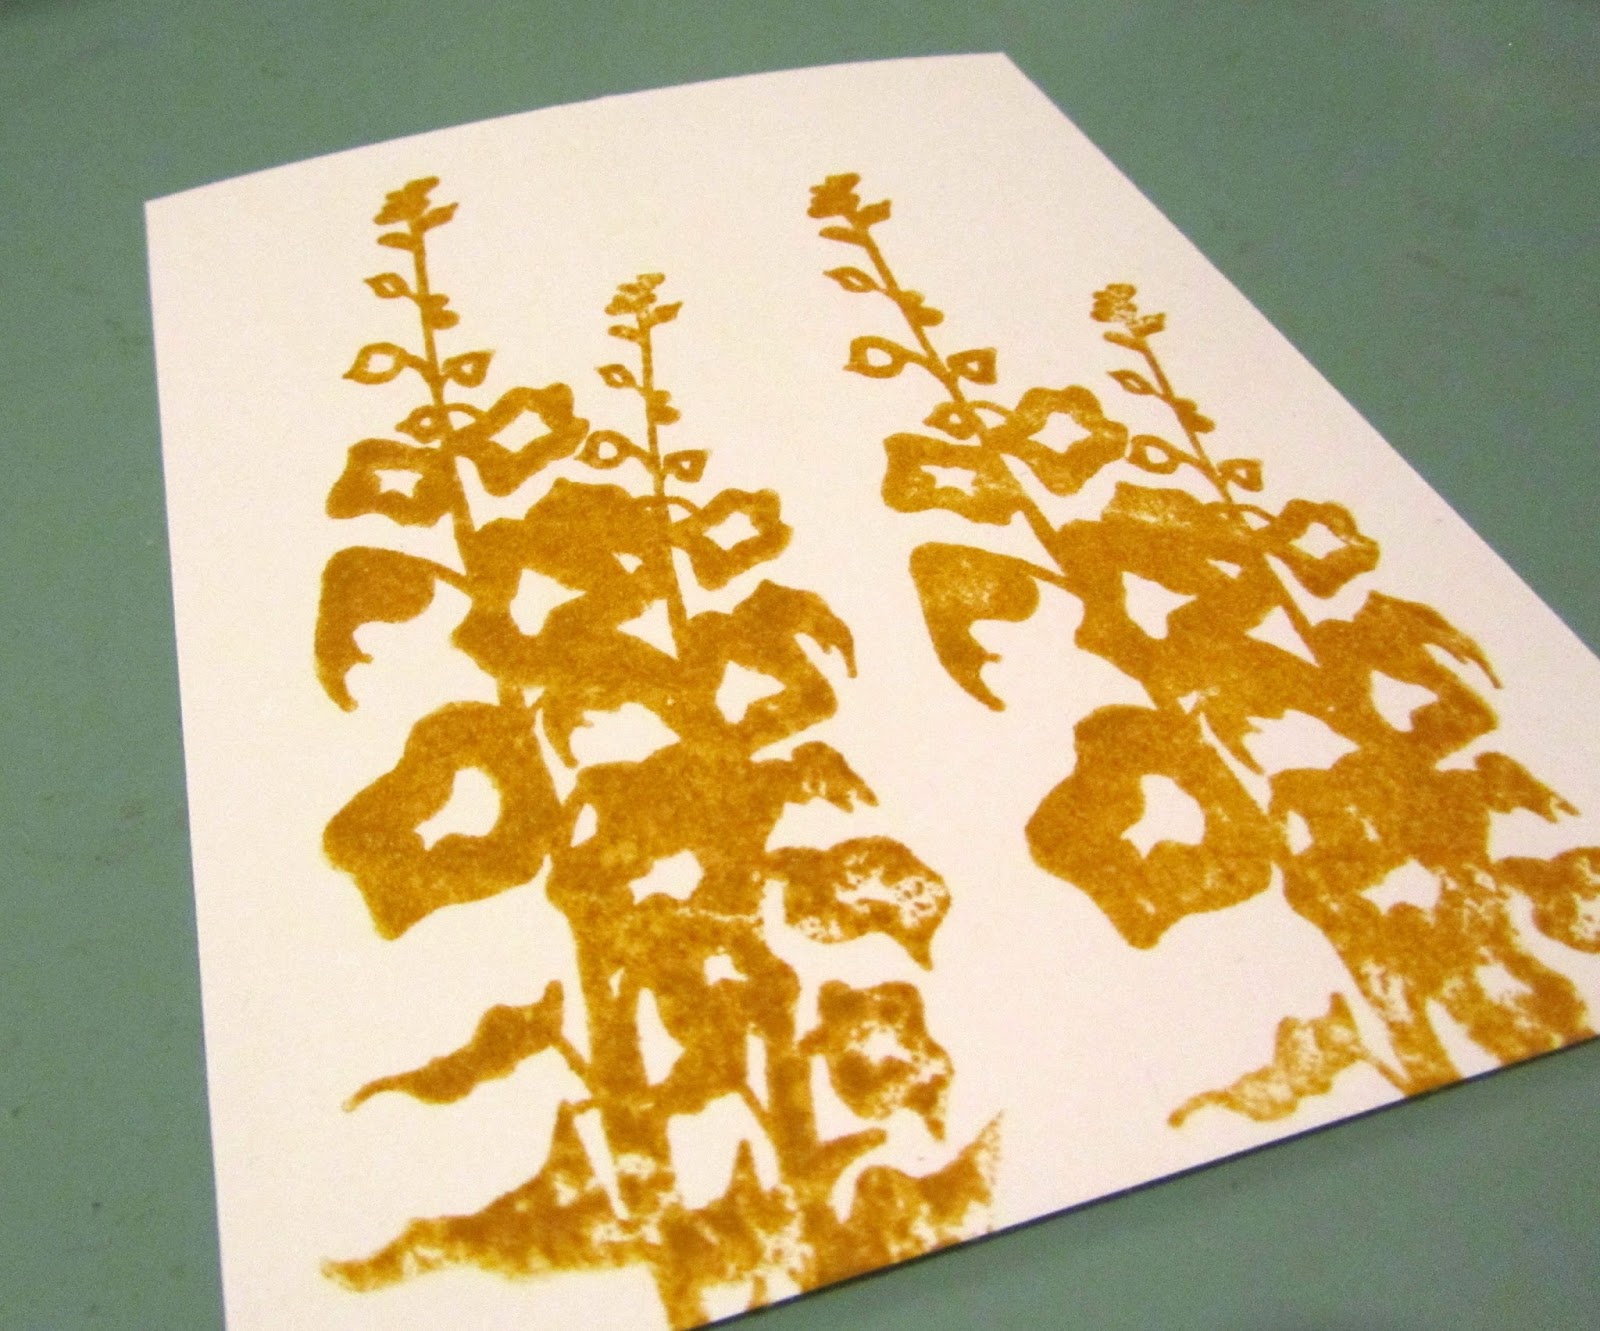

I stamped the Wildflower Silhouette in fossilized amber first.


Then Abandoned Coral...


Over the first layer.


Then last in archival ink and heat embossed for more depth.
I stamped the bumble bee on the page and then again on a scrap so I could layer and color.


Layered on black cardstock and a white card base.  Added the ribbon and sentiment and VIOLA!


Simple but I just love the elegance!
I hope you are inspired!!  Until next time...ink up those stamps!!

Sunday, August 30, 2015

Be An Adventurer

Who is up for another adventure??!!  I always am and today I am sharing a card to wish adventures to others.


Hi all, Michele here today with a fun layered background technique that can be used so many different ways!!


 I used my background for a card so I started with a bit of watercolor paper.  You could also do this on a tag or ATC...  You also need Distress ink, embossing ink and embossing power, I used Ultra High Gloss from VLVS!


I used the Numbers Set to stamp my background in Distress ink.


I gave it a quick heat set.


Then stamped the Map of the World in embossing ink.


 Sprinkled on the Ultra High Gloss embossing powder.


Heat embossed.


For a clear resist.


Then I covered the entire paper with Distress ink.


I used a baby wipe over the embossed stamp.


Then used a darker Distress ink around the edges.

I added layers of paper before I finished the rest of my stamping.

I stamped the Flock of Geese in archival ink.


Then the Toy Airplane too and embossed it.

 
I stamped Be An Adventurer on a scrap bit and tied some May Arts burlap string to the banner and poked a hole in the plane tail and tucked it under.


All the paper I used on this fun card was from my scrap bin...I LOVE it when that works out!!!

Until next time...stamp, stamp, stamp!!

Thursday, August 13, 2015

Create ART Every Day


Happy Thursday the 13th!!  


Michele here today with a quick any occassion card.  I like to have plenty of these on hand for whenever I need a card!

Other items: gelatos, distress markers, water pen, archival ink, water color paper, Bazzill cardstock.

The color wheel is perfect for stamping with a watercolor effect.
I think the dictionary page is my most inked up stamp!!
Oh, and don't forget our monthly challenge...the inspiration board is a stunner!!


You can link up here.

Tuesday, June 16, 2015

Dare to Dream... and Let your Heart Soar!


Hello everyone! Susan here my take on the Viva Las VegaStamps! June Challenge Inspiration Board. Luscious blues and greens... wings and words... I LOVE it!!! Challenges are a fun way to push yourself to try new things and new styles – and to be perfectly honest – this was way out of my creative box.


I started with a watercolor paper that I monoprinted with a blend of blue and green metallic Ranger Adirondack acrylics. Then I scribbled and smooshed on some blues and green Faber-Castell Gelatos to my liking. Using gel medium I fused a ghost monoprint on deli paper, which glues the layers together while giving translucency to colors below.


I wanted to have a scribbly heart so I made a dribbly heart mask by melting/drizzling Amazing Remelt onto my non-stick craft mat. I waited a few minutes for it to cool and solidify. Then I placed onto my background then sprayed with black Ditto glimmer spray.


I let the spray mostly dry before removing my handmade mask. Look at all the glorious blue and green exposed! I brushed some water at the top where the spray was still a bit wet and let the black color drip down. This was fun and a bit scary... I'm a total newb to the dripping technique.

I gave a blast with the heat gun to dry everything and added a few strokes of Gelatos to the heart. I stamp the butterfly onto a matching painted cardstock using black Versafine ink, then embossed with VLVS! ultra high gloss EP... and BAM!!! Wings that POP! I fussy cut and cut in half. To finish this mini masterpiece, I overstamp the bubble wrap texture and spell out "dare to dream" with Hero Arts Unicorn white pigment ink {this is the white of all white inks} and heat set.


I gently slide the collage into a Deflecto Acrylic Craft Frame and tucked the wings off each edge giving me a new georgeous piece free-standing art in an instant.

"Let Your Heart Soar..."


• • • • • • • • • • • • •


Other Supplies: watercolor paper, white cardstock detail scissors, black Versafine pigment Ink; Hero Arts "Hero Hues" Unicorn {white} pigment ink; various blues/greens Faber-Castell Gelatos; detail scissors; Faber-Castell Gel Medium; drizzle heart mask made with Amazing Remelt; Ditto black shimmer spray; and a Deflecto 3" x 4" Acrylic Craft Frame.

• • • • • • • • • • • • •


Thanks so much for dropping by! Have you seen the JUNE inspiration board... its AMAZING!  I invite you to join us and play along with the June inspiration challenge {CLICK HERE for details}. Just make a creation using the inspiration above and your stash of VLVS! stamps... linkup and you could win more RUBBER!

If you would like to see more of my creations please visit my blog, sbartist : painting in the dark HERE. Have a fabulous day!!  Sb

Thursday, May 21, 2015

Bloom

May 21st already, can you BELIEVE it?!!  Michele here today with a quick technique for a fun background.


Viva Las VegaStamps! ultra high gloss embossing powder is PERFECT for this resist technique!!


The sprays are by Art Anthology, Colorations.  I used watercolor paper.


This is such an easy technique but it sure packs a big punch!!


Viva Las VegaStamps! used:  Wildflower Silhoutte and Bloom where you are planted
Other items used:  Um Wow Studio Bluebell chip piece, Prima glass glitter, thread, Distress Ink and coffee.


I hope you enjoyed these beautiful May flowers and I hope they are blooming where you are too!!

Don't forget our monthly challenge, check it out here.

Tuesday, February 24, 2015

bird of a feather

Hi Hermine here, today I made a card and used ultra gloss embossing powder for the bird.


step 1: take a rectangle card but don't fold it yet. Spray with Bistre. Stamp the clockface 19468 with stazon.
step 2: spray some water and sprinkle some Brusho (colour: camboge) and colour with a marker some of the details inside the clockface with aprox. the same colour. Put aside for a while
step 3: take some music paper, glue a wire on it and cover it again with music paper, draw a feather shape on it and cut out, Cut some notches all around the feather. Do the same with the second one. Then spray some water and sprinkel green Bistre, dry with a heattool, spray some water again and sprinkle some Brusho. Dry with a heattool.
step 4: stamp the large bird flying 19001 on a seperate piece of paper and cut out. Colour with Lyra Crayons. Then cover the whole bird with Versamark and Ultra high gloss clear embossingpowder. heatset it, cover again with Versamark and embossing powder and heatset again.
step 5: make some faux stitches on the left hand side of the card with a black fineliner.
step 6: Glue the feathers onto the card with magical tape and then glue the bird on top of the lowest feather. Take some string and tie a knot on the ends of the wire.


Hope you like it and gives you inspiration. Making those feathers is so much fun!


Warmly Hermine


used materials:
Clockface 19468
Large bird flying 19001
Ultra High Gloss clear embossingpowder
magical tape
stazon


Monday, February 02, 2015

My Mind's Eye... February Challenge Inspiration


Welcome to Viva Las Vegastamps! Susan here today to share with you my creation based on the new February Challenge inspiration. January flew by in like a minute... so since I'm trying to "SIMPLIFY" my life in 2015... I've created a creative calendar, by mounting into an acrylic craft frame that I can change for each month with some fun wet-erase markers.


Starting with a blank sheet of white letter size uncoated cardstock, I used clear embossing fluid to stamp images onto sheet, then applying embossing powder and heat embossing to create an emboss resist. This technique is worth the time invested to build a background. I have so many stamped images here to create my "mind's eye" scene... too many to count {all are listed below}. I colored over the top with gelatos and blended out with my finger. Some of the stamped images blend into the background becoming more muted adding depth and interest. To expose the resist areas, I gently rubbed the color away from the embossed areas - repeating layering color and rubbing away until coloring was to my liking. I mounted my final creation into a frame embellished with a washi tape grid for a monthly calendar; topped off with sari ribbon and hemp twine for hanging. My calendar can be changed easily each month with wet erase markers. 

"Time for February"


• • • • • • • • • • • • •


Other Supplies: White Cardstock; Deflecto hanging 8 1/2" x 11" Craft Frame #68201CR; Deflecto Wet Erase Markers; rainbow colors of Faber-Castell Gelatos; Globecraft Embossing Ink Dauber; labelmaker; washi tape; sari ribbon and hemp cord.

• • • • • • • • • • • • •
http://vivalas.blogspot.com/2015/02/february-challenge.html
Thanks so much for dropping by and I hope you will join us and play along with the February inspiration challenge {CLICK HERE for details}. Just make a creation using the inspiration above and your stash of VLVS! stamps... you could win more RUBBER! Also, you definitely want to subscribe to the blog feed and to the Viva Las VegaStamps! newsletter to be IN THE KNOW of everything going on at the Viva Las Vegastamps! store... like the annual SUPERSTAMP SALE. There's so much amazing inky inspiration to see!


If you would like to see more of my creations please visit my blog, sbartist : painting in the dark HERE. Hope you have a fabulous day!!  Sb