Showing posts with label she was a wildflower. Show all posts

Tuesday, September 10, 2019

She Was a Wildflower - Art Journal Page | Sue Plumb


Hi everyone!
It's Sue Plumb here with my latest design team project for you. Today I have a simple, but fun, art journal page to share that I created using a variety of stamps; Distress Oxides; a Sharpie; watercolour pencils and inks.


I began my page with an A4 sized sheet of white cardstock and Distress Oxides in the colours of Twisted Citron and Cracked Pistachio. I began using a foam blender to apply the Twisted Citron to an area in the centre of my page. I then blended some of the Cracked Pistachio into it to give it some extra depth.


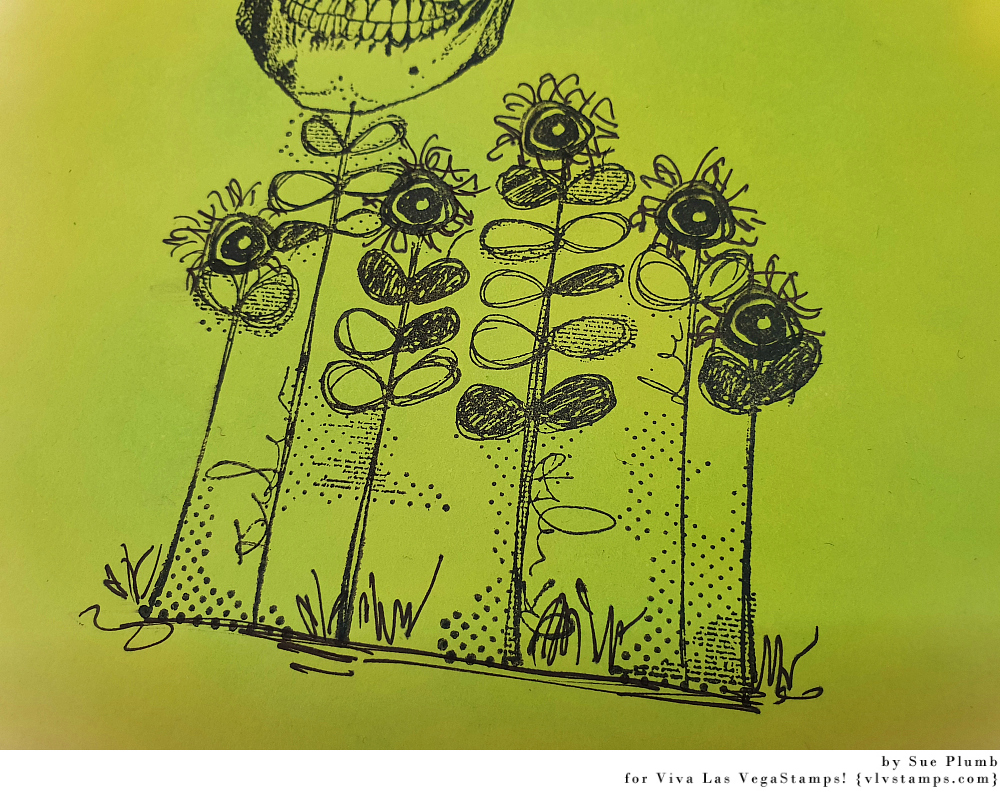
Once I had the colour down, I grabbed the Doodle flower/garden stamp to form the base of my focal image. I then stamped Skull stamp on top of one of the flower stems so it appeared as though it were growing in the garden.


I then used the Row of scribble circle/eyes to add "flowers" to the tops of the remaining stems.


I then added some extra detail by using a Sharpie to doodle some "petals" and also to add some grass amongst the bottom of the stems.

Next, I took the Striped pattern circle and stamped it out onto some extra white cardstock. I then fussy cut around the image before using watercolour pencils to colour it, and then blended it out with a water brush.


I then stuck the flower I had made onto the skull (like a flower in her hair). 


With the flower in place it was time to add my sentiment. I chose the She was a wildflower stamp and placed it alongside the skull.


I then added a little extra detail to my background by splattering some inks around the page using a small brush. I used 13Arts Ayeeda Ink in white and Colour Blast Colour Artist Ink in Slipper.


To finish off, I used the Sky of stars background to add some fine stamped detail.


That's all from me today, thanks for stopping by so I could share this with you. I hope I have inspired you to get inky too!


Stamps used:
Skull

Other materials:
- White cardstock
- Ranger Distress Oxides
- Tsukineko StazOn ink
- Sharpie pen
- Faber-Castell watercolour pencils
- 13Arts Ayeeda acrylic ink
- Colour Blast Colour Artist Ink

Tuesday, January 30, 2018

"She Was a Wildflower" scrapbook page | Sue Plumb


Hi everyone!
It's Sue Plumb here and I am excited to be sharing my latest design team project with you. Today I have a mixed media scrapbook page that features some fun photos of my fellow VLVS design team member Fiona Paltridge and I. The photos were taken at a scrapbooking retreat after I did a class with Fiona; and as soon as my latest batch of stamps arrived I knew I had the perfect stamps to document these pictures!


I started my page by using the Wildflowers Silhouette stamp several times across my page to create a "garden" for my background; then I added some colour using Colour Blast Colour Artist Inks (Marine, Berry and Mermaid) and a small brush; allowing the colour to run down the page. I also added some splatters of Lime ink around the edges of the flower silhouettes.


While my background was drying, I stamped a large Gossamer Butterfly image onto some extra cardstock, then coloured it using Faber-Castell watercolour pencils and a waterbrush. I then cut around it, and added some shimmer to the wings using a Colour Blast (Silver) Shimmer Brush Marker before sticking it down amongst my garden.


I used several stamps to create the quote at the top of my page:
I also used the Row of Chevrons stamp to help highlight it.


I used my very favourite Doodle Dots stamp to lightly stamp around where I had splattered the lime ink to add more depth to the background.
 

I then added my photos to my page (using Miracle Tape and some scrap cardboard to mount it up) before sticking the She Was a Wildflower quote (stamped onto cardstock with watercolour pencil used to highlight the edges) onto my photos.


I added some subtle pops of texture by creating a few small "flowers" from cotton thread, using enamel dots as the centres.
I also added some coordinating enamel dots to the butterfly body.


Thanks for stopping by so I could share this - I hope I have inspired you to get inky today!


Stamps used:
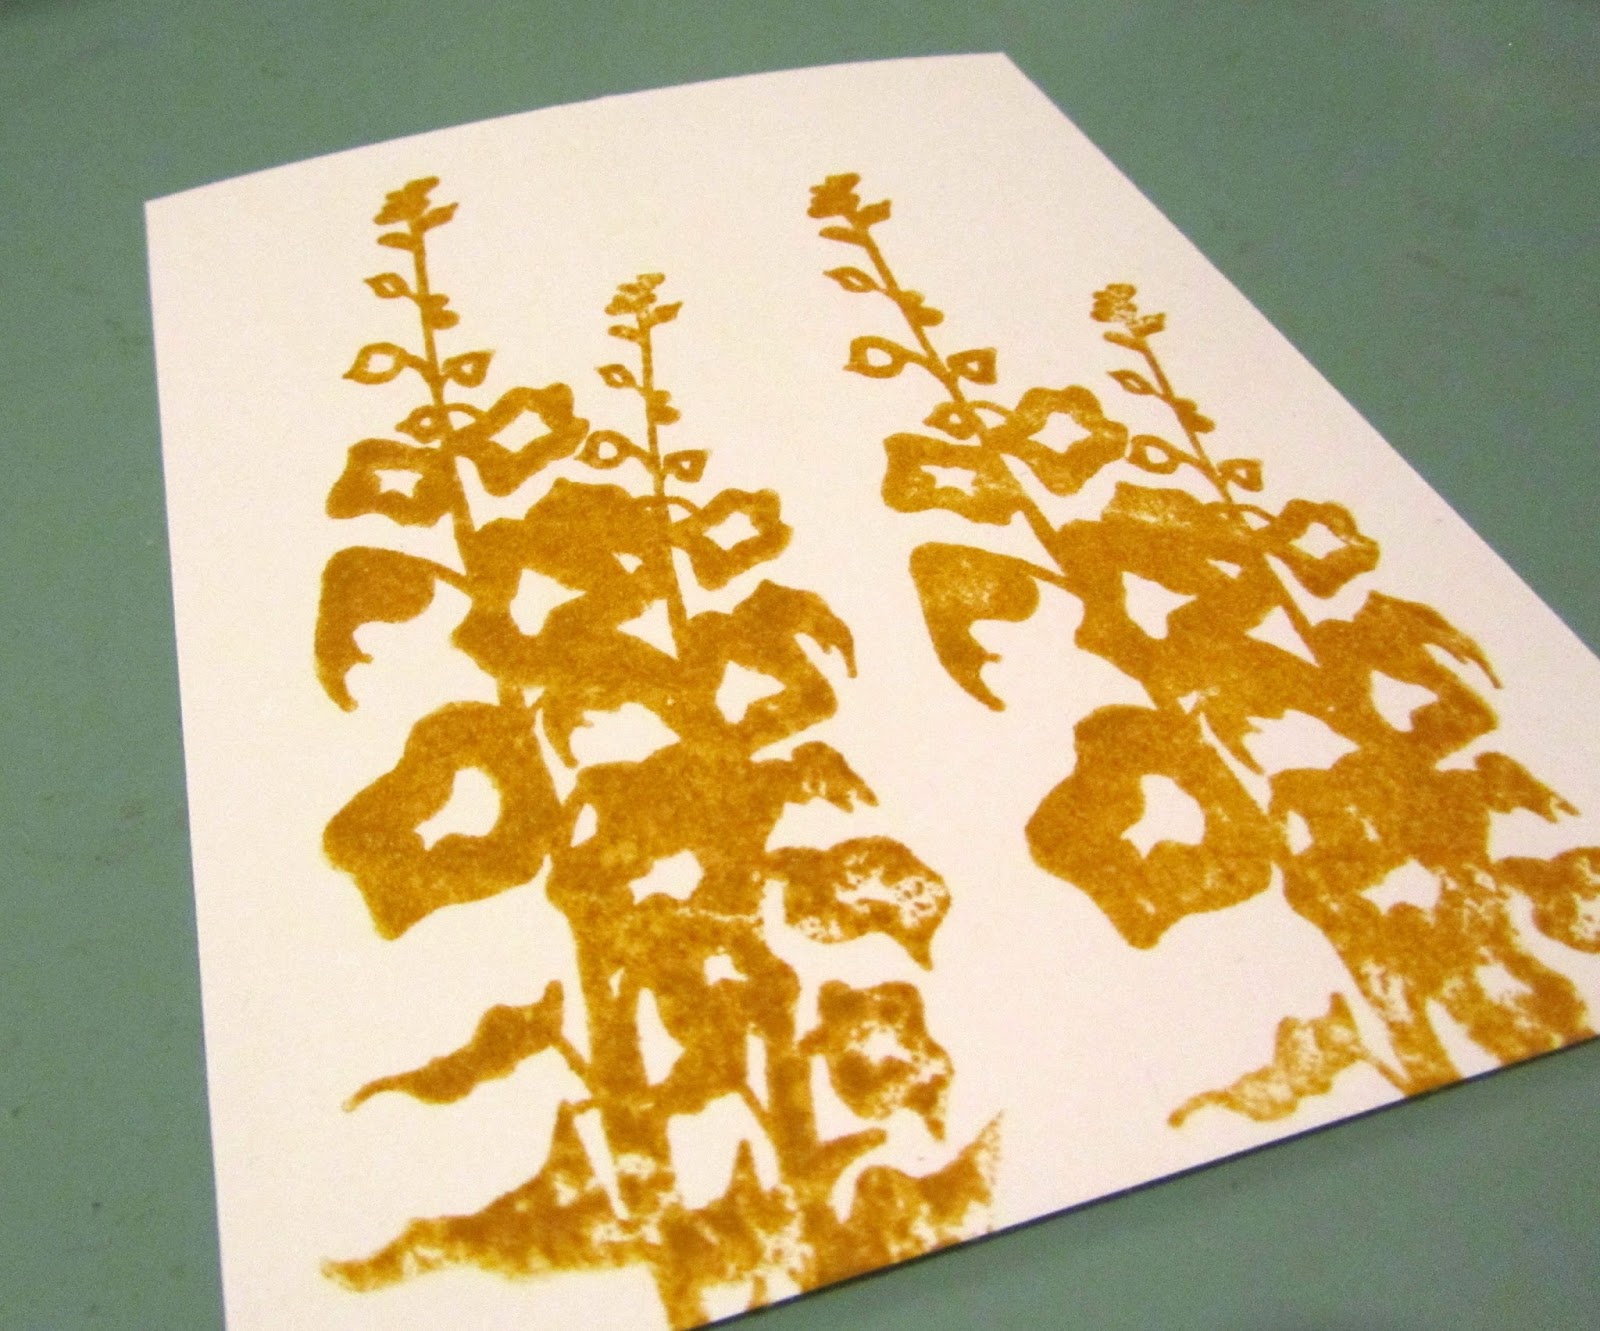
Wildflowers Silhouette
Gossamer Butterfly (large)
She Was
An Artist
She Was a Dreamer
She Was a Wildflower
Row of Chevrons
Doodle Dots

Other materials:
Miracle tape 1/2"
- Colour Blast Colour Artist Inks
- Colour Blast Shimmer Brush Marker
- Staz On ink
- Faber-Castell watercolour pencils
- enamel dots
- cotton thread

Thursday, April 27, 2017

Altered Playing Card by Susanne

Hey there crafty friends!

Susanne here today and I share a altered playing card today. I have tons of 3 1/4" by 4 3/4" cards laying around. My kids got them twice during a promotion in our local discounter. I covered the card with gesso and started to play:


I used some light blue acrylic paint and applied it with my fingers. The "Dictionary Page" stamp is perfect for some texture in the background. I also used the "Writing Circles Background" for more interest. The "Wildflowers Silhouette" are a fab background for my main image. Everything is stamped with Archival Ink. I used some brown acrylic paint together with a stencil from stamplorations and applied some copper metallic acrylic paint with my fingers. Before I added the "Dancing Lady" I made some black splatters with a mix of black paint and water. The "Dancing Lady" is stamped onto the card and onto white cardstock. I cut it out and adhered it to my page. I decided to just add a tiny little bit of a skin tone to my main image and leave the rest black and white. Finally I used a black oil pastel to give the card a black frame and stamped the sentiment "She was a Wildflower".


Thank you for stopping by today!
xx Susanne.

Supplies:
Viva Las VegaStamps!
Dancing Lady
Dictionary Page
Wildflowers Silhouette
She was a Wildflower
Writing Circles Background
Others:
Archival Ink (Jet Black, Saffron)
Acrylic Paints
Gesso
STAMPlorations stencil
Faber-Castell Black Oil Pastel


Tuesday, March 28, 2017

She was... Art Journal Spread by Susanne

Hi my dear crafty friends!

Susanne here and I'm sharing an art journal page today. I used the beautiful "Fed-up Vintage Lady " stamp as my focal point.

For my background I used a kind of embossing resist technique. Instead of watercolour I used white acrylic paint. I learned this in a video by Marion Emberson from WOW! Embossing Powder. She calles it White Out Resist technique.
Start by colouring the background with PanPastels. Next step is stamping the "" image with embossing ink. Use clear powder, so your background will shine through. Add a l layer of white acrylic paint on top. Let it sit for a short moment and wipe the colour off the embossed parts with a baby wipe.
The result is a shabby background. I used the "Scribble Heart" and "Sawtooth Stitching Lines" to add some details.
Finally I added my focal image with the sentiment on top of a silver thread.

Thank you for stopping by today!
xx Susanne


Supplies:
Viva Las VegaStamps!:
All stamps can be found on Plate 1495
Fed-up Vintage Lady
Scribble Heart
She was
She was a Wildflower
Wildflower Silhouette 2
Sawtooth Stitching Lines
Other:
WOW! Clear Embossing Powder
PanPastels
Archival Ink Jet Black
White Acrylic Paint
Thread

Tuesday, January 24, 2017

She Was ATC's with Shanna

Hello everyone Shanna here and I am sharing some ATC's I made.
Have you heard of the 10 minute challenge? Well I pulled some stuff together and tried to create something in 10 minutes. It was totally fun to go with the flow! So if you give it a try make sure you share with us on the Viva Las VegaStamps Groupies Facebook Page.


Yeah easier said then done. I think making these took me about 20 minutes but it was still fun to try.
I started with squeezing some acrylic paint on some cardstock and spread it with a brayer. Then I grabbed the stamp Doodle Frame - 19825 and stamped it randomly with some black ink. Then I to the stamp Row of Chevrons - 19829 and used some Distress Paint to stamp not he ATC's. Then I got a black watercolor pencil and added some shading around the Doodle Frame. Then wet it so it looked a little more like watercolor. Then I stamped all the sentiments on canvas and frayed the edges. I attached the sentiments using my tiny attacher and bam ATC's are done.


Stamps Used:
She Was a Dreamer - 19635
She Spread Her Wings - 19634
She Was a Wildflower - 19633
Row of Chevrons - 19829
Doodle Frame - 19825


SaveSave

Thursday, June 30, 2016

She Was A WildFlower Mini Box

Hi!  and Happy Thursday!

Tina here today with my last Viva Las VegaStamps Design Team project.  (insert sad face)

I always love being part of the VLVS team and am always sad when it's time to say Good-Bye!  

For my last project, I thought I'd share one of my favorite types of projects to create, little mini boxes.  Today's mini box doesn't have the typical mini embellishments decorating the inside, instead, I've decided to keep it simple, keeping the focus on the stamp embossed heart.


  I love to stamp emboss with my rubber stamps, but keep the visual impact on my chipboard heart, I prepped my surface with black gesso, then embossed the crackle image with white embossing powder.  Talk about a POW!


To add a bit of iridescence, I sprayed the stamped image with some of my favorite Lindy's Stamp Gang spray mist.  Love how that looks against the black and white.

The inside of the box is simple, just a piece of vintage quilt. 

To add a little more PUNCH to the heart, I added several red-dyed porcupine quills.   


(maybe there is a subliminal message here. Actually in typing this post, there is alot of hidden messages with this project.  They just came to me ;) )

VLVS Stamps Used
Crackle Background  
She was a Wildflower

Thank y'all for supporting me and for sending me positive vibes and kind words!  And a special Thank You to DeeDee!  Your friendship means the world to me!

Have a terrific weekend!


Wednesday, September 09, 2015

She Was A Wildflower

Hi all!!  Michele here today.
Summer is winding down and school has started so I created a card to send sometime in the future as a reminder of the summer days.


I have a quick tutorial for this layered stamping technique.  I just love the depth the color creates!!


I used the She Was a Wildflower, Wildflower Silhouette and Bumble Bee stamps along with the Ultra High Gloss embossing powder.   I also used Abandoned Coral and Fossilized Amber Distress ink, archival ink, May Arts ribbon and a Tim Holtz pin.


I stamped the Wildflower Silhouette in fossilized amber first.


Then Abandoned Coral...


Over the first layer.


Then last in archival ink and heat embossed for more depth.
I stamped the bumble bee on the page and then again on a scrap so I could layer and color.


Layered on black cardstock and a white card base.  Added the ribbon and sentiment and VIOLA!


Simple but I just love the elegance!
I hope you are inspired!!  Until next time...ink up those stamps!!