Hi Lovelies 💜
Today, I'm back here with a new project, named "Diorama card".
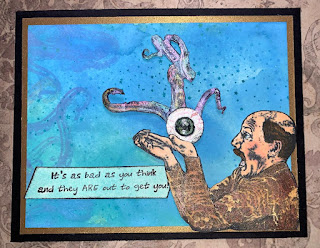
From the outside:
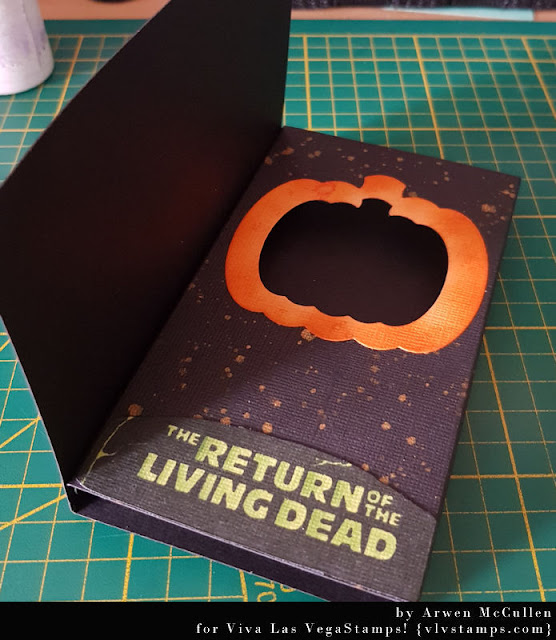
From the inside:
And that's the way, I created it:
1.) I cut my cardstock into a 30cm x 14,8cm piece.
2.) Score it at 10cm, 18,5cm, 20cm and 28,5cm.
3.) For the cutout at the inside, I choose a pumpkin die.
I also used the next size for a pumpkin border.
4.) After wiping the edges with some darker orange color, I glued my border exactly over the cutout. I also used some shimmer spray.
5.) Next step - choosing decoration for my card on the inside.
First, I stamp a text on my green cardstock.
6.) I used some darker green, to create a little shadow on the letters.
7.) As the next step, I choose this raven stamp. Wiping the edges with white color.
8.) Now it's time for the inlay. I used the pumpkin inlay from my border pumkin. Also wiping it with a darker orange and stamped a text on it.
9.) I glued this pumpkin on the inside of the card on exactly the opposite of this position, where I made the cutout before.
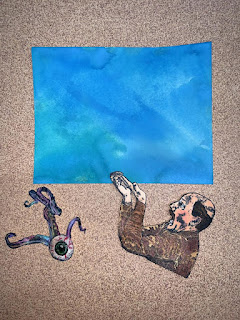
10.) Now we can decorate the front side.
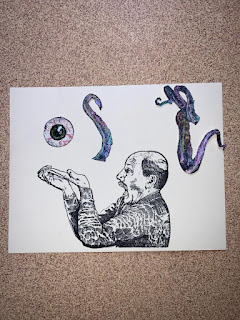
For this, I choose my images, I wanna use to.
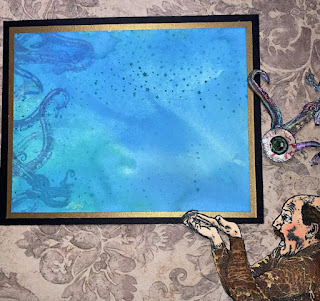
11.) After coloring, I glued it onto another piece of purple cardstock and stick it together with the front of my card.
12. Now the last step is to finish the diorama card. For this , I glued the small side with my front side.
All stamps, I used:
- Skeleton Punkess
- The moon
- Bat
- Stay creepy
- Faded crow/raven
- The return of the living dead
- Happy Birthday
- Skull and crossbones
other materials:
- Canson cardstock
- Bazzill cardstock
- Pumpkin dies
- Staz on
- Stampin' up stamping pad
- Acrylic paint
- Dylusions shimmer spray
- Distress Reinker
- Stencil
- ColorBox
See ya soon :)
Much love