Wednesday, May 31, 2023

Helloooooo


Hello friends, Aimee here.
Today I have a fun card using the zombie boy and a couple of other stamps from plate 1480.


This card came together easily and was fun to create. So fun in fact that I made three 😁


First, you need a white card base. 
Mine is a top folding card made from Accent Opaque 120 lb card stock.
Grab your new Tim Holtz stencil and some Distress Ink (I used Mermaid Lagoon). Stencil right onto that card front, mostly to the right.


Now get some heavy white card stock OR watercolor paper, and some masking material. 
I used the same Accent Opaque card stock as the card and a full-stick post it note. 
Stamp the zombie boy onto your paper and onto your masking material using permanent ink.

Cut out your mask and layer it over the boy.


Stamp one of the large funky flower images over the masked boy image. Peel off the mask and use the Distress Ink that you stenciled with to color the inside part of the flower image & the boy's pants.

Continue coloring/painting your image however you prefer.
I used Zig Clean Color markers and water.
Cut out to fit the card front.


Use a pen and draw sketchy lines around the cut panel.


Add the panel to the card front.
Stamp the helloooo on a scrap of the painted paper that was trimmed off the image panel. 
Trim it out and ink the edges with black ink.
Add to the card front with foam adhesive.


Now bling it up 😁
Add some sequins and use a white gel pen in his eyes to brighten them up.


Supplies-
  • white card base, heavy white card stock or watercolor paper, blending tool
  • black permanent ink
  • adhesives
  • bling
  • white gel pen
  • watercolor, markers, however you like to color
  • Tim Holtz stencil
  • Distress Ink
  • plate 1480


One Step at a Time by Madisen Hernandez

 Hello Stamping Friends! Welcome back again to the Viva LasVegaStamps blog! Thanks for stopping by! Today I have an inspirational card for ya, that is sure to pack a color punch!


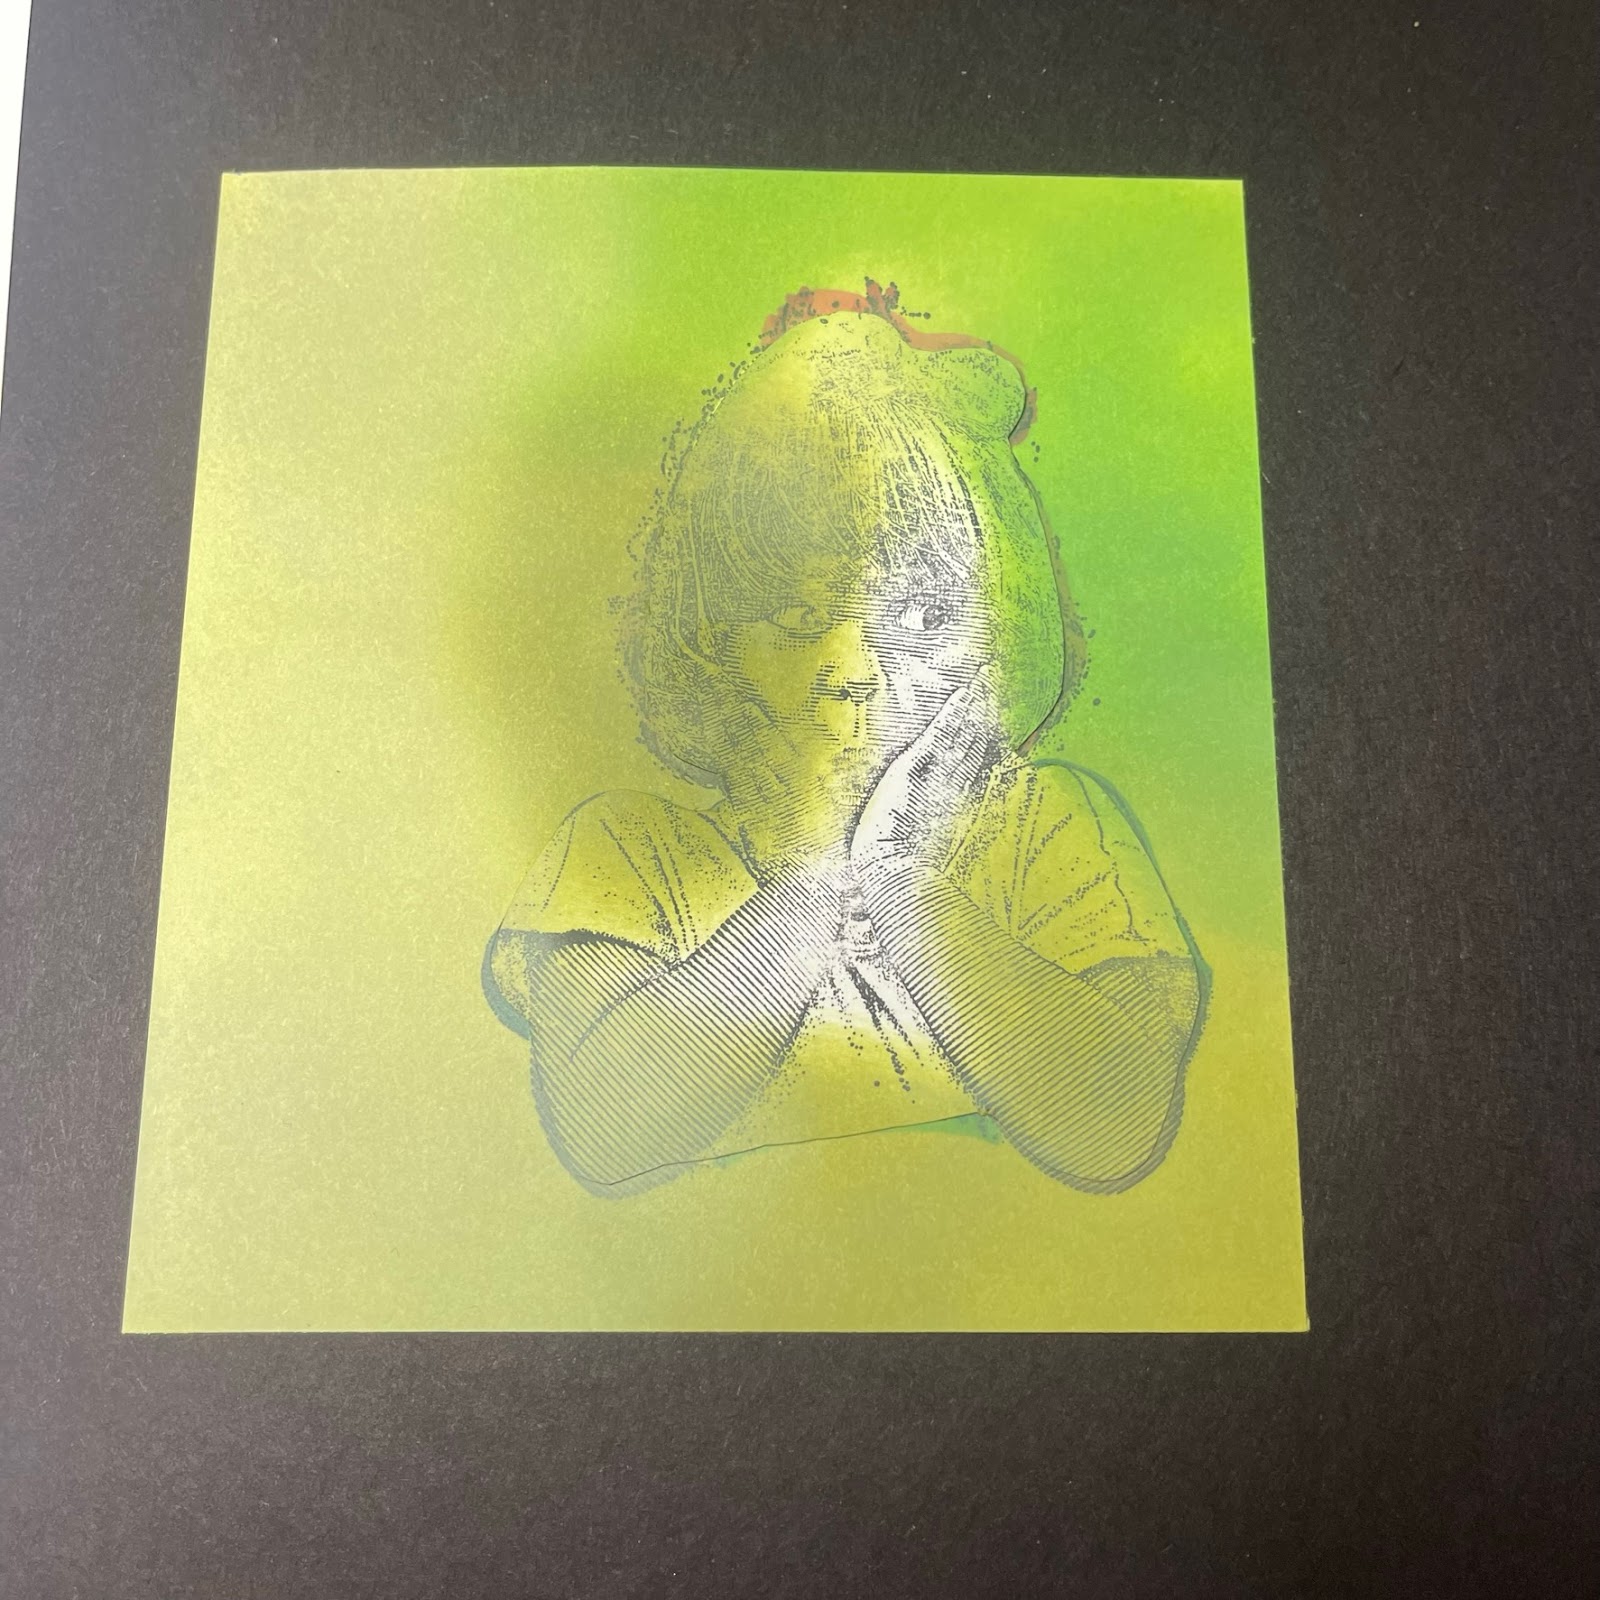
I started by stamping 

Boy in Tub Boat 

and coloring him in with some of my Arteza alcohol markers. I then created a mask and laid it on.


I used these Distress Oxide Inks to create a whimsical mix of color. 


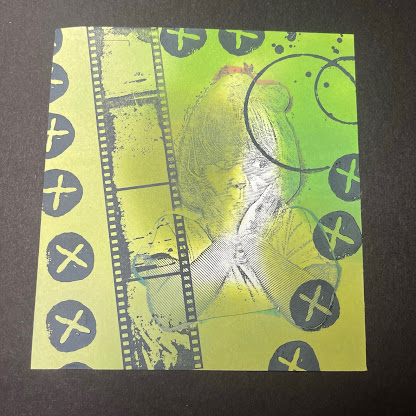
I then used these stamps as background images

Double Coffee Rings
Jack of Spades
Cross Marks Background
Stars


I then used the sentiment "The elevator to success is out of order. You'll have to use the stairs... one step at a time."


...aaaand TA DA! That's it! Thanks for stopping by friend. Until next time!

xoxo Madi 

Monday, May 29, 2023

Spoiler Alert ►Majo


Hi Guys,

 I made a quick card today, which I can use of course for all my cat loving friends, and also for anyone of my friends for many occasions, since I left the inside without any sentiment …… So just add a Birthday greeting or anything else. 


I used the Charred Wood BackGround from plate 1301 and a sentiment “Spoiler Alert” from plate 1474


Have a wonderful start into the new week and have fun crafting.

Luv ya ♥


Sunday, May 28, 2023

I'm a Bitch before my coffee - by Fran

Hello everyone! Today I have a postcard for you.  Personally I'm a tea gal, but I kinda get the beginning of this sentiment!


Firstly I made my background by blending Distress Inks onto my card.


I then added some background stamps in the same colourways to add interest, and sprinkled water onto the card to bleach out some colour and add texture.


I then went round the edge of the card with a green ink to pull it together.


I stamped my main image and the sentiment out on thick paper, cut out and added to the card.


Some close ups of the layers....


Stamps Used:

Lady with glasses 18212

Writing and scribbles collage 20695

Double coffee rings 19568

Dictionary page 19015

I'm a real bitch 17917

Other Items Used:

Distress inks in Mustard Seed, Spiced Marmalade and Twisted Citron

Versafine Clair ink in Nocturn

Elements ink in Pine

See you next time!


Thursday, May 25, 2023

Apothecary by Tracy Blackwolf


 Hello all!!

Todays project is a mixed media panel featuring VLV stamps.

So First I stamped all the images and cut them out. Next I gathered my resin parts that I had previously made and painted and glued the jars onto the frame. I painted the frame with copper acrylic paint and then used patina effect paste over it and the jars. When those were dry, I added some wax to give gold and blue highlights.

Next I painted with distress spray stains, all of my cut out images. I glued the apothecary image to the back of the frame. Next I got a background card from my stash- I had used alcohol inks and rust effect paste on that. I also  used the foundry 3D embossing folder.

I attached the row of books to the apothecary cabinet, colored and stamped the heart and brain in the Victorian display cases and then assembled everything onto the background card.
And there you have an Apothecary shop! I hope you enjoyed!

Stamps Used:
Apothecary cabinet        19515
Steampunk Victorian display case      20348
Row of Books     19740
Human heart    20143
Detailed brain    19696

Other Supplies:
Patina effect paste
Rust effect paste
Gold wax
Patina blue Wax
Copper and Bronze acrylic paint
Distress spray stains: Salvaged patina, twisted citron, gathered twigs, vintage photo, Lumbar jack plaid, saltwater taffy, faded lilac, cracklin campfire, shabby shutters
TH foundry 3D embossing folder


Wednesday, May 24, 2023

Paper Planes by Madisen Hernandez

 Hello Stamping Friends! Today I have a card I made after a really crappy work week! I channeled my frustration into the quote used "Fold your worries into paper planes & turn them into flying fucks!" Gotta love Viva LasVegaStamps!


I then inked my girl, and colored her in with some alcohol based markers


I made a mask, and did some distress ink blending with these greens


Added some mixed-media background images with crisp black ink


.. aaaand she's done!

Thanks for tuning in to see what art I created this week!
-Madisen

Monday, May 22, 2023

Curtains Please by Cathy

Hello, all Cathy here with a card for you today. 
I started with a background I already had laying around. I know that I used grey distress inks to make the background. I also added some stars with white ink on the background with a stencil.
I stamped grunge background with grey distress ink randomly on the background. 

Then I stamped the curtains in red distress ink and colored them with colored pencils. I used mineral spirts to blend them.
I also stamped the wheeled bee and colored it with copic markers and cut out. I then added some glitter to the wings of the bee.

                                                                    Stamps Used:
                                                      17545 grunge writing background
                                                      18826 wheeled bee
                                                      16106 curtains
                                                                  Other Stuff used:
                                                      colored pencils
                                                      copic markers
                                                      distress inks
                                                      white cardstock
                                                      stencil
                                                      white ink
                                                      glitter pen