Saturday, September 30, 2023

Creep it real shaker card

Hello friends!
Aimee here and I have a fun Halloween card to share with ya. This is a pretty simple card but be warned, the fussy cutting is no joke 😂

We're using stamps from plate 1503 today. 

Here's most of the supplies-


First, stamp your image onto card stock and color. Cut out.
I used Memento ink and colored with alcohol markers.


Add your patterned paper to the card front (cover the entire card front.) 
My patterned paper is actually a foilable card panel from Brutus Monroe.


Create a shaker with acetate for both the front and the back.
I used a shaker kit from Close to My Heart and goodies from Sizzix & Picket Fence Studio for the fill.

Stamp the sentiment and cut into a strip. Mat it onto some black card stock.

Add your image to the card and bend her neck a little. 
Place the shaker over her head so she's peeking through the shaker. Add the sentiment.
I added some sequins as if they are trailing out of the shaker.


I LOVE the way this turned out!

Supplies-
  • top fold card base, adhesives, stamping ink, coloring tools, scissors.
  • Plate 1503
  • shaker stuff 


Monday, September 25, 2023

Follow your heart ► Majo


Good morning, my Lovelis,


today I show you a birthday card with the beautiful Butterfly specimens.


I spritzed some distress ink on my panel, added the grungy circles and stamped the main image. I added the sentiment four times without reinking and framed my card with the smear/smudge stamp.


As an afterthought I added the little heart from the Banksy girl stamp.  I will add a Birthday stamp on the inside, I couldn’t decide which one yet. I will add it during the day.


I used the following stamps:


20391 - Follow your heart

19430 Balloon from “Banksy girl with balloon

19415 Butterfly specimens

19563 Grungy circles

19573 Smear/Smudge


Have a wonderful start into the new week and find time to enjoy the beautiful colors of autum.


Luv ya ♥


Sunday, September 24, 2023

Boys Just Want to have Fun - by Fran Chalmers

Hi everyone!

Today I have made a tag, which talks about the boys for a change!


I made the background by first brayering on some colour onto a gel plate - I used Graphite by Elements Ink.


I then splattered some watered down Brushos in Grey, Burnt Sienna and Yellow


Once the background had dried, I stamped the main image onto it.  Then I stamped the image onto some thick paper to colour in.


After gluing the main image onto the tag, I stamped out the sentiment a couple of times and cut out each word so I could place them where I wanted to.  Once glued on, I went round the words with a fine black liner, as long as round the edge of the tag.


I finished the tag off by putting some fancy ribbon on the top.


Stamps Used:

Other Items Used:
Elements ink in Graphite
Brushos in Grey, Yellow and Burnt Sienna
Black Fine Liner
Memento Ink in Tuxedo Black
Copic Pens


See you next time!


Friday, September 22, 2023

Dead End by Tracy Blackwolf

 Hello  Everyone! Hope you're all well- here is another Halloween card for my project today.


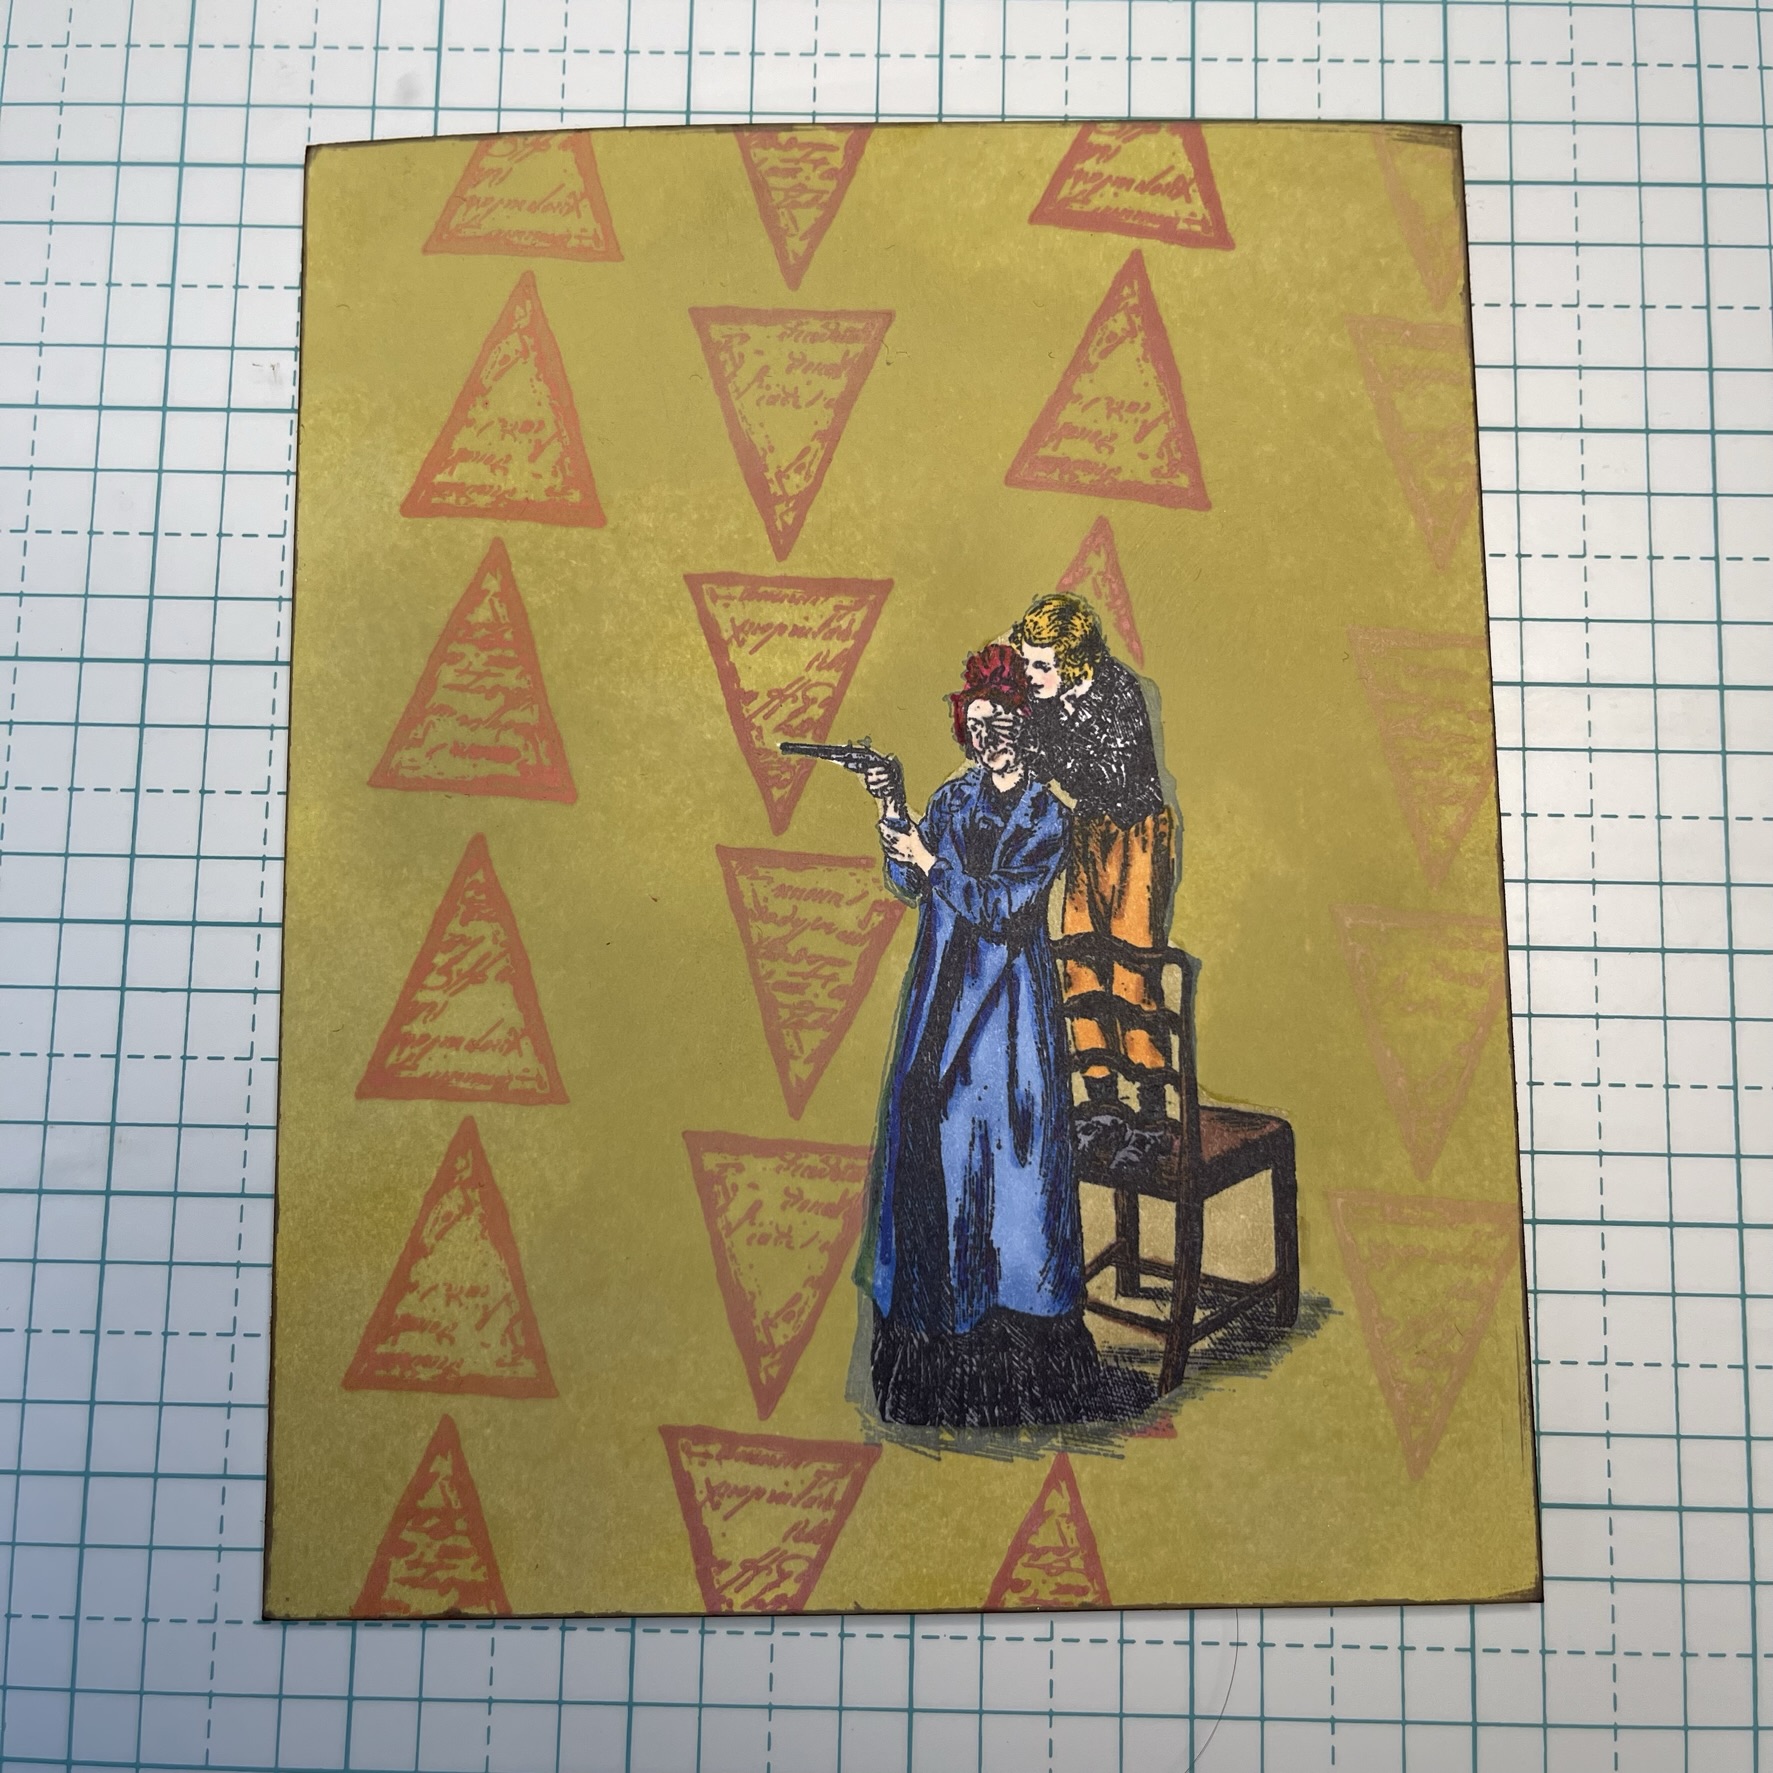
For this card, I stamped all of  images and fussy cut them all out. The blood drips are a die. The teeth in the moon I stamped the moon in gray, stamped on scratch paper then on cardstock and repeated with the teeth on the moon.

On to the background-
I wanted a yellow haze around where the moon is going and a nice dark night sky beyond. I The yellows, and then the blues and purples. I covered the moon spot a bit while spraying the dark colors.
While that dried a bit, I started coloring all of my images. I added blood splatters and glossy accents to the blood drip strip. I colored the teeth with a white gel pen and added more color to the Dracula's house.


I dried the background and added more yellow after adding purples again. you can see how the added yellow ate away at the dark colors giving a cool haze look. That would have been cool by it self.
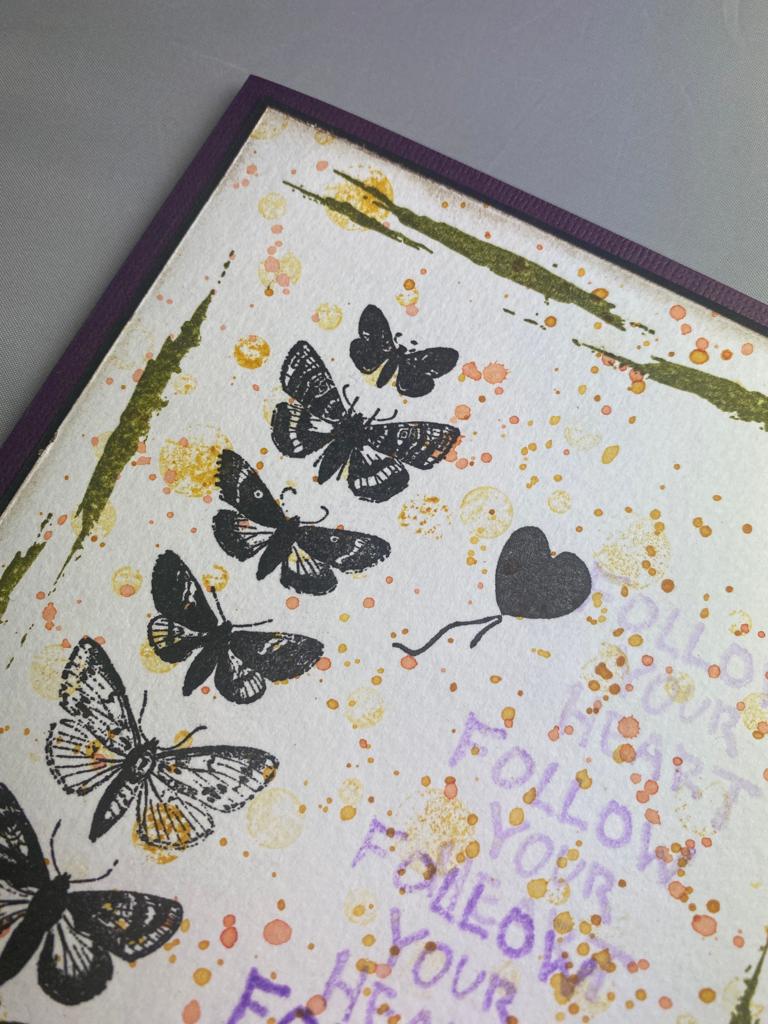
I stamped the flock of bats all around the card. Then I stared putting all my cut images onto the card. I used foam tape and double stick tape and glue for the blood drip strip.  I then layered the cards to finish.

I hope you enjoyed and that you are inspired as well. Until next time-

Stamps used:
The moon     20157
Haunted mansion   17883
Flock of bats   18909
Set of vampire  teeth     20273
Nosferatu    19902
Dead end sign    20492

Other supplies:
Distress sprays: Squeezed lemonade, mustard seed, blueprint sketch, wilted violet, twisted citron , vintage photo, lumber jack plaid, lost shadow

White gel pen 
glossy accents
blood drip die


Slide image by Arwen

 Hi Lovelies ❤

Welcome back! Today I like to share my sliding picture frame . I have no idea, how you call it in the USA ;) 

It's a tiny game for kids.

And thats it:


The way how I create it:

1.) I use cardboard. 2 parts - each 11cm x 11cm in size.
For one of the parts I draw a frame so that the inner part has a size of 9cm x 9cm.


2.) Cut out the frame - don't cut into the inside, we still need that.
Now divide the 9cm x 9cm piece into 9 equal squares on the back.


3.) Now glue the frame consice onto the other piece of cardboard. Let dry.


4.) After drying, the frame can still be painted. I chose black - what else ;)
I also rounded off the outer corners beforehand.


5.) Now we turn our attention to the interior part. To do this we need a piece of watercolor paper of the same size - 9cm x 9cm.


6.) Stamp it however you like, but leave a 3cm x 3cm square in the top left corner. This will be lost later and there is no point in designing it.


7.) Now turn your piece of cardboard over so that the marked squares are on the underside.
Now stick your designed picture on the top.


8.)Now turn the picture over and cut it into 9 equal squares along the lines drawn. You can discard the free square. Now all you have to do is insert the pieces into the frame and let the game begin!


Have fun!!

All stamps I used:

Cheshire cat sitting

- Whimsical worm

- Distressed butterfly silhouette

- Stars


other supplies:

- cardboard

- Staz on

- watercolor paper

- Distress reinker

- Lindy's magicals

- posca white pen

- acrylic paint

- Distress Oxides


See ya soon *mwah*


Wednesday, September 20, 2023

Not a Bad Life by Madisen Hernandez

Hi Stampaholics! It's Madi here today with a quick card tutorial for someone who may be going through a hard time. We all have challenges, always remember a card or a kind word can lift someone's day. xoxo 


My inspiration for this card started with picking out these two stamps. 


I colored the background with this distress oxide ink.


I then created this burnt red background with 


I then created a sentiment piece with the previous sentiment and this abstract background stamp


Finally, I lifted the mask and colored in the image. 


Thursday, September 14, 2023

Are you ready for a Christmas card? Cute panda bear!


Hello friends, Aimee here with a Christmas card to share.
I got the Christmas grab bag and just HAD to make a card with this little panda!


This is a pretty simple card but it takes a hot minute to put together.


The first thing I did was create Christmas light strands. 
I used the Lawn Fawn die set but you could also stamp a background if ya have a light stamp.

Assemble or stamp your lights onto a white card stock panel.
Trim this panel down to fit your card. 
I made mine kinda small so I could have a lot of white space around it.


Next stamp you panda onto white card stock with black ink.
Color in the lights and add a little grey to the shadow areas of the bear.


Cut a glitter circle for your bear and add him to it.

Stamp your sentiment and cut it out into two strips.
 Flag the ends, or use a die to cut them if you have one.
Mat onto the same glitter card stock as the bear.

Add the light panel to the card with foam adhesive.
Add the panda with foam adhesive, too. 
Add your sentiment strips as shown. 
You'll need foam adhesive for the end that doesn't get adhered to the panda.


Supplies-
  • top fold card base, white card stock, black stamping ink, adhesives, scissors, die cut machine, circle dies
  • Christmas panda stamp  (mine came in the grab bag)
  • Christmas sentiment  (came in the grab bag)
  • glitter paper
  • Christmas lights die set or stamp
  • something to color with (I used markers)