Showing posts with label wildflower silhouette. Show all posts

Monday, July 17, 2023

Moonlight chat By Cathy N

                                   Goodmorning all, Cathy here with a card for you today.
                                                                                 

I started out using some watercolor paper and some new Lavainia Dinkles. They are powered pigment, so if you don't have them, you can use whatever you have on hand. The smaller piece of paper is the one I used for the card. I used the other to sop up the extra color. The second on is much lighter. I set these aside to dry. 

                                                                                      
Next, I stamped 12512 Fairy on moon on some white cardstock and colored with copic markers. Then I fussy cut it out.


I then stamped 19556 Wildflower silhouette on the bottom of the panel I made. After I stamped it I then trimmed the panel, so it was the same size.

The next step I did was using the 3D adhesive paste. If you use this make sure you wash your stencil off right away. It's glue so you don't want that drying on your stencil and ruin the stencil. Wait till it goes clear and you can add the deco foil to it.
                                                              
Lastly, I add the cutout Fairy on moon to the top of the card and glued it to a black card base.

                                                                Stamps used:

                                                         12512 Fairy on moon

                                                         19556 Wildflower silhouette
                                                              
                                                                Other stuff used:

                                                                Watercolor paper
                                                                 Livainia  Dinkles
                                                                 Sizzix 3D adhesive paste
                                                                 Deco foil (purple)
                                                                 Stencil

Thursday, April 20, 2017

Frida - A journal Page by Fiona

Hello my VLVS friends!! Fiona here with you today to share an art journal page I have created dedicated to the gorgeous Frida Kahlo.


Frida was a radical comunist and an artist living in both Mexico and New York in the 1920's and 1930's.
You can read more about here HERE


 In short .... she was mostly disabled due to both Polio she contracted as a child and an horrendous train car accident she was involved in when she was 18. This was what lead to her being a painter, mostly of self portraits depicting the chronic pain she lived in for the rest of her life.


She was one very remarkable woman.


My page depicts one of her most famous quotes 

"Feet, what do I need you for when I have wings to fly"


VLVS Products:

I hope my Frida page has inspired you. She most certainly inspires me.

See you all again soon xx


Monday, February 06, 2017

Mail Art Monday; Banksy Mailart Inspiration by Cheetarah

Hi all, welcome to another Mail Art Monday here at Viva Las VegaStamps! inspiration blog. I'm excited to share this envelope I made for our February Mailart Group Swap over at our Facebook VLVS! Groupies hangout.

And here it is, a Frida centered piece of Mailart. It's very easy and fun to make with just a few stamps needed. Let me share the process with you.

So this month's swap theme is Banksy which means you have to use at least one of VLVS! Banksy inspired stamps. There are so many great images to choose from but I decided to go with Frida for these envelopes. Started off by stamping her on the envelopes with memento tuxedo black and masking her off together with an address space next to her.

When the masks were on the envelope, I stamped 
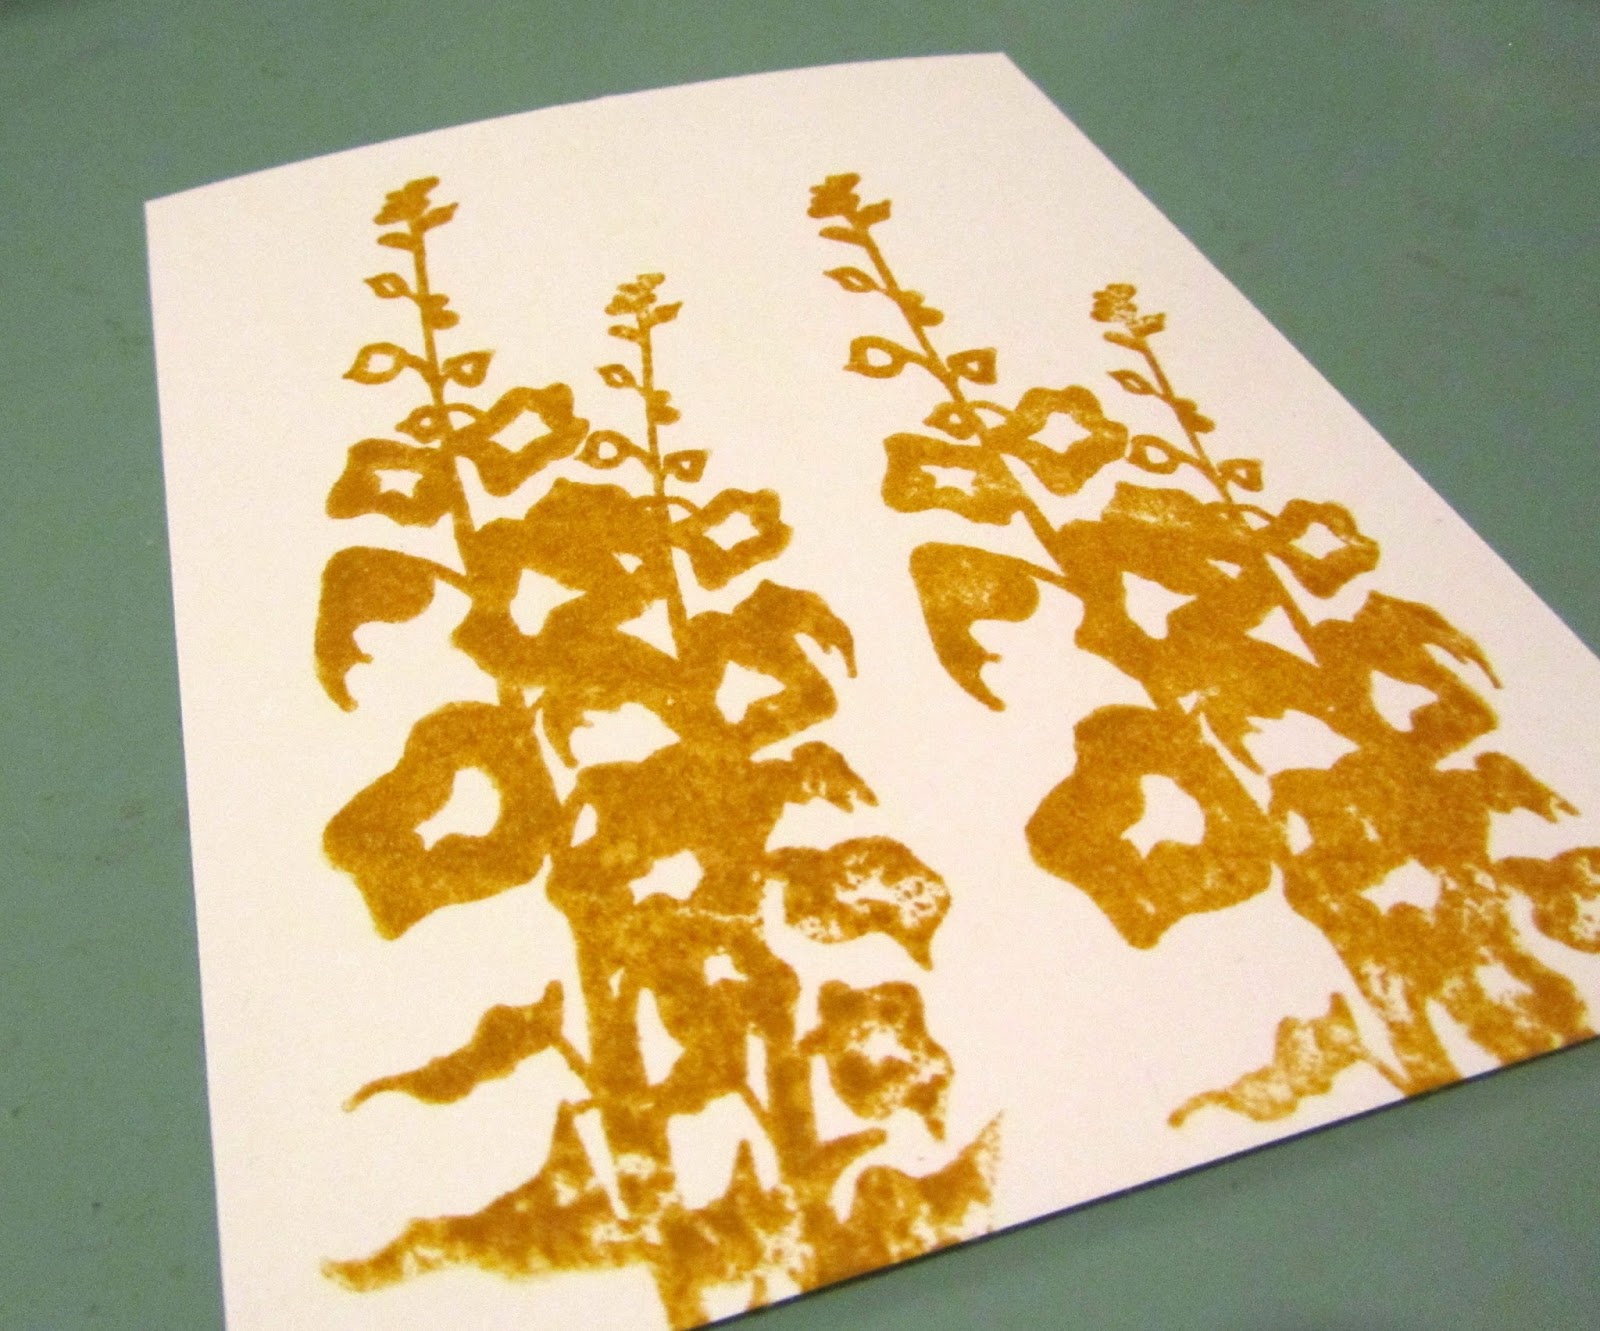
Wildflower silhouette in 3 different Staz-on colors Hydrangea blue, Azure and Midnight blue.  Start with the lightest and then the darkest one on top. I made a busy bush but it's going to be pushed to the background in a later step.

I put the masks back on and added some brighter colors with my distress tool and mustard seed and ripe persimmon distress inks. Now it's time to color the face.

My choice of alcohol markers are the old style Letraset Promarkers. They are now distributed by Windsor and Newton. I chose to trace over the memento black stamped image with a mauve black color to give more warmth and accentuate that stenciled Banksy look. I also doodled around the address section with a Fabert Castell Pitt Artist Pen. And now to make it pop from the back ground.

Before I used my white gel pen I stamped She was... and an artists stamps with colorbox midnight blue and embossed with WOW indigo. My fave white gel pen to use is the Uniball Signo Hybrid, it rolls smoothly, has a great stark white gel liquid that stays wet enough to use in other ways. Love to use it as a high lighter! I just trace along the edge of the image in parts then rub the liquid out while it's still wet. You can get a nice blurry white halo around your image that way. And it definitely pops the image to the foreground.

In the end I also spattered some Liquitex INKS! in white and gold for a sparkle effect (I put the masks back on when I did this) and created a vignette by rubbing some black metallic rubs around the edges of the envelope.

Hope you're inspired to create something for the swap and join the fun! If you do, please don't forget to upload your made envies to the swap events page before february 17th and then PM our awesome swap coordinator Michelle with your address. And who knows, we might get partnered up and you might be getting one of these from me in your mailbox soon!

Thanks for stopping by and have a great day!

Stamps used:

Others:
Uniball signo hybrid white gel pen
alcoholmarkers
liquitex INKS!
faber castell artist pitt marker
Staz-On Hydrangea blue, Azure and Midnight blue
Memento Tuxedo Black
Distress tool round
Distress inks mustard seed and ripe persimmon
Black metallic pearl rub

Wednesday, July 13, 2016

Index Card Art by Jenn Engle

Hello! Today I have a pair of index card art cards to share with you. My current favorite stamp is the Wildflowers Silhouette stamp and I just love the different looks you can get with the same stamp just by using different ink! Be sure to check out the stamps I used which are linked directly below as well as a tutorial video at the end of this post.
STAMPS USED:


STAMPS USED:

The process video:

Thanks for looking!
~Jenn


Tuesday, June 28, 2016

"Magical" An Art Journal Page by Jenn Engle

Hey Folks! I have an art journal page to share with you today. I wanted to create a whimsical area for this adorable "Girl with Wings" stamp and the different sized Mushroom stamps are perfect for this!

All stamps I used & a process video are linked at the very end of this post.


STAMPS USED:

Thanks for looking!
~jenn

Wednesday, March 09, 2016

Weathered Wood Background

Who doesn't love a weathered wood background???
Michele here to share a quick and easy way to create one.

Start with a piece of cardstock.


I used gel medium and painted randomly on the cardstock using a brush in vertical strokes.


After the gel is completely dry use your scoreboard and with the gel side down score every 1/4 inch.


I used Antique Linen Distress ink, the ink pad directly on the paper, for the first layer of color.


Then with a blender and Vintage Photo Distress Ink I blended the next layer of color.


I added Barn Door DIstress Ink and some stamped caution signs,  Radioactive and Caution Safety Glasses stamped with Staz On.

Here is the complete card.


Banksy Gas Mask Flower Girl is watercolored with Distress Markers adn she is holding a Prima flower.  ALong the bottom is the Wildflower Silhouette with some UmWow Studio flower confetti painted with Distress Paint. The sentiment is created with my Dymo Label Maker.


I was on a roll with my backgrounds so I also created this fun boy card.

This one has a bit less gel and some white drips on the 'fence'
Chevron Banner is stamped in Staz On directly on the fence.  I also used Boy and Dog Looking Up, Wildflower Silhouette and Boys Just Want.


A little watercoloring with Distress Markers.


UmWow Studio flower confetti painted with Distress Paint.


And a tiny bit of May Arts burlap string.

Don't forget about our monthly inspiration challenge and of course join us on our Facebook Fan Page.

Until next time...get inky!!

Wednesday, September 09, 2015

She Was A Wildflower

Hi all!!  Michele here today.
Summer is winding down and school has started so I created a card to send sometime in the future as a reminder of the summer days.


I have a quick tutorial for this layered stamping technique.  I just love the depth the color creates!!


I used the She Was a Wildflower, Wildflower Silhouette and Bumble Bee stamps along with the Ultra High Gloss embossing powder.   I also used Abandoned Coral and Fossilized Amber Distress ink, archival ink, May Arts ribbon and a Tim Holtz pin.


I stamped the Wildflower Silhouette in fossilized amber first.


Then Abandoned Coral...


Over the first layer.


Then last in archival ink and heat embossed for more depth.
I stamped the bumble bee on the page and then again on a scrap so I could layer and color.


Layered on black cardstock and a white card base.  Added the ribbon and sentiment and VIOLA!


Simple but I just love the elegance!
I hope you are inspired!!  Until next time...ink up those stamps!!