
Showing posts with label area 51 warning. Show all posts

Saturday, August 02, 2014

Warning: Hardcore Cat (August Challenge Inspiration)

hardcore cat, full, allassiter, VLVS
Welcome to Friday and a bit of inspiration, from me, Amy using the fabulous illustration for August here at Viva Las VegaStamps! This inspiration is so awesome, unique, and punk rock, I couldn't wait to dig in. I grabbed a piece of 12x12 paper from the Crowded Attic collection by Tim Holtz, and though the vintage theme is a strange mix with the graphic boldness of the inspiration board, I liked how it worked.
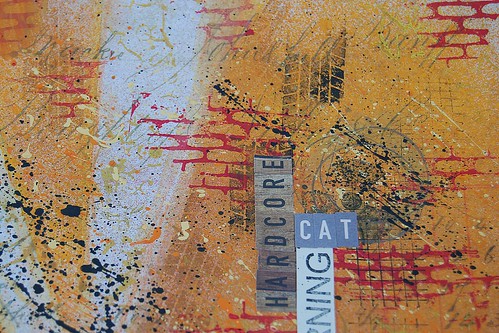
title, hardcore, ALLassiter
I began the mixed media journey here, by creating lines for the sun rays,using a ruler and a pencil. To get the brighter orange lines, I needed to cover the "white" area with a piece of paper, and on the other side of the ruler. I used Dylusions mist in Pure Sunshine, to create the orange sunbeams. When those were complete, I added Pan Pastel in orange along the edges, to soften them a bit. I stamped over the "beams" using the tire tread stamp and silver ink. For the "sun" I used the color wheel lines stamp, and overlapped it a bit in a circular area. bg, hardcore, ALLassiter
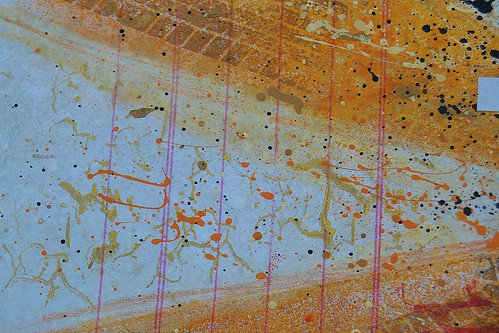
I added some "punch" to the plain lines, with the cracked background stamp, and gold ink. On top of all of this, I added lots of paint drippings and flickings. Hehe. The brick background was perfect for getting that "graffiti-ed wall"/Banksy's palette I was looking for. photo cluster, hardcore, ALLassiter
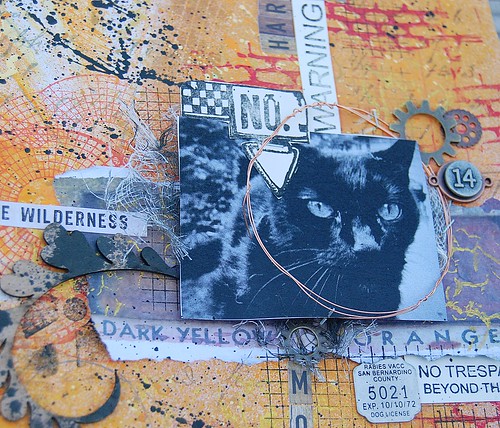
Finally, I created a layered cluster around the photo. First, I stamped around the area with the washi grid background, and then I added some black misted cheesecloth, and popped the photo up on 3D foam dots. I stamped the area 51 warning,and the top portion of the No.5 tag using memento ink in tuxedo black, onto library cards, and cut and layered them up. All that was left, was adding embellishments, like the UmWowStudio flourish, metal bits, and alphas to create the title. Voila! I created a way to honor my sweet but hardcore cat, who lived 8 years indoors, before sneaking outside one day....and disappearing for 4 months....then returning one day looking like he had been in a gang fight. He now hangs out on our deck, and catches mice and rats that he presents to me as a lovely gift. ;)
 Thanks for having a look today, and get busy making your own creation using this month's inspiration! (here's a reminder):

Supplies Used:
Viva Las VegaStamps!:Tire tread, color wheel lines, cracked background, brick background, washi grid background, area 51 warning, No. 5 tag
Miracle Tape, Memento Ink-tuxedo black
Paper: Tim Holtz
Inks: IMAGINE Crafts
Paint: Plaid, 13 Arts
Pan Pastel-orange
Metal-Bead Landing
Chipboard-UmWowStudio

Wednesday, February 05, 2014

Into the Abyss~ Altered Altoid Tin

Greetings, stampers! It's Amy here today, to share an altered Altoid tin I made into a fun little "shrine" of sorts on the inside.
I used a regular Altoids tin, and covered it with vintage book pages in layers (on both the inside and outside), using gel medium. When those were dry, I added a layer of copper paint, that had been thinned in half with water........to cover the entire tin and papers. This half paint mixture allowed the papers to show through, and gave a cool realistic metallic shimmer.
abyss bottom tin
For the outside of the tin, I added flicks of turquoise, olive green shimmer, and Mediterranean blue, and when that was dry, I added stamping with the Area 51 Warning  stamp.
abyss detail stamping
I added the whimsical diver stamp in two layers. One is stamped on cardboard, and fussy cut, and a second is stamped onto a library card, fussy cut, and added on top with foam adhesive. I then stamped the into the abyss stamp onto a small scrap, and adhered it, along with the metal wing (with a little bit of cheesecloth behind it),and chipboard star. I sprayed the outside with a protective gloss spray, and wrapped it with copper wire, attaching a clasp. tin inside, abyss, ALLassiter
 The inside was simple to complete, since it has already been covered with the vintage pages. To the top, I simply added some washi tape,a chipboard piece,button and a fussy cut vintage image of octopus tentacles. The wire from the front wraps to the inside, so it adds a nice line of color, as well. For the bottom, I adhered a playing card to the bottom, and a strip of washi; added cheesecloth/twine to the sides/edges....and then added a stamped and fussy cut Octopus/Cephalopod...to happily slink along the bottom edge. A die, and a star pin stamped image, and little sewing machine charm (because every octopus thinks about sewing) complete the project!
I am going to give this little tin to my husband, for his desk at work. Because...everyone needs a little whimsy during a work day. :)

Thanks for having a look today, and for more inspiration from me, visit my blog at www.sparklinggnome.com! Have a great rest of the week!

Supply List: 
Viva Las VegaStamps!: Whimsical Diver, Octopus/Cephalopod, Star Pin, Area 51 Warning.
Ink: Clearsnap Mix'd Media Inx (black, denim).
Paper: Vintage, digtal download-Stampington and Co.
Chipboard: UmWowStudio
Metal Wing: Tim Holtz