Showing posts with label pen tips. Show all posts

Wednesday, May 07, 2014

Four Vintage-Style Chunky ATC's

Hello all, it's Amy sharing a project today, that's just a little bit south of the average ATC....what I'm going to call "chunky ATC's!"
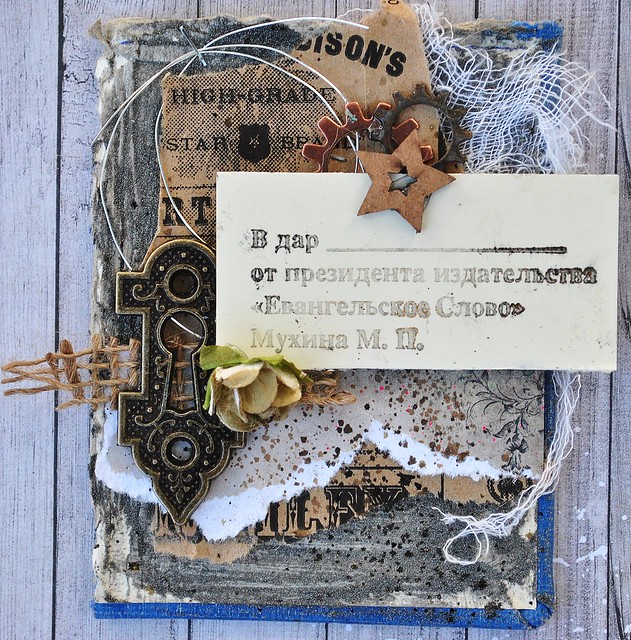
To start my 4 piece set of vintage images and their layers, I cut a 8x6 vintage book cover into fourths. I used the side that had a layer of paper, and painted over it with Viva Decor Ferro paint in Graphite. This gives lots of sparkle and texture.
cyrillic full, Next, I grabbed a vintage printed paper bag I received from a local store, and upcycled it...it has some really fun images on it. I tore four pieces, and adhered using my Tim Holtz Tiny Attacher mini stapler. On top of this, I added a strip of paper, from the 6x6 Nature Walk collection by 7 Dots Studio, adhering with Miracle Tape. 
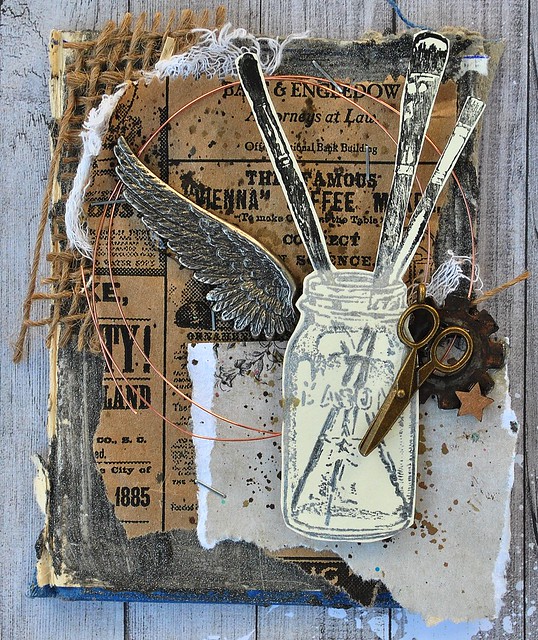
jar brushes full Prior to adding my stamped images, I added bits of burlap and cheesecloth....for even more yummy texture. Adding little splash of walnut inks here and there, gave a little flash of color, as well.
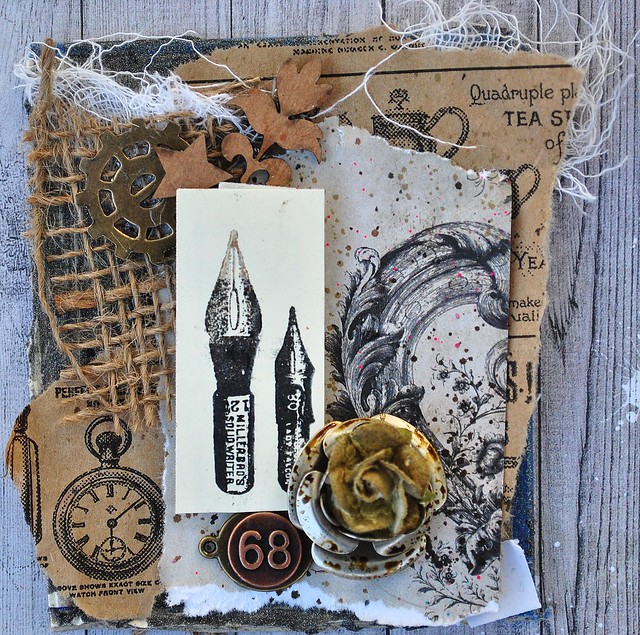
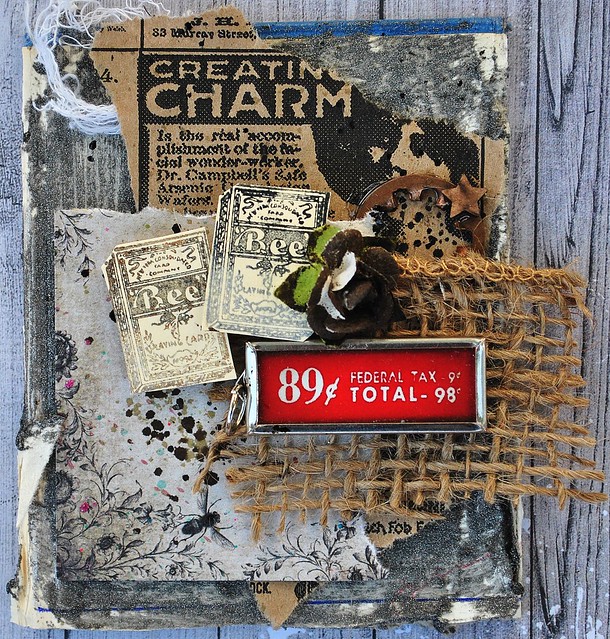
pens full Finally, I stamped my images onto a library card. For each of the images, I used gorgeous Tsukineko inks in copper, silver and gold.....and stamped them as a gradient for interest. I cut these out, and added with foam tape. After adding bits of chipboard, metal, flowers and more.......I had four cards done. bee cardsf ull I believe I will frame these in a vintage style shadowbox frame. I think that will add a touch of quirky vintage to my living room!
Thanks so much for having a look today!
Loves,
Amy

Supply List:
Viva Las VegaStamps!: Bee Cards, Russian Cyrillic, Pen Tips, Paint Brushes in Jar
Paper: Upcycled, 7 Dots Studio-Nature Walk
Ink: Tsukineko- Delicata Silver, Copper, Gold; Momento- Tuxedo Black; walnut inks- eucalyptus, java, terra cotta
Chipboard- UmWowStudio
Flowers- Prima Marketing
Metal Bits- Bead landing, Tim Holtz, 7 Gypsies

Sunday, February 23, 2014

Mail Art Madness!

Hello again!!! 
It's me Tera here again to share with you one of my favorite things to do with my rubber stamps... Making Mail Art!
 I love beautiful Envelopes! Opening a mailbox that has a pretty envelope inside can really brighten your day! (Or at least it does mine)    


You don't have to cover the envelope like I did in these two, Even a few stamps or color can really some cheer to your outgoing mail!!  (Yes you can really mail them like this, just as long as the Post Office can clearly read the address you can add as much as you'd like) 

Below are two of my older examples of mail art as well, You may recognize the last one, but i'm sharing its so you can see it has indeed been postmarked and made it to it's destination :) 


Stamps Used in this Post: 

Pen Tips 2 3/4 x 2

Paris Address 1 1/2 x 3 1/4


I hope I'm not missing any, but if I am and you'd like help finding it just leave a comment below and I'll help you find it :) I hope this inspires you to make some pretty mail!
 (Or even to just break out your stamps and get to playing!!)  

Friday, January 17, 2014

THE APOCALYPSE IS HERE!

Hello, Tera here. I'm so excited to be sharing my very first Design team project with you. My first DT project was actually inspired by Amy's piece HERE I love the idea of a piece that makes you think and creates a sense of mystery and wonder. I decided to use some of my favorite Viva Las VegaStamps! to create a post apocalyptic feel to my new altered book/Journal cover.

To make this I started by covering the book I wanted to alter with a vintage book page to create a fun background to work with (this was after I placed the Eyelets and wire wrapping). Next I stamped the Man In Gas Mask 2 1/2 x 3  on a separate book page and fussy cut it out so i could play with were to position it. I decided I wanted to add a little grunge to the book so I partial stamped Nautical Collage 3 x 6 1/4 on the bottom left then took a paper towel and immediately smudged the image out a bit. (I also stamped It on a piece of shrink plastic which I later added to the upper right to bring in symmetry to the piece.) The next layer was the fabulous Coffee Ring Stain 2 3/4 x 2 1/4. After the base stamps were placed I added a clock sticker, a lace Doily, a set of Tim Holtz wings and a fragment doll. I added some chain around the angel with a fabulous UMWOW Studio Gear Mash Gear with a tiny heart and golden chips inside. I also added gears above the clock the decide to add a clock key as well. Now that I had the cover built up I decided to add some detail to the spine, I made a fun label with some inked grunge board scraps I had, placed some Eyelets and used a word from the book pages (I adhered this with Miracle Tape, as well as the shrink plastic piece since this fabulous tape is super strong and clear). I decided the Apocalypse 3/4 x 2 1/2 stamp was the perfect word for the side and also stamped it on some scraps from the book page. The Finishing touches were the knob, chain and keys. As well as one of my favorite stamps the Pen Tips 2 3/4 x 2! I decided to only use one of them and stamped it on a piece of cardboard which I had colored with silver Inka Gold, I fussy cut the piece and bent the edges down to look like a real pen nib tip! :D I Hope you love this piece as much as I do. I love the feel of vintage meets apocalypse, the good vs evil, and the pieces of lost history like the keys and pen tips. 


All stamping was done with Ranger Archival Pad #0 Jet Black except the stamping on the shrink plastic which was done with StazOn Jet Black Ink Pad. 

Happy Stamping Everyone, I hope you enjoy the mystery and sense of curiosity that this piece invokes!
-Tera


Wednesday, September 12, 2012

A VLVS! Inspired Layout

Hey all :) DeeDee here filling in! Today I'm sharing the full reveal of the sneak peek I hinted with recently.

I've since worked up a different project for the swap so I can now share with you the full layout!

I really have a ridiculous huge love for rubber stamps and use them on e.v.e.r.y.t.h.i.n.g.! Including scrapbook pages :) 


Sometimes I frequent back to the same stamps... when they're good they're good right? Like
the Pen tips 
the Pointed pen tip, and

But sometimes I get creative and use a stamp I normally wouldn't... in this case I used the Arrow to create a chevron pattern to the right of my layout. I just laid down a piece of paper as a mask along the right edge. Then inked my stamp in archival black and stamped along the edge of the paper and onto my layout background!

Other supplies include: May Arts ribbon in ivory and black stripe. Recycled cardboard, Tim Holtz Tag and bookplate die, Basic Grey epoxy brad, Prima canvas resist flowers, Ranger Archival Ink, vintage buttons and pearls, paper clips, faux stamen, a sewing machine and black thread, Creative Imaginations Stencil, Luminarte Silks in Solar Gold, Tattered Angels Glimmer Mist in Roll top desk, MM eyelets, Gauche Alchemy Punchinella, Distress Inks in Black Soot, Walnut Stain, Vintage Photo.