Showing posts with label cross stitch. Show all posts

Tuesday, April 18, 2023

Bookmarks by Cathy

 Goodmorning, Today I have 2 bookmarks for you.

I started out by cutting a strip of paper 6in X 2in. 

Then I used a Tim Holtz stencil and green distress ink and make a background.

On a scrap of paper I stamped the creepy creature and colored with Copic markers and cut out and added to the bottom of the bookmark.


For this one I started with 2 different purple distress inks to make the background. 
I then stamped the cross stich on the bottom of the bookmark for the creepy striped creature to stand on.

On a scrap of paper, I stamped the creepy standing creature and colored it with Copic markers and cut out. Next, I placed the cut out on top of the stamped cross stich. Around the background I stamped the grunge writing in purple ink. 
I then stamped the sawtooth stitching off the top of the bookmark.
Lastly, I added some white spots to it.

Stamps Used:

19876Creepy creature sitting.

19877 Creepy striped creature

19880 Cross stich

19643 sawtooth stitching

17545 Grunge writing

Other stuff:

Cardstock

Distress inks, green and 2 purples

Copic

White ink

Black ink

Tim Holtz stencil


Saturday, August 10, 2019

You gotta fight - Art Journal Page || by Elisa Ablett


Hi everyone,

Elisa here from the design team for VLV Stamps with my latest design team inspiration for you, a very bright and funky art journal page.

I adore the Banksy Wall Singer stamp and decided I wanted to create something a little different with her. I was at a craft retreat recently and I pulled out my stash of stamps ready to create my latest design team projects and a friend of mine suggested using little pieces of paint chips!

I was intrigued by the idea and took it a bit further by expanding the paint chips to look as though they were coming from her mouth as she was singing....

Let's take a closer look - 


To create a multi coloured embossing effect can be quite tedious but the results are amazing, you just have to layer in lines of colour and clean up in between each colour!

Torn bits of coloured washi tape over the top of the Rows of Numbers stamp to create a grungy effect.

I also like to recycle old paper a fair bit so I used a small piece of old dictionary paper, fussy cut a circle out and stamped with punchinella-sequin-waste-border , Cross Marks background and Cross Stitch stamps to create a 'spotlight' or focal point for our main stamp - Banksy Wall Singer.


I created the lines of paint chips by brayering paint onto white cardstock, letting it dry then randomly cutting small pieces and patterns from each colour. Then the painstaking part..... adhering them to your page using glue. Then once dry, I added a border of doodling to the paint chip rainbow and then adhered the musical-notes over the top.


The quote are lyrics from a song by the Beastie Boys called - 
Fight for your Right and printed from the computer but I think it would make an awesome stamp.

Thanks for stopping by the blog today, make sure you leave me some love 
💙💚💛💜

Hugs 

Elisa xx

Stamps used:


Other materials used:

Art by Marlene Art Journal
Black Gesso
Colour Blast Embossing Powders
Versafine Ink
Washi Tape
Decoart paint
Dictionary Paper
White Posca Paint Pen


Monday, June 19, 2017

Mail Art Monday with Jenn Engle

Hey guys! It's Mail Art Monday time and I made a standard size envelope with my current favorite Banksy stamp, Mom Preparing Anarchist. I just love this stamp so much!


STAMPS USED:


I started out by applying Dylusions Paint to my background. I then applied the same paints thru a chevron stencil. I did my stamping and then finished it off with some white paint thru an dots stencil to pull everything together. 

I felt like the back needed a lil somthing, so I stamped this Banksy Sweeping Under Lady. I just love how it looks like she's lifting up part of the envelope. 


Thanks so much for looking!
~Jenn


Thursday, September 22, 2016

August WINNERS

Hiya folks -- we have some winners to announce from our August Challenge!

The voted winner is.. Julie S.!! with this fabulous piece:


and our random winner is... Krisy!!!

CONGRATULATIONS LADIES!!! >> If both ladies could email me @ deedee430@gmail.com we can get you a prize in the mail. be sure to include your shipping address. :)

And please feel free to use the following graphic, you can even link it back here to us to show which challenge you won! 


Monday, March 03, 2014

Watercolor effect and embossing


Hi, Diana Fisher here with you today to share my latest card. This is my last month with Viva Las VegaStamps and I am already starting to get sad. I have loved everything I made over these last three months — the stamps at Viva Las VegaStamps are stunning, easy to use and original.

For today's card, I was going for a soft watercolor effect without using watercolors. It's a big trend right now, but not everyone is comfortable trying the actual watercolors on their cards. It can make lighter weight papers bend, the color can bleed through, or the colors can mix in ways you wouldn't have planned for.

With that in mind, here is a way to get that look with your ink pads!


I started with the 
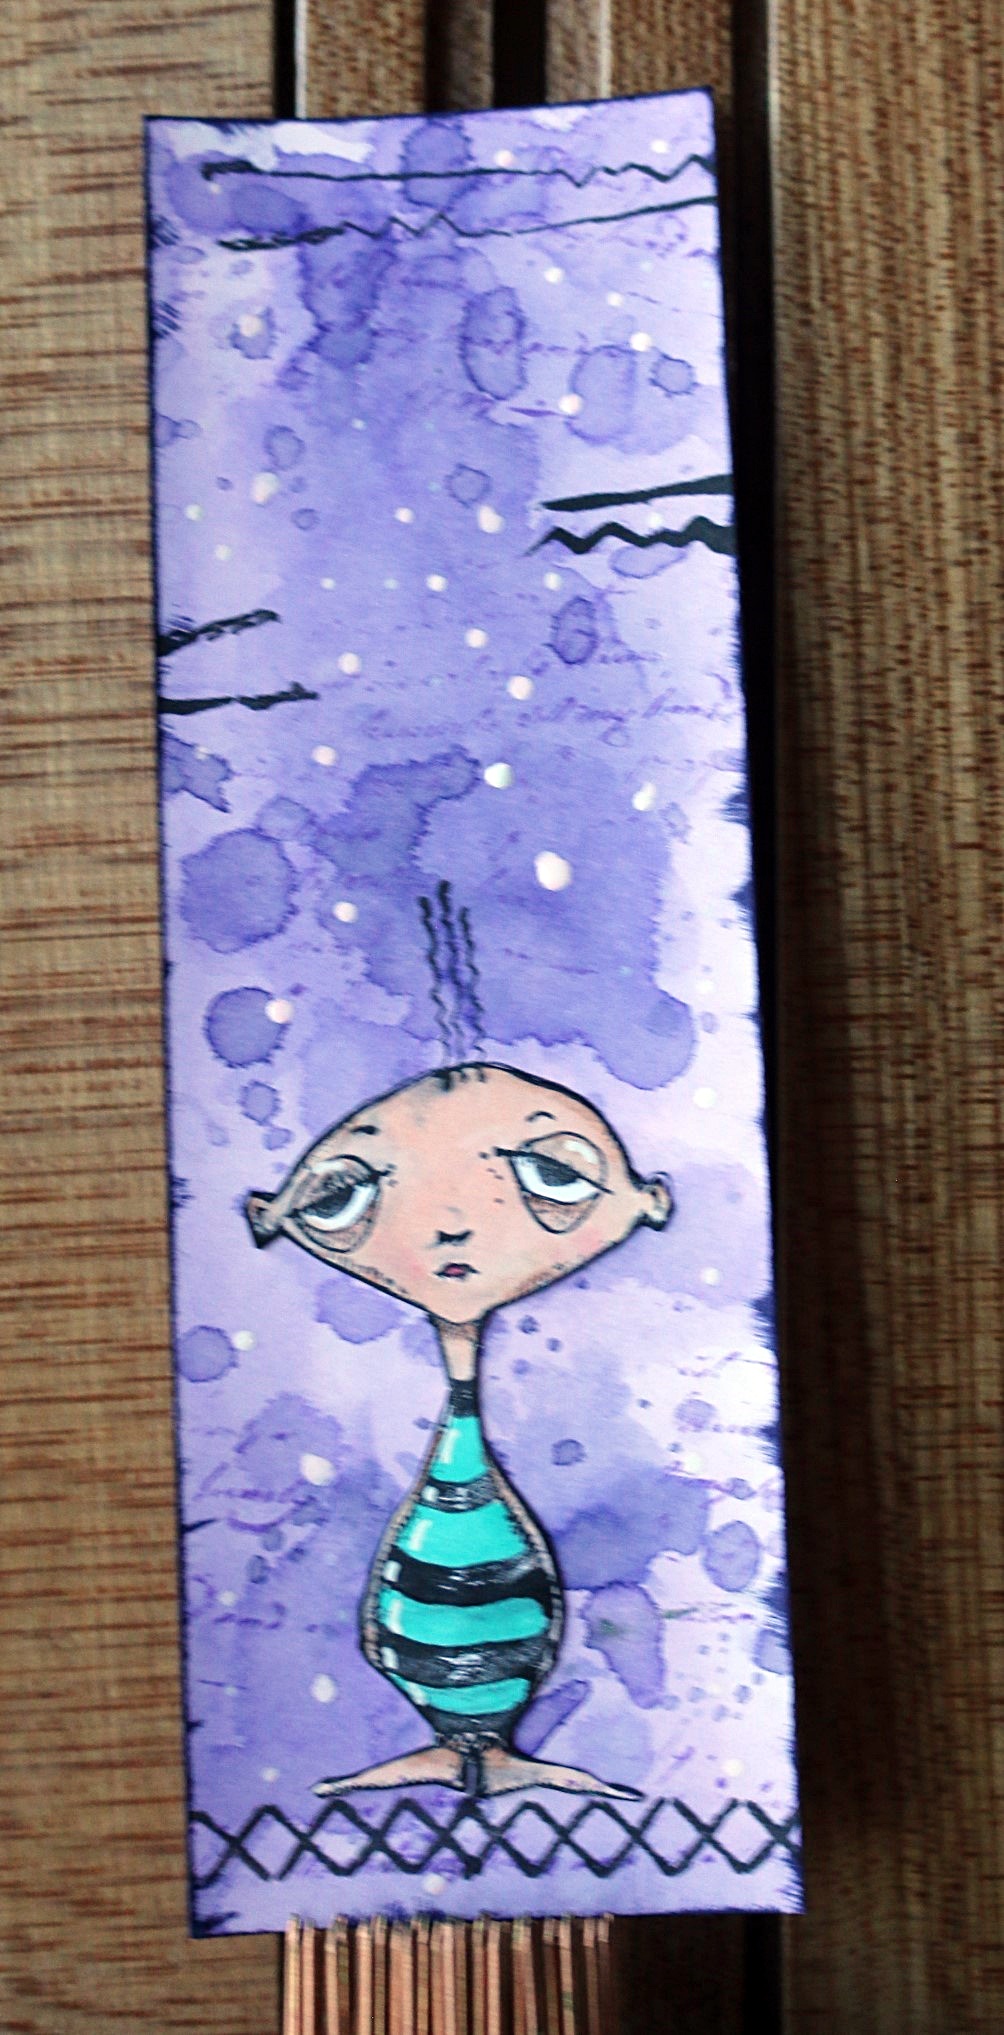
Leaves Blowing from Tree stamp. I applied it with Ranger Distress Embossing Ink and then a white opaque embossing powder. Then I heated it up with my embossing gun.

After that was done, I used four different inks: Heidi Swapp (Teal), VersaMagic Chalk Ink (Sea Breeze), VersaMagic Chalk Ink (Aloe Vera) and VersaMagic Chalk Ink (Thatched Straw). That is the order I used them in, too, from top left corner to bottom right.

I applied the inks with Tsukineko Sponge Daubers, one for each color. I worked the color right over the white embossed area and before it could dry, I would quickly wipe off any ink on the white areas. 


It's hard to tell unless you zoom into the picture, but the bottom left corner has the Cross Stitch Stamp. I thought it went well with the Close Knit by Crate Paper tag and heart die cut that I ended up using for my sentiment. That was stamped in VersaMagic Chalk Ink (Aloe Vera).

I hope you have some ideas now on how you can get a watercolor effect without the actual watercolors!