Showing posts with label bookmarks. Show all posts

Tuesday, April 18, 2023

Bookmarks by Cathy

 Goodmorning, Today I have 2 bookmarks for you.

I started out by cutting a strip of paper 6in X 2in. 

Then I used a Tim Holtz stencil and green distress ink and make a background.

On a scrap of paper I stamped the creepy creature and colored with Copic markers and cut out and added to the bottom of the bookmark.


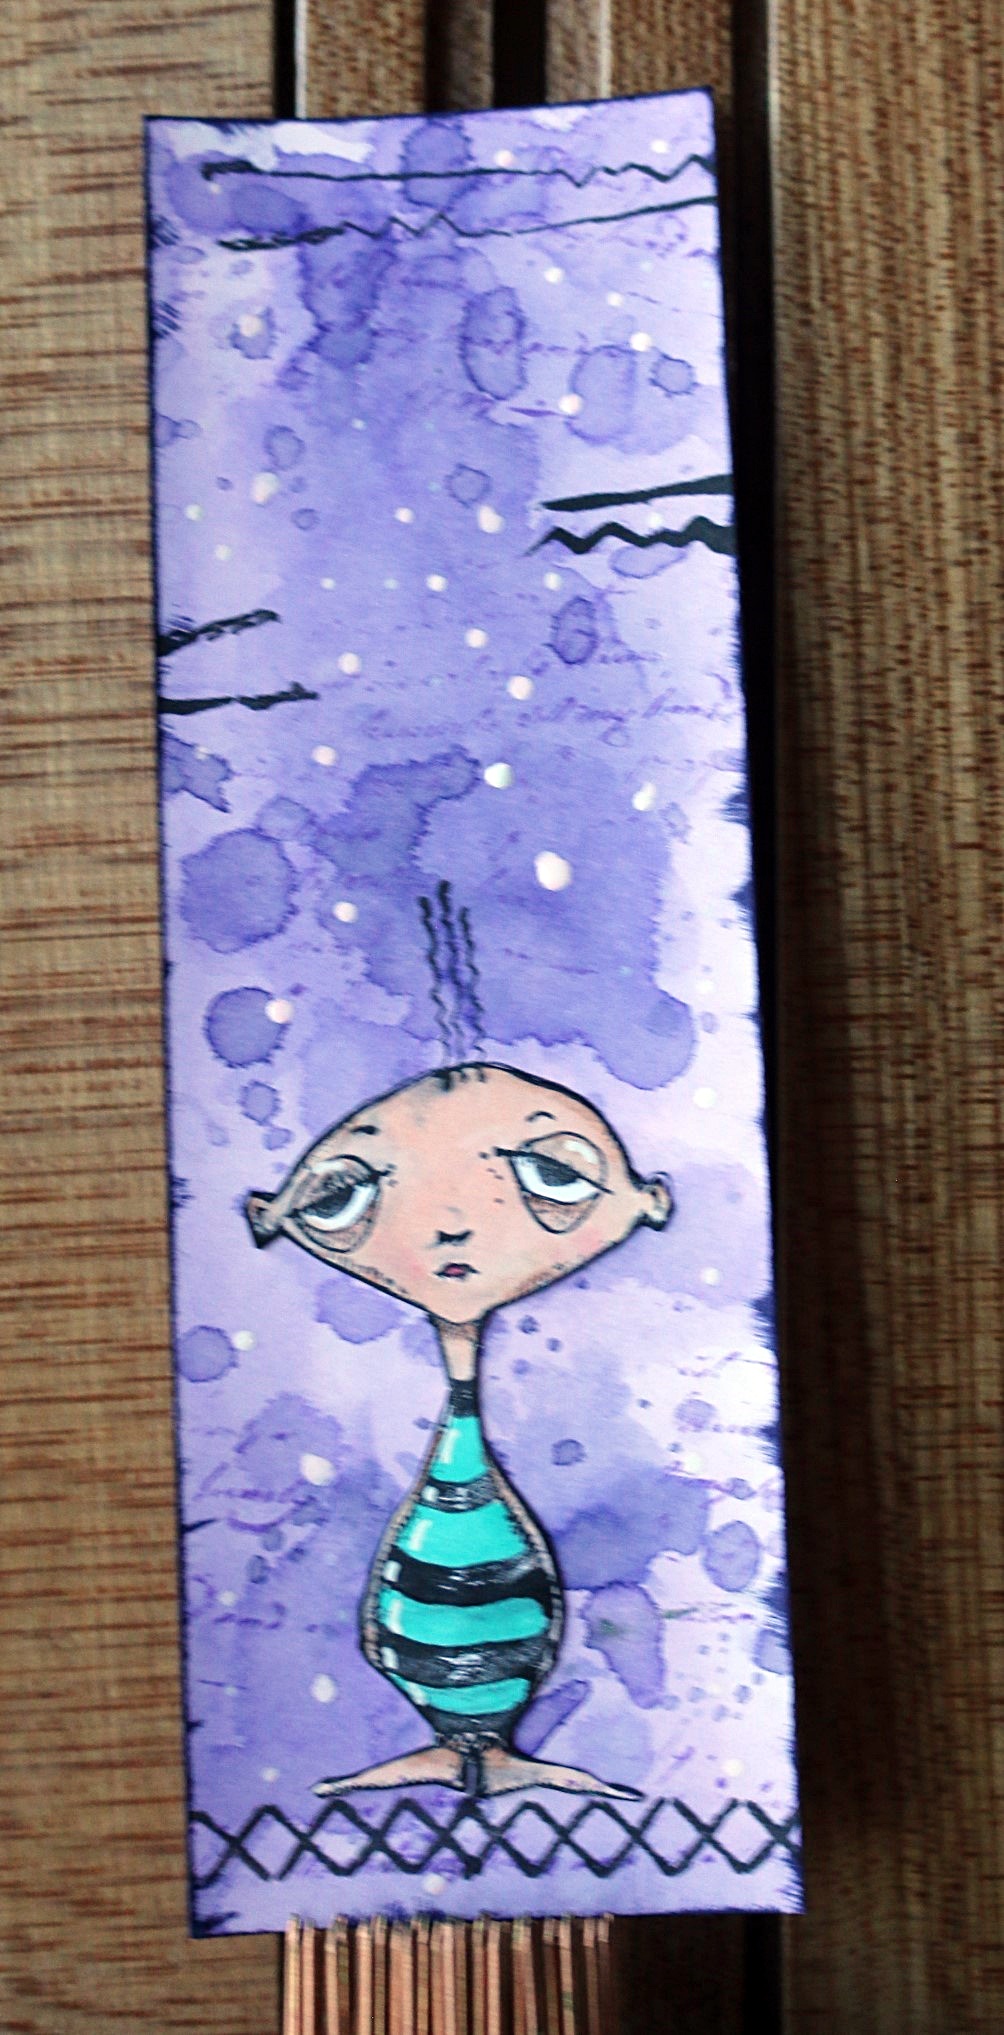
For this one I started with 2 different purple distress inks to make the background. 
I then stamped the cross stich on the bottom of the bookmark for the creepy striped creature to stand on.

On a scrap of paper, I stamped the creepy standing creature and colored it with Copic markers and cut out. Next, I placed the cut out on top of the stamped cross stich. Around the background I stamped the grunge writing in purple ink. 
I then stamped the sawtooth stitching off the top of the bookmark.
Lastly, I added some white spots to it.

Stamps Used:

19876Creepy creature sitting.

19877 Creepy striped creature

19880 Cross stich

19643 sawtooth stitching

17545 Grunge writing

Other stuff:

Cardstock

Distress inks, green and 2 purples

Copic

White ink

Black ink

Tim Holtz stencil


Thursday, September 24, 2020

Enchanted - Quick bookmarks

 Hey everyone,

Today I'm sharing two bookmarks with you. No fancy techniques this time, even no coloring, just a little stamping to fill up my lunch break while I was working from home.


I must admit that I have been a little uncreative over the last month. Such more simple projects help me getting back to the crafting table. So if your muse went on vacation, this might be a way to get back into your creative flow.


Here's how I made the bookmarks:

I cut the two pieces of paper to a size of 7 x 2.5 inch and used a small corner chomper. For bookmarks I prefer having round corners. Then I stamped the goddess on one and the raven on the other tag, using Versafine Clair ink. The next stamp I used was the "enchanted" lettering along with a multi-colored embossing powder. This creates some nice interest on the bookmarks as it contrasts the other more neutral colors I used.

For a little visual texture I grabbed the lace background stamp as well as a writing stamp from the same plate. Fun fact: When I stamped the lace I was really dissatisfied with the look - lucky that changed once I added the other stamp over it.

I added some ink to the edges and some mettalic thread to the top and that's it.


Here are some more detail photos of the two bookmarks:


Stamps used:
Raven Looking Up (20269)
Whimsical Tree Lady Nude (19681)

Lace Background (19298)
French Writing Background (19297)

Enchanted (18823)


Other supplies:
- left over paper (watercolor paper, kraft cardstock)
- corner chomper
- Versafine Clair ink (nocturne)
- Versamark ink
- Archival ink (pebble beach, watering can)
- WOW! embossing powder - Seth Apter "space dust"
- thread or ribbon


Hope you like my project, even if it is such a simple one.

See you soon


Thursday, December 13, 2018

Bookmarks and Notebook - Gift Ideas | Sue Plumb


Hi everyone!
It's Sue Plumb here to share my latest design team project with you. As we head into the festive season, I thought it would be a good time to share a couple of simple appreciation gift ideas with you. There are always people in our lives that deserve a small token of our thanks - whether that be teachers, neighbours, friends, the mailman, or even the staff at the local store. So I decided to whip up some simple stamped bookmarks and notebooks featuring some of my fave Banksy stamps to give out.

For the notebook, I started with a plain, kraft cover notebook (purchased from Kmart). I used Dina Wakley acrylic paints, applied with a brayer and layered randomly to add some colour. I then took the recently released Victorian Flower Background and used it to stamp a border around 3 sides of the cover.


Next, I chose the fabulous Banksy Wall Singer for my feature image on the cover, before I also stamped the Banksy Life is Beautiful as the accompanying text. I love how it turned out! I paired it with a pen before wrapping it up.


After I created the notebook, I decided to re-visit a project I have created previously and shared here - bookmarks. (You can find my original watercolour bookmark post HERE) This time however, I wanted to use a more minimalist style to showcase some cool Banksy stamps. 


I started by cutting some smooth white cardstock into strips measuring 2x8.5". I then stamped a focal Banksy image onto each one, and an accompanying quote as well. 

Here is a list of all the stamps I used on the bookmarks (as shown from left to right above):


I also stamped the back of each bookmark with the Banksy stamp.

Once they were all stamped, I used Faber-Castell gelatos to add a splash of colour to each one. I wanted to keep them simple, so I only used a single colour on each one and left the focal images uncoloured.


I then took all the bookmarks and laminated them, trimming off the excess laminate with a trimmer.

I then punched a hole into each bookmark and added a variety of twine, tassels and a metal charm to decorate them.


I am so happy with how these turned out and cannot wait to gift them to their new owners! Thanks so much for stopping by so I could share this with you. I hope I have inspired you to create some special handmade appreciation gifts for the people in your lives too. 


Stamps used:
Victorian Flower Background
Banksy Wall Singer 
Banksy Life is Beautiful
Banksy Man on Bicycle 
You Only Live Once
Banksy Frida Kahlo 
Banksy Just Because
Banksy Spray Can Cop 
The Unicorns Made Me
Banksy Einstein Protestor 
Banksy Love is the Answer
Banksy Girl Floating with Balloons 
She Was a Dreamer
Banksy Ladder Painter
Banksy Gas Mask Flower Girl 
Where is My Mind?
Banksy Child Sitting 
I Hope You Know
Banksy Swing Girl 
She Spread Her Wings
Banksy

Other materials:
- Plain notebook
- White cardstock
- Tsukineko StazOn ink
- Faber-Castell Gelatos
- Dina Wakley acrylic paints
- Laminating sheets
- Assorted twines, tassels and charm

Wednesday, December 05, 2018

November WINNERS

We have a couple November Winners to announce ...

The voted winner is : TINDALOO!!!


Our randomly chosen winner is : Kapree Clark...

Please email me @ deedee430@gmail.com with your shipping address to claim your prize!

Tuesday, March 20, 2018

Watercolour Bookmarks | Sue Plumb


Hi everyone! 
Sue Plumb here today to share my latest design team project with you. I have been inspired by some of the fabulous tags that some of the team have produced lately and wanted to try my hand at something similar. Being the practical Virgo I am though, I really wanted them to have a purpose, so I decided to make some new bookmarks for my daughter. (She reads constantly and is always losing her bookmarks.)


I wanted to create something colourful (she loves colour) and also something that was a little bit quirky, but also with positive theme for her.
I started by cutting some white cardstock into pieces measuring 2.5x7"; then stamped the background patterns on using Staz On ink.
The stamps I used for my three backgrounds were:


Once I had the backgrounds stamped I added the watercolour using Colour Blast Colour Shimmer Dust, which I mixed with water and applied simply with a brush. (I used the colours Paris; Peacock; and Velvet.) I then set them aside to dry while I moved onto the focal images.


I used some of the left over cardstock and Staz On ink to stamp out the images that were to be the focal points.
The three stamps I used were: 


I used Faber-Castell watercolour pencils to apply colour to each of the images, which I then blended out using a water brush before cutting them out

I then chose 3 quotes to add to each bookmark:

I stamped them onto cardstock; cut them out; then blended a small amount of watercolour pencil over the top. I then used Miracle Tape to stick the images and quotes onto my backgrounds before putting them into a laminating pouch and running them through the laminator.


Once they were laminated, I cut around each of the bookmarks. I used a hole punch to add a hole to the top of the blue one before tying a small tassle to it with twine.


My daughter was THRILLED with her new bookmarks, so I think there will be more of them being made at some stage. (I think these would make great little thank you gifts / teacher presents / party favours for older children - anyone who loves to read, really!)  


Thanks for stopping by so I could share this with you. I hope I have inspired you to get inky too!


Stamps used: 

Other materials:
- cardstock
- Staz On ink
- Colour Blast Colour Shimmer Dust
- Faber-Castell watercolour pencils
- Miracle Tape
- laminating pouch
- cotton tassle
- twine

**Note: the book pictured is called "Nevermoor" by a wonderful Australian author called Jessica Townsend who lives locally to me. I highly recommend this book for anyone who has children that are Harry Potter fans, my daughter loved it**