Showing posts with label xmas silhouette collage. Show all posts

Monday, November 06, 2023

First winter card by Cathy N

 Goodmorning, Cathy here with my first winter card of the season. 

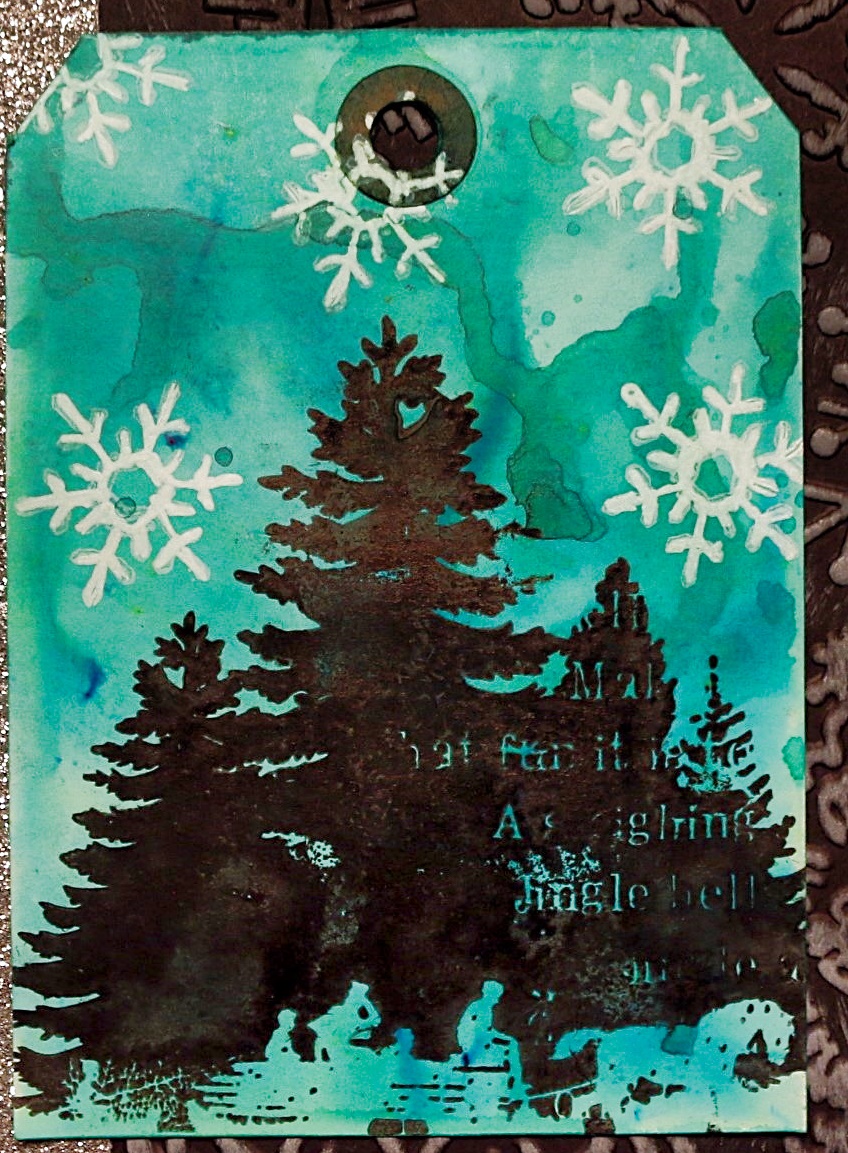
I started out with a half of a tag and some Lavinia dinkles. I used pine green that gave me some greens and blues. 
I stamped Xmas silhouette collage on the bottom of the tag in black ink and then I used white ink and stamped medium snowflake on the top. 
I then embossed blacked cardstock with a snowflake embossing folder. I rubbed the white ink pad over top to highlight the snowflakes. Next, I added that to a white card base.


Lastly, I took a strip of sliver glitter paper and added to the side and then added the tag I made and that is my card. 

Stamps Used:


Tuesday, November 10, 2015

Christmas Pocket Letter

Hi my dear crafty friends!

It's me, Susanne, today and I'd like to share a Christmas Pocket Letter. I have so much fun doing Pocket Letters altough I don't treat with them. I save them and send them to friends from time to time. Most of my Pocket Page layouts start with one full picture that I cut into nine pieces. For this one I used Distress Inks "Tumbled Glass" and "Pumice Stone" to create a watercolor background. Before I cut the cards I stamped a tree landscape on the bottom. I used the "XMas Silhouette Collage", the "Fir Trees Silhouette" and the "Redwood Trees".

I embellished every single card with different stamps. Sometimes I stamped them directly onto the card, sometimes I cut them out or embossed them. You'll find all stamps I've used at the end of this post.

I added some "snow" to every edge of the cards for a little bit more interest. I used texture paste together with Distress Glitter "Clear Rock Candy".


Stamps from Viva Las VegaStamps!:
Plate 1411:
Plate 1460:

Other supplies:
Sizzix Dies
Distress Embossing Powder (Fired Brick, Pumice Stone, Broken China)
Distress Ink (Barn Door, Tumbled Glass, Pumice Stone, Wild Honey)
White Embossing Powder
Silver Embossing Powder
Archival Ink (Jet Black)
Texture Paste
Distress (Glitter Clear Rock Candy)
Washi Tape

I wish you a nice day. Happy stamping! Susanne.

Thursday, January 23, 2014

A glittery snowy scene card


Hello! Diana Fisher here with you today for my first blog post as a guest designer with Viva Las VegaStamps for the next three months. I am really excited to be working with the amazing team here, and am humbled to get to play with such proficient stamping and mixed media artists.

If you live in the northeastern part of the country like I do, winter is in full gear right now. You can plan on snowy-day cards and projects beginning as early as late November into late March, sometimes even mid-April if you get the right kind of ice storm.

So break out those stamps — they aren't just for Christmas! I used the Boy on Sleigh Silhouette stamp and the Xmas Silhouette Collage stamp.

Here is a little bit more about my process in a step-by-step guide for you:
1. Cut background paper into 4" wide x 11" high. Fold in half from the top down. 
2. Lightly paint the card stock with watercolors. I used Reeves Water Colour Pan Set I got at Hobby Lobby. 
3. While that dries, stamp onto separate card stock the boy and the tress. I use Bazzill Coconut for my stamping when I am not coloring the image in with Copics. 
4. For the boy, I stamped using a mix of Soft Pool from Hero Arts and Coal Miner from Quick Quotes. For the tress, I used Field Greens from Hero Arts, Coal Miner from Quick Quotes and Aloe Vera from Tsukineko. I used a variety of similar shades to create depth and shadows in my stamping. I keep the edges darker and work inward with the lighter colors. 
5. I also discovered a new love — the Gelly Roll Clear Glitter pen from Sakura. I used it on the edges of the sled blades and the boy's shoes as well as the edges of the trees to create a shimmery embossed look without using embossing powder. 
6.  I put those aside to dry and then moved on to making the hills. I used templates from Kiwi Lane and cut the hills out of POW glitter paper from AC. I then used foam adhesive to pop the silver hill up off of the dark grey hill.
7. Now it was time to assemble. I used the Miracle Tape (1/8 inch) to mount all of the pieces on my card. It was perfect for putting glitter paper on water-colored paper and then again for putting my stamped images on glitter and water colors. Some adhesives don't work so well on slightly damped or rough surfaces and the Miracle Tape worked really well!


To finish it off, I added some sequins, sparkles and a sentiment tag I had in my stash. 

Thanks for stopping by here today to see my wintery card using Viva Las VegaStamps! It's not too late to work on some wintery cards — which is always a great excuse to burst out the glitter!


Sunday, November 10, 2013

A Wintery Tag + {SALE}

Did you know -- the first Sunday of every month we do a free demo at a local place called The Crafting Place? It's located on Russel -- and we always do some sort of new mixed media technique and some stamping! For November we delved into some wintery snowflake goodness.


The technique we explored this month was all about using Clear Embossing Powder (Like VLVS'S Ultra High Gloss) to emboss images (In this case the Small, Medium and Large snowflakes) into the background of our tag, creating a resist.  We then built up layers of Distress Stain in broken china and brushed pewter with a bit of water to create a wintery sky. Splatter a little stain and Glimmer Mist then.. Iron off those embossing powdered snowflakes to reveal the halo styled resisted goodness!


You can see the beautiful effect that the ironing does for the background. You could leave it embossed, but when you iron it off it creates a flat surface ready for more layers and relieves the stress of a broken image due to the mounded embossing powder.
We also used the brand new Xmas Silhouette Collage stamp in Archival Black by Ranger and finished the tag off with some washi tape by Gauche Alchemy, a hand drawn border using Sakura Of America's Archival Micron Pen and some May Arts Ribbon.


ALSO>>>>>

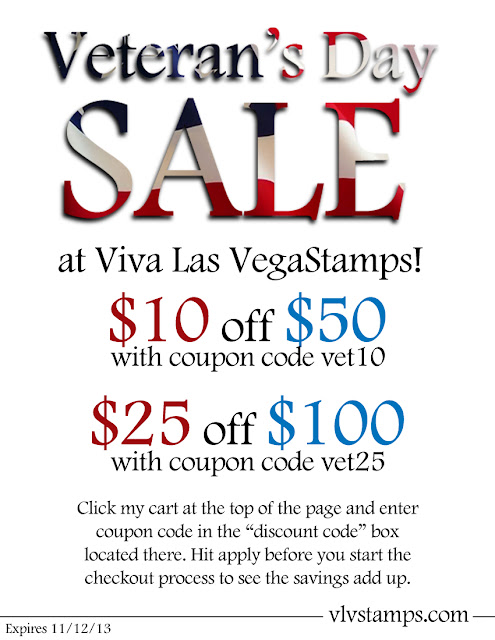
We've got one FANTABULOUS Sale going on in honor of Veteran's Day!

http://vlvstamps.com