Showing posts with label Viva Las Vegas stamps. Show all posts

Tuesday, January 16, 2024

Orca by Tracy Blackwolf


 Hello everyone! Hope you're all keeping warm... My project for today is a nice and simple card suitable for framing.


 This is a big stamp! wont fit on an A2 size card.(4.5 x 5.5) But I love these beautiful animals so this stamp is a must for me.

I stamped it on white heavy stock with black  versa clair ink. I filled in where needed as solid areas seem to always need some help. I used black watercolor paint for that.

I then took some paper towel and covered the stamp and sprayed salvaged patina  and stormy sky on the card. I dried it with heat tool.

Next I took my red line tape and made a frame around the Orca.
I removed the liner and used a sheet foil pretty side up, and stuck it to the tape all the way around.
Its a black holographic foil- so cool! wish the camera picked up the colors better.

Next I used a glitter marker to color all the black on the orca, I wanted a bit of sparkle I used some gilding size or glue to add the dots and used the foil again. last I layered it all on a piece of black cardstock.

and thats it!

Hope you enjoyed!


Stamps used:
Orca, lg.

Other supplies:
Black hologram foil sheet
Red line double stick tape
Distress spray stains- salvaged patina, stormy sky
versaclair nocturne ink


Wednesday, November 29, 2023

The Christmas Tree by Tracy Blackwolf

 Hello everyone!!


Todays project is a tag for the holidays-

First I stamped the tree with dark moss chalk ink and then I painted it with H2o's watercolors.
Next, I spritzed the background with speckled egg spray stain.

Then I used a white acrylic marker to color in the snow on the tree to make it more white.
I stamped the candle 9 times and cut them out with a sharp detail scissors. I then painted thin glue and dipped them into clear rock candy glitter. I painted the flame with the h2o paints.
Next I used a bit of foam tape to put them on the tree. Then I used Liquid pearl and white flock to enhance the snow.
I used red glitter glue for the decorations on the tree. and made a strip of icicles for the top of the tag out of hot glue and glitter. I also used a stencil and texture paste for  falling snow on the background. Its very subtle. To finish the tag, I layered it onto a green cardstock.

And that is all! I hope you enjoyed!

Stamps used:
Christmas tree    18932
Burning candle   12996

Other Supplies:
Liquid pearls- white opal
White acrylic pen
snow white flock
Red glitter glue
Clear rock candy glitter-TH
Speckled egg spray stain
H2O water color paints- Moss green and mustard green


Wednesday, June 22, 2022

Wicked by Tracy Blackwolf

 Hello everyone! Hope you  are all staying cool. Today I did a tag for the blog with a nod to one of my favorite childhood movies~ enjoy.


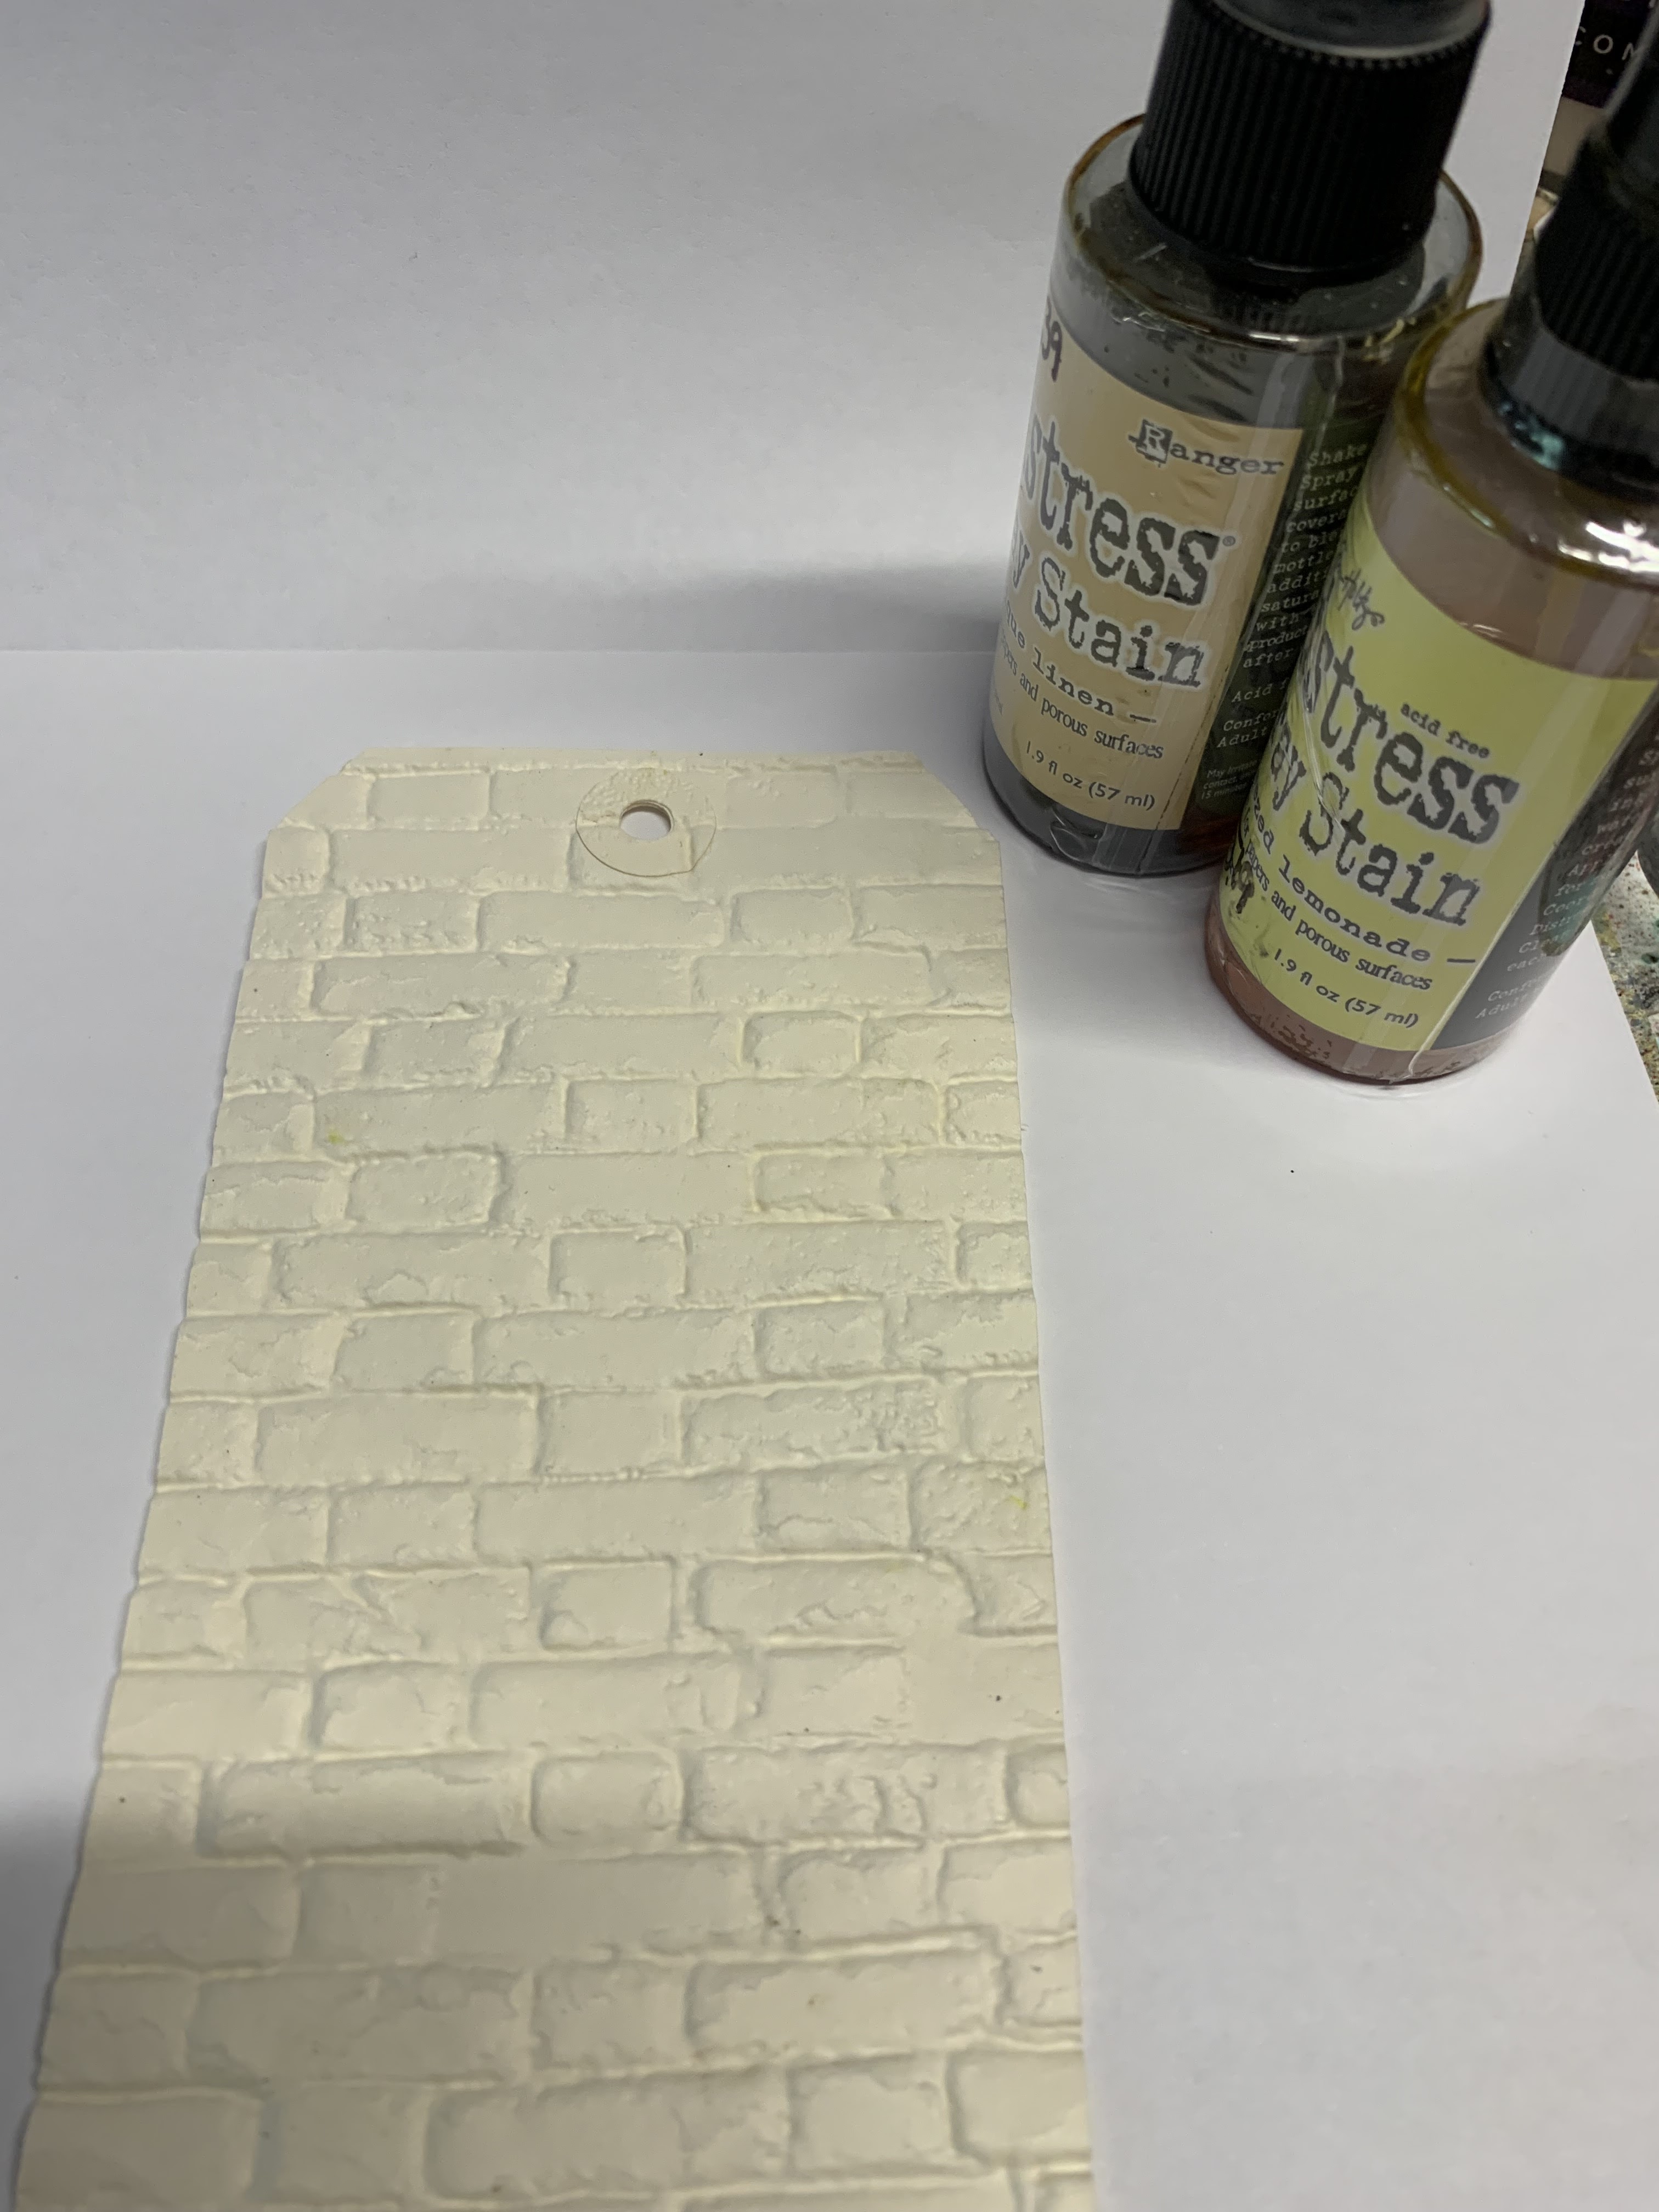
So for this tag I put it in a Texture fade 3D  folder Bricks. Spritz it with water then run through machine.
Then I spritzed the two colors of yellow onto it.

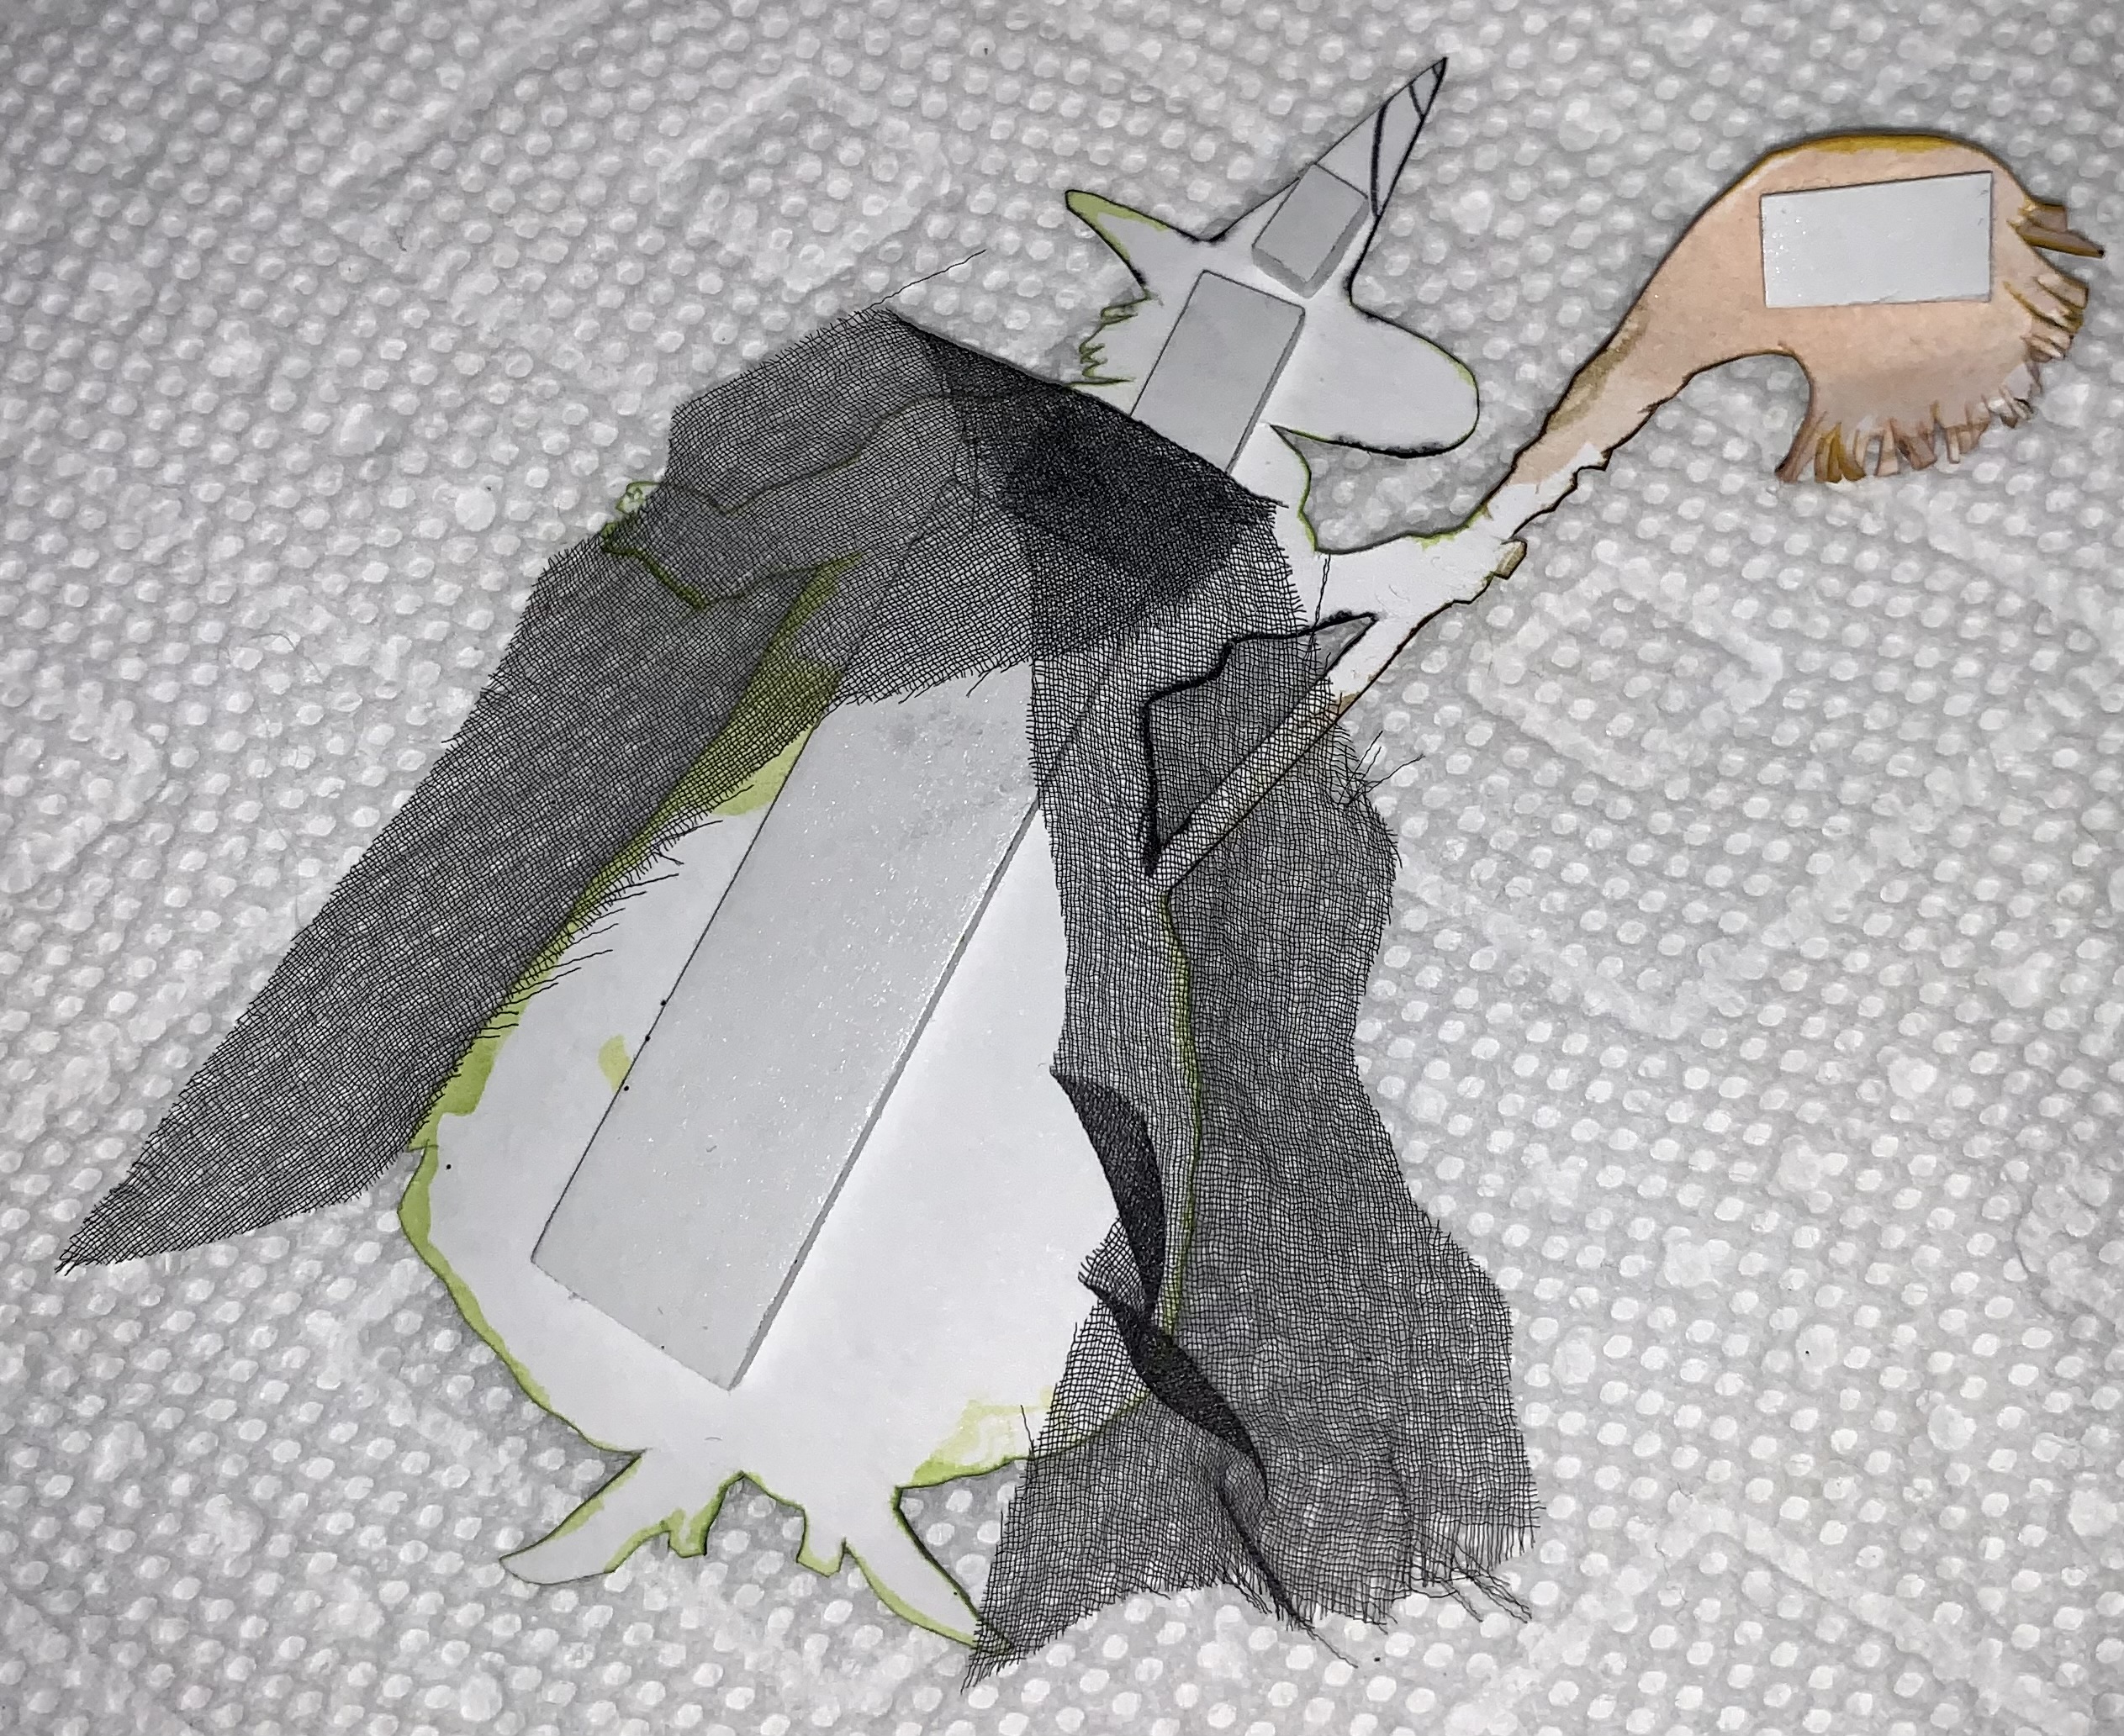
I dried that with my heat tool and then stamped the witch and painted her with  distress sprays  by squirting just a bit onto some plastic and using a paintbrush. I also stamped the legs and put red glitter on the ruby shoes. Fussy cut them out and set aside. I had to figure out the dropped house and came up with woodgrain paper and some pastes.
I painted the paper first with chalk paint and then put some paste on at random. Since I have no patience, I dried that with my heat tool as well and then cut into strips.

Then I started stacking them flat. I used double stick tape to hold them together.
Got the legs placed and more tape. I wanted the witch to have a bit of flow to her cape so I cut a piece of silk and sprayed it with black spray stain. I put foam tape on the back of her and stuck the silk scrap to it.

 So then I stuck the house/legs down using hot glue. everything is far too textured for tape alone and I find it falls apart. Then I needed some earth and foliage texture. I use the moss you can get at craft stores and cut it up small for small things and the 'dirt' is super fine sawdust that I tinted with ink. you can find dirt in the miniatures isle at the craft store though. I glued that on then attached the witch.


Again, I put her on with hot glue. Then I stamped the phrase on some woodgrain paper and painted on the green . I put a strip of Dresden trim at the top and done!


I hope you enjoyed my post this week~ until next time- stay cool and create!

Stamps Used:
Wicked Witch Broom, Lg.         10579
Striped Leggings          19639
Flying Monkeys        10580

Other supplies:
TH Distress sprays: Mustard seed, Squeezed Lemonade, Antique Linen, Twisted Citron, Gathered Twigs

Maker Forte color hive inker: limewired
TH Distress woodgrain cardstock
TH #8 tag heavystock
Red glitter
Chalk paint: Milk jug
TH 3D texture fade embossing folder brick
Dresden trim
Versaclaire ink-Nocturne
hot glue


Tuesday, June 07, 2022

Werewolves of London by Tracy Blackwolf

 Hello art friends!

I have a new card for the blog today- I got the big ben stamp and I knew exactly what I wanted to do with it.....

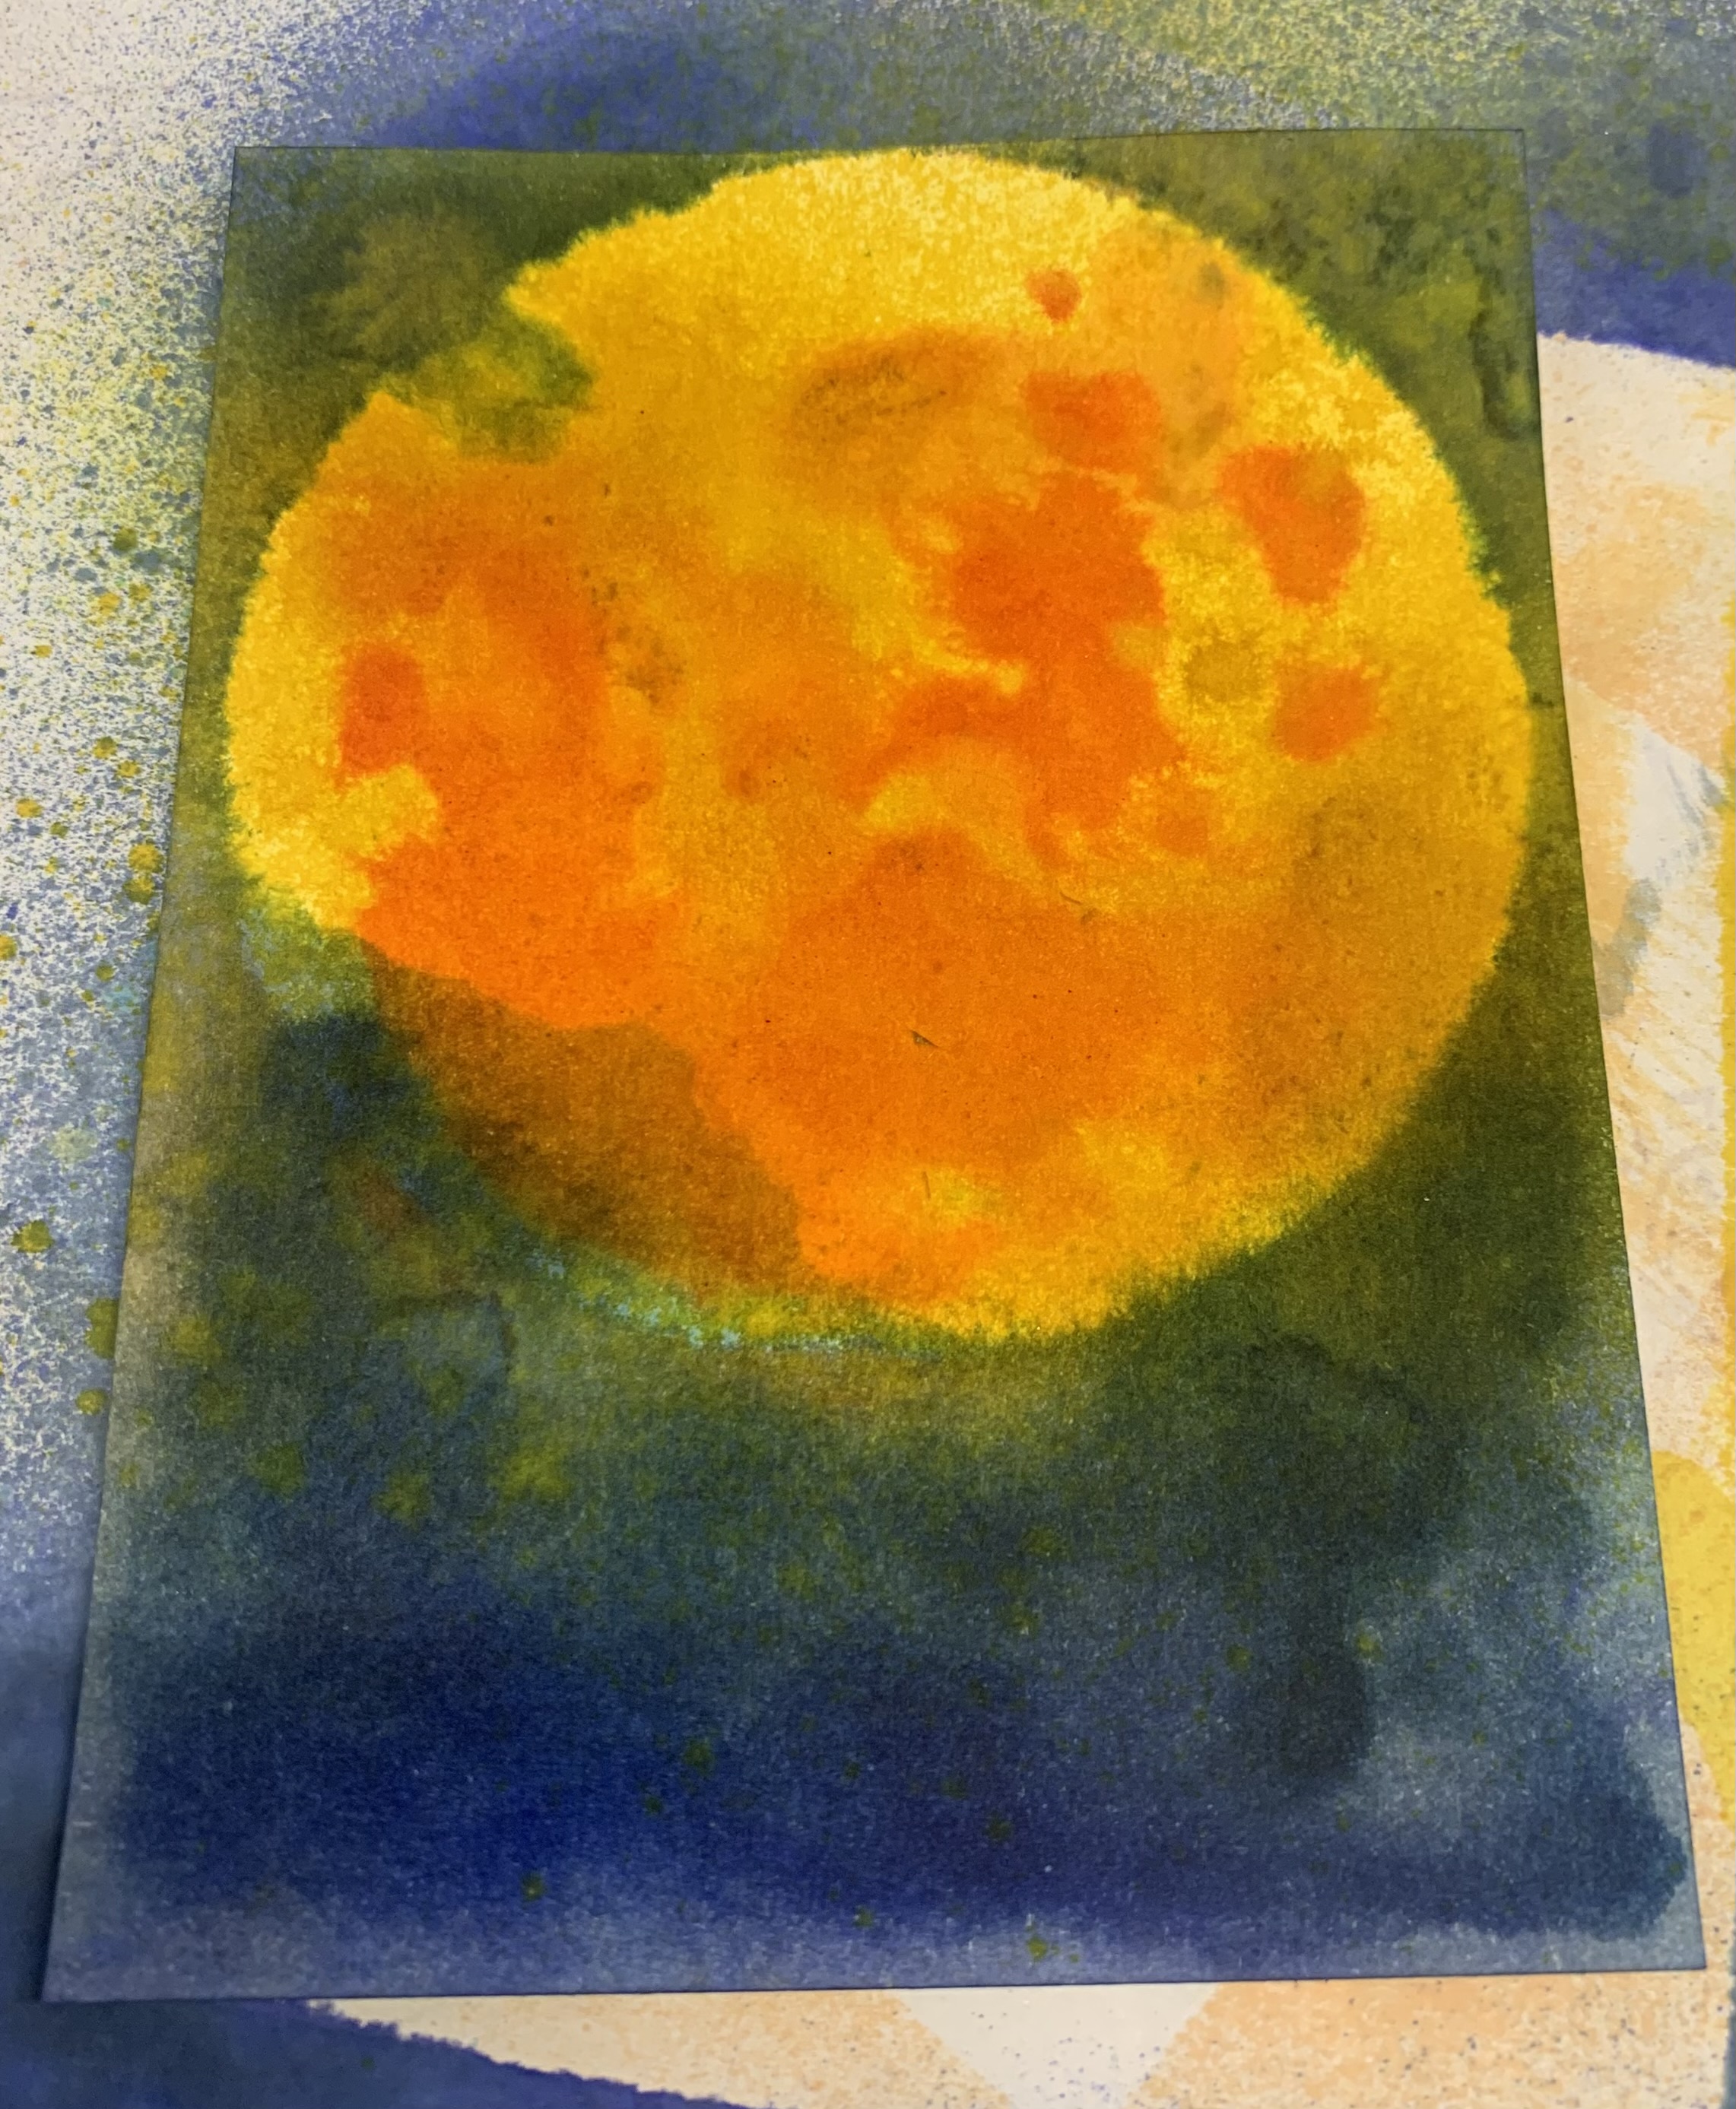
So to start, I sprayed Squeezed Lemonade spray stain onto a heavyweight cardstock. 
Then I got out my moon mask set and used the large one. after I dried the yellow, I placed the mask down and sprayed salvaged patina and stormy sky and blueprint sketch.
The ink does go under the stencil if you do it too heavy, which I tend to do. But that's okay it will just add to the effect. Then I sprayed a little mustard seed to darken the yellow a bit. After dry, Next I put  the second part of the mask onto the moon and sponged some desert heat oranges through.
Next I put the full moon mask back on the moon and sprayed black soot around all the edges of the card. Then I put the second part of moon mask back on and sprayed with speckled egg to give more depth to the moon craters.


I used a paint brush to drag some of the wet black ink into the moon for creepy clouds. Spritzed with water to get the black to run a bit. then dried it and stamped the Big Ben .
Then I got my guys ready, painted and cut out, 3D foam tape on the backs. This is a good time to have some extra stamped images cut out and even colored and ready to go. You can always add more color to fit the project you're doing. I do that when I'm Not feeling project driven but still want to create or use stamps i have or even new ones you're not sure how to use yet.

I found a good font on my computer and made the phrase and inked the paper. I put it on with foam tape. At that point it was done! And that is my blog for today...I hope you enjoyed. Until next time~ stay crafty!


Stamps Used:
Big Ben       19391
Wolfman     19725

Other supplies:
TH moon mask set of 3
Disstress spray inks: Black soot, salvaged patina, speckled egg, stormy sky, blueprint sketch, mustard seed, squeezed lemonade, dried marigold.
Kaleidacolor ink pad- Desert Heat
Computer generated words


Wednesday, March 30, 2022

Happy Place Sunrise by Tracy Blackwolf

 Hello everyone!

Today I have a card that is a happy place ....A house in the woods by the lake.

I hope you enjoy it.

So First I took Some masking paper and stamped the house in black ink and then dried it. Then I took my card and stamped the house on that and dried it. I needed a mask so I could have the trees behind the house.

Then I took the trees stamp and inked with several inks and stamped several times, filling the background with trees. some without re inking. once happy with that I removed the mask of the house to check it before putting it back on.

Then I took my brown dye inks and smashed them on something plastic- can be ink pad lid, plastic bag, etc. I spritzed with water to use as watercolor and painted the tree trunks. I did the same with my sky colors and  proceeded to color the sky.


I kept the mask on as I was painting to keep the house clean for a different color. I kept layering the colors until I was happy with the look of it all. Adding darker colors where needed like the tree trunks. Once I was happy with the trees and sky, I removed mask and worked on the house.

after happy with that I cut some black and some cream colored cardstock and layered it all for a finished card.
I love using what ever I can for water coloring. I love the way the colors blend.
I hope you enjoyed this card... keep arting!!


Stamps Used:
Old House       19741
Redwood Trees       19718
Line of rocks      19720

Other Supplies:
Colorbox chalk ink pads: Dark Moss, Lime Pastel

Versaclair: Pne cone, Morning Mist, Nocturne

Distress spray inks: Forest moss, Speckled Egg, Shaded Lilac, Stormy Sky, Crackling Campfire, Squeezed Lemonade, Mustard Seed, Walnut Stain, Vintage Photo

Masking paper: judikins


Sunday, March 13, 2022

VooDoo by Tracy Blackwolf

 Hello all! Here is my project for this weeks blog. Hope you enjoy.


So for this project, my main base is a resin frame I made. 

I painted it with white gesso and then used spray stains to add color.


I dried it with my heat tool and then glued on the resin skulls and also painted them.
I painted the voodoo man with twinkling H2os  and fussy cut him out. for his skull face Used pearl x watercolors as the white is very white. The brown inks I used for the part of his face that is not skull like.
Its hard to see on the photos but hopefully you can see well enough. After his paint job, I stamped and fussy cut and painted the skull and bones. I found a plastic snake in my stash and ended having to cut him in half to get him to lay the right way. love that hot glue gun! You can see the bottom half of the snake glued on the back of the frame. 


Once I got my parts done and voodoo man put on the frame I finished putting the rest of the embellishments on. some creepy candles, some moss, a resin bone, a resin crow for his hat. The realistic skull peeking from behind the frame....
And that is it! Done!
I hope you enjoyed my New Orleans inspired project~ until next time, Keep arting!


Stamps used:
Humerus bone     19728
Realistic skull       19724
African American gentleman      20419

Other supplies:
Disstress ink: Walnut stain, Vintage photo
Pearl x watercolors:white
Disstress spray stain: Speckled egg, Forest Moss
Twinkling H2O's : Black, red
Zuri mould : lover of darkness
Finnabair mould: frames
Candles: TH