Showing posts with label Boy in Tub Boat. Show all posts

Wednesday, November 20, 2024

Always be on the lookout.... by Tracy Blackwolf

 Hello friends,

I made an art tag for the project today~ enjoy.

For the tag I started with salvaged patina distress spray. covered the tag and then used a paint brush to watercolor the vintage photo and weathered wood in opposite corners.

Once that was mostly dry, I used a paint brush and picket fence to start to put the clouds in.
You have to let the clouds dry a bit  and then add another layer. Once they are dry you can back with the thicker white high lights.

Next I fussy cut the boy in tub and colored him in using watercolor pencils and rusty hinge DSS.
I added transparent moth wings foe whimsey.
Next I added the phrase sticker. I also added a flat back clear gem to the telescope.
I used foam tape in a double layer to make the boy in tub pop off the tag. and that's it!

Stamps used:
Boy in tub boat    19542


Other supplies:
Transparent moths  TH94403

DSS- Salvaged patina, vintage photo, weathered wood, picket fence

clear flat back bead


Friday, June 30, 2023

Independance by Tracy Blackwolf

 Hello Everyone!!

Here is my art tag project today reflecting the holiday upon us here in the US.....


I kept this tag On the simple side. To start I inked my flag stamp with two different ink pads. I wanted a grunge look for my grunge flag, so after stamping it .I spritzed the imprint with some water. 

Then I sprayed some Vintage photo distress spray around the edges of the tag .I used a paint brush to move the color around so it didn't get on my flag too much.
Then I stamped the writing in brown at two corners. I stamped the boy in tub boat and colored him in. Then fussy cut him out.

 I used double thick foam tape behind him to give extra dimension on the tag. I cut a length of ribbon for the tag and put some red and blue ink on that too. Attached it all to the tag and done!


Hope you enjoyed~ 

Stamps used:
Grunge American flag        20611
French writing background        20646
Boy in tub boat          19542

Other supplies

Distress inks:Vintage photo, Stormy sky, Blueprint sketch, Lumberjack plaid, Tattered rose, tea dye, pumice stone, lost shadow

Versaclair- pnecone
colorbox chalk ink: Blue lagoon, warm red
Foam tape
Ribbon
Gel pens: White, gold sparkle, reg sparkle


Monday, November 21, 2022

IMAGINATION by Fran Chalmers

 Hi everyone!

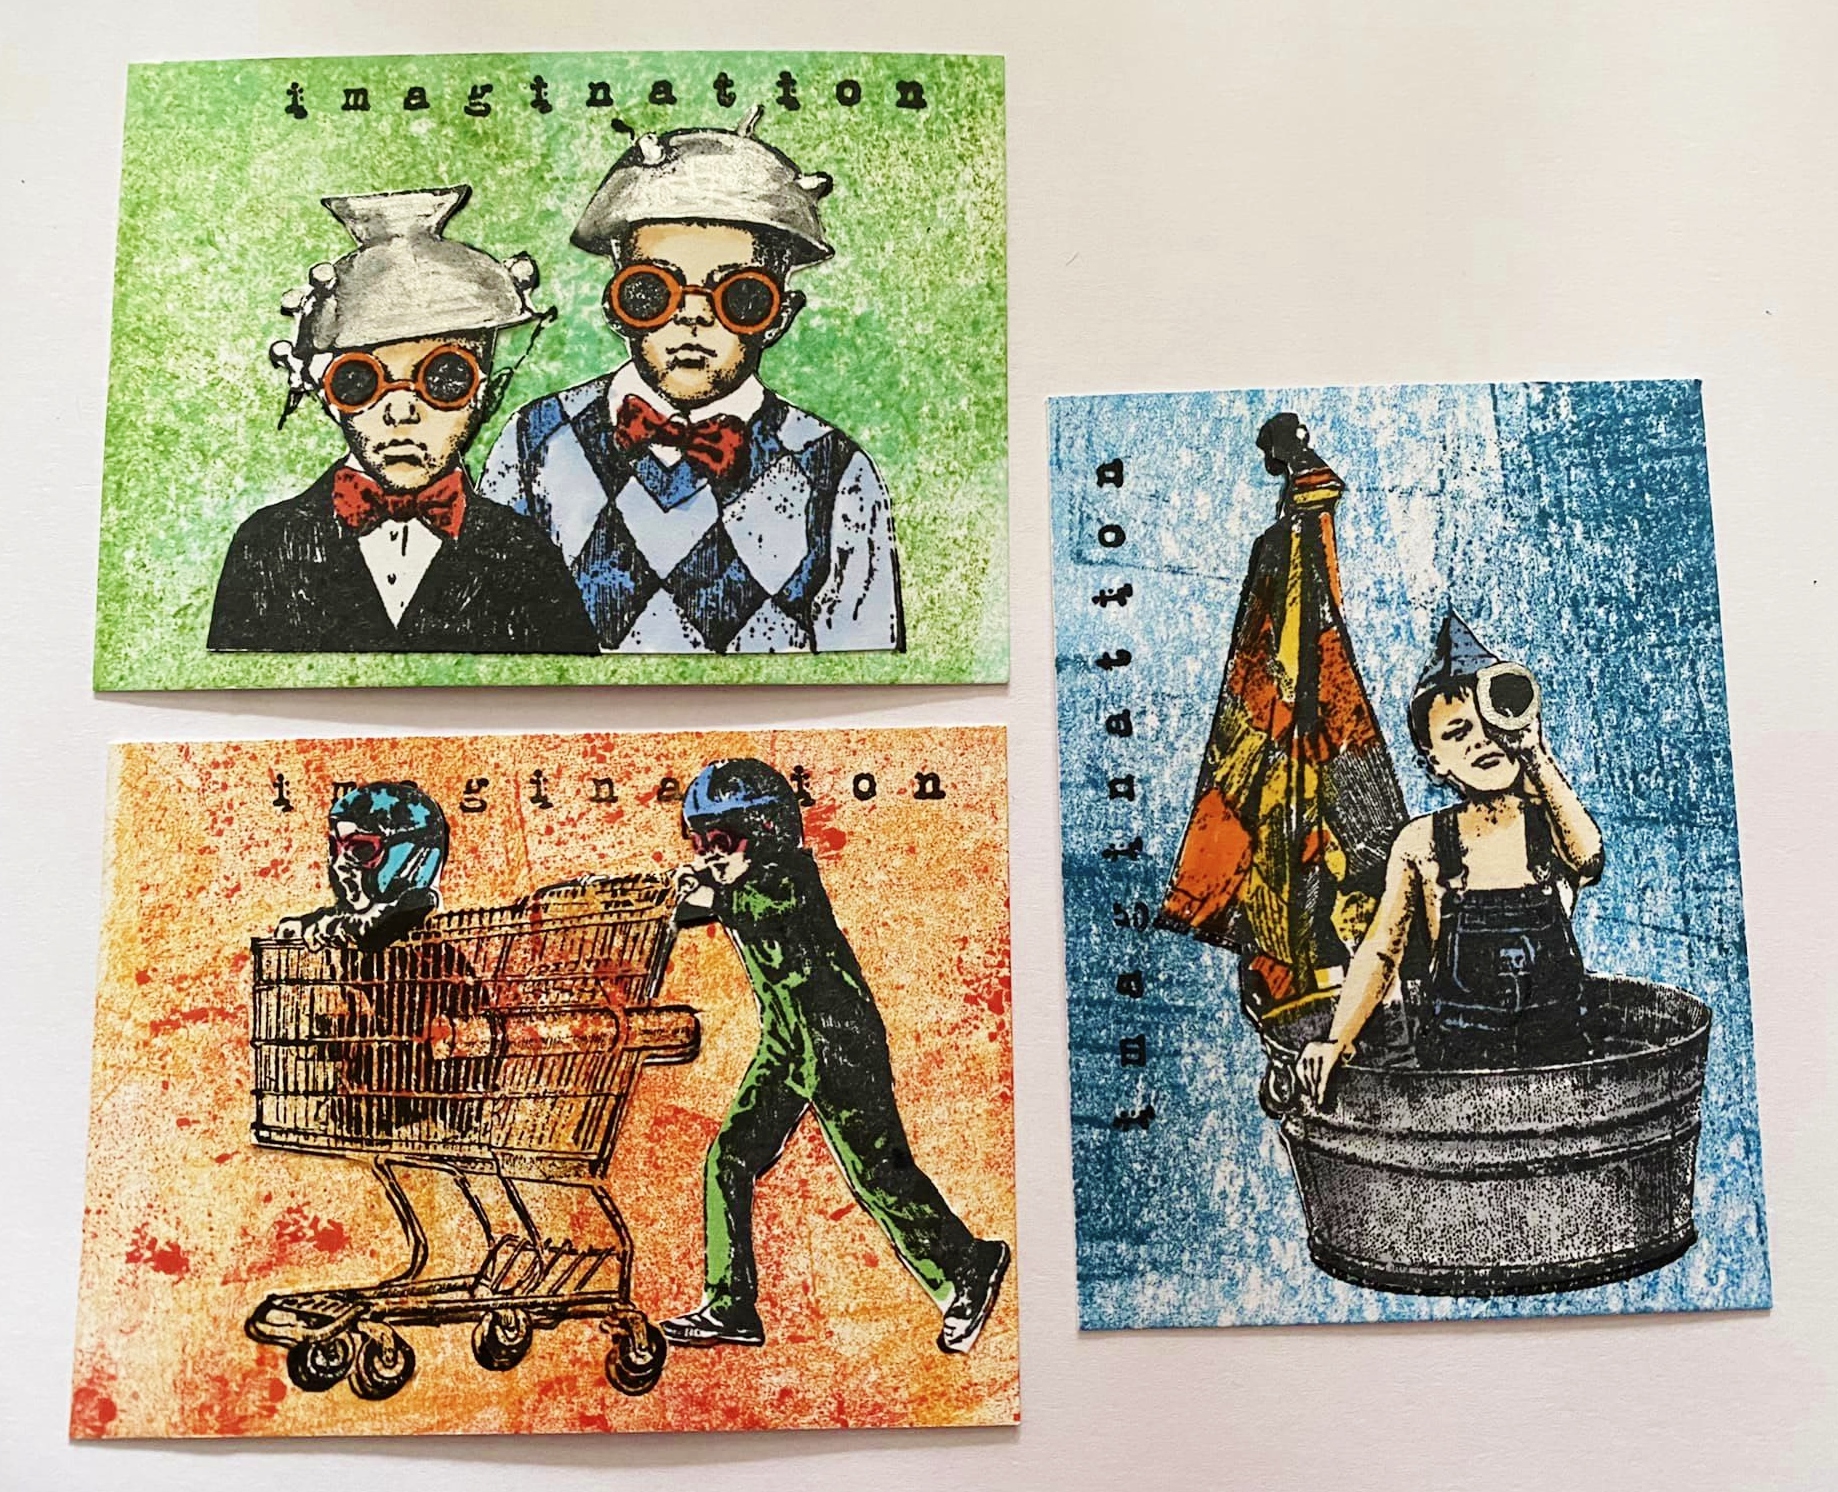
Today I have made three ATC's. Children have great imaginations when playing, which I am showcasing with these stamps.  


First of all, I stamped out all the images onto thick paper, using my stamping platform to make sure no detail was missed.  


I made all the backgrounds using distress inks and a small brayer.  Once I had made the backgrounds, I coloured the images, cut them out and stuck on to the backgrounds.


(I can see I've missed a bit of colouring on this one - will have to sort that!)


I added the word "imagination" on each ATC (leaving out the "pure" part of the stamp)


Stamps Used:

Other Items Used:
Distress inks in Spiced Marigold, Candied Apple, Cracked Pistachio, Mowed Lawn, Salty Ocean, Uncharted Marine
Small Brayer
Memento ink in Tuxedo Black
Copic Pens
Chrome Pen

See you next time!


Tuesday, February 07, 2017

Don't Waste Time Being Normal - Art Journal Page by Fiona

Hello VLVS peeps! Fiona here with you today to share a little art journal spread I have created. I also have a little step through picture process for you.


I had no idea what I was creating when I started this and I'll teach you the value of gesso at about step Five!

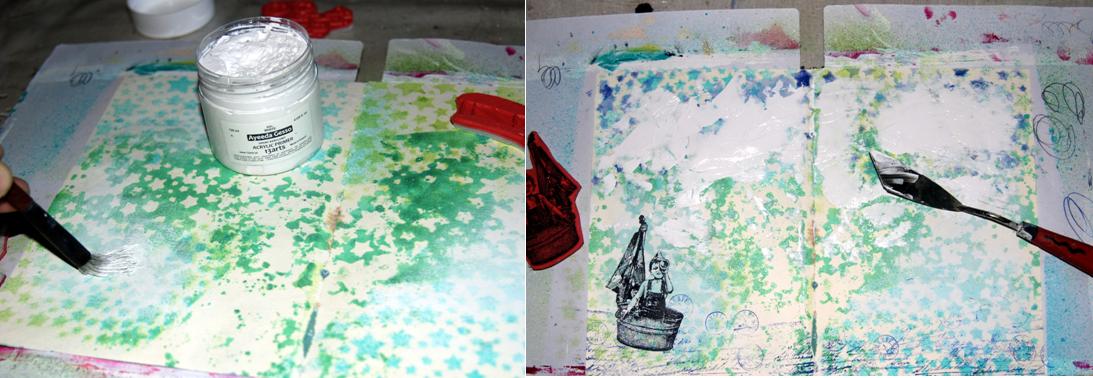
 To begin with, I knew I wanted to use the UmWOW Studio star stencil as I wanted to create a sky effect. I masked the pages off so I didn't get a sharp edge line from the edge of the stencil when I sprayed. It sort of worked LOL


 I also flipped the stencil over and used up the extra spray that had accumulated on the top and pressed out down to make a revers pattern of the stars across the middle of the page. So you can see that my "star sky" was now all over my page .... Oh well ....


I rectified this slightly by adding some different pigment ink colours through the stencil. I made sure I chose a darker color too so it would stand out just in the sky area. Again there was so much ink left on top of the stencil that I just couldn't bear to waste so I got out my baby wipe and wiped it across the stencil and created another layer of stars.


I applied some gesso lightly to the areas I wanted to stamp on. This helps the stamped image stand out but also gives the ink some tooth to grip onto. This is where I stuffed up...... I stamped an image of the boy in the boat no worries but the glider .... well let's just say this is the point where gesso is your friend! Now I have clouds in my sky!!


I emphasised the "ocen" part of my page with some more spray but rather than spraying it, I simply added it via the dip stick.


Some more stamping .... of course ..... because once you start you just can't stop. I used my title or quote stamp to create not just a title but also a part of the ocean. I love doing this with stamps.


Then I got all fancy and added some texture! This is a mixture of 1 part Glossy Accents and 1 part water. It makes a really runny sticky glue. Then I add some micro beads and mix it all up. This allows them to be added to the page easily with my brush..... the hard part is leaving it all to dry!


While I waited .... I did some more stencilling with some heavy gesso to add some textured stars to the top of my page. When it was all dry I traced around some of the stars and added some black gesso lightly over the top (now it was night time!) and I drew in some waves in the ocean with a graphite pencil ... a 4B I think .. nice and soft.


And then it was pretty much all done.


 A few black ink splatters to finish it off and I had made something LOL!


VLVStamps used:

I hope you enjoyed my little creation. See you all again soon xx


Wednesday, September 30, 2015

Adventurer Journal


Hello all you stamping fans out there. I had another notebook in my stash I wanted to alter. 

So here is the book completed. Spots of blue and the map across and the light stain of paint... I just had fun I really did. 


So first I started with some Distress Paint in Antique Linen spritzed with water. 


I smoothed the paper into the puddle and then dried it. 


Next I used the stamp Map of the World - 19340 with Distress Ink color Old Paper.


Then I used some other colors to create a water puddle. Ink mixed with water. 


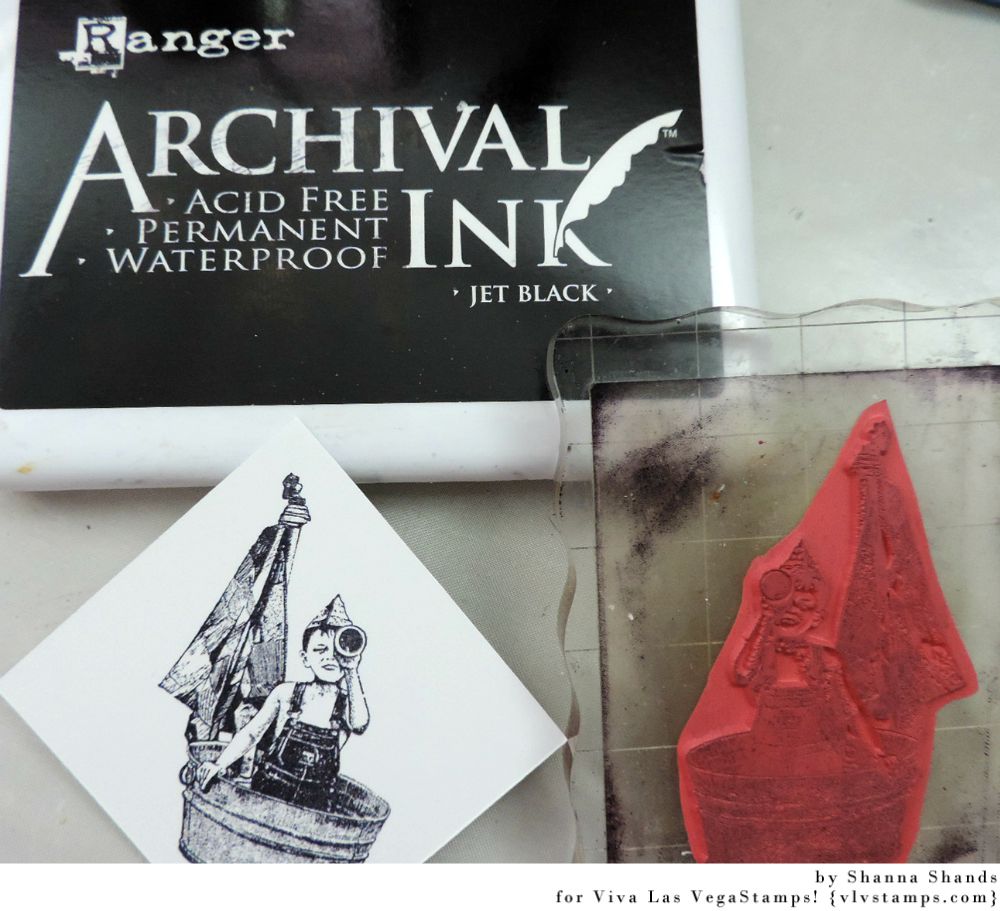
I used the stamp Boy in Tub Boat -19542 with Archival Ink. Then I cut it out. 


I also used the stamp Color Wheel Lines - 19338 with the color Pumice Stone. 


Here are some close ups. You can see the splotchy way the ink worked but I love it. 


 I also used this last stamp Be An Adventurer - 19173 with Pumice Stone to add a sentiment to this book cover. 


I just love this little boy as he reminds me of my little guy. 


Thanks so much for stopping by today!

Stamps Used:


Friday, January 09, 2015

January Guest Designer : Georgia Heald

Today I'd like to introduce you to our January Guest Designer Georgia Heald. She is one super talented girl and I'm so excited to have her on our blog. She's joining us with a card and a tag, both so beautiful.


Hi, I'm Georgia, I'm 38, from Tasmania Australia where I live with my husband, teenage son and furry cat baby. I would describe my style as modern grunge with a real love for art mediums and stamping. I create mostly 12 x 12 layouts, cards and journals with the occasional off the page project and canvas. I currently design for Prima Marketing & The Scrapbook Diaries. I am absolutely thrilled to have been invited to be guest designer this month at VLVS!

My blog: www.startingtoscrap.blogspot.com.au


Seek Paradise Card


This little guy is so adorable, as soon as I saw him I could see him sailing across the ocean in search of something. So I decided to create just that. I have cut a piece of Ranger Claudine Hellmuth Studio sticky back canvas to fit my card, stuck on a craft mat and prepped with Gesso.


Once dry, I have painted my background using Studio Calico Color Theory acrylic paints and adhered to my card. I have then stamped my Boy In The Tub Boat stamp on a piece of Ranger Inkssentials matte coated cardstock and cut him out. I have kept him in black and white as I really wanted him to pop out from the background. And finally finished with the Seek Paradise stamp also on the matt cardstock to finish.


Product List
Boy In The Tub Boat Stamp
Seek Paradise Stamp
Studio Calico Color Theory Acrylic Paints, Ranger Sticky Back Canvas, Ranger Matte Coated Cardstock, Ranger Archival Ink in Black

Why Hello Tag


How sweet is this little girl! I really wanted to keep her the focus of my project so decided to do a small gift tag with her. I have created my background using watercolors, modeling paste and a stencil. I have then stamped my Girl In A Princess Costume onto some Ranger matte cardstock with archival ink. I have then cut her out and sprayed with some Micador Fixtative which makes the ink run just slightly giving her some grey shading. I have then used some watercolor paints to color several small pieces of tissue paper and once dry, stamped her onto each and cut out the layers of her dress to add to my image. I have added a few little embellishments and then using another piece of tissue paper, stamped my Why Hello title. I have then added this using a gel medium to my tag. Using tissue for your stamps is awesome when you have a textured background and may not be able to get a complete stamped image.


Product List
Girl In A Princess Costume Stamp
Why Hello Stamp
Micador Watercolor Paints, Micador Fixative Workable Mat Spray, Ranger Inkessentials Matte Coated Cardstock, Studio Calico Wood Veneer Stars, Prima Marketing Art Basics Heavy Gesso, Prima Marketing Art Basics Modeling Paste, Prima Marketing Art Basics Gel Medium Matte, The Crafter's Workshop Stencil, Prima Marketing Ingvild Bolme Junkyard Findings Wings Trinket, Chain & Jump Ring, Ranger Archival Ink in Black