
Hello friends! Aimee here happy happy May!
I have a lovely mixed media card to share with you today.
Here's a shot of most of the supplies- we're using watercolors and chalk markers.

Let's work on some watercolor paper.
I started with a piece approx 5x7" and cut it down when the piece was finished.
First, add some random watercolor to the paper in colors that you like.
Once you're satisfied with this you can either set it aside to dry, or dry it with a heat tool.
Once dry, choose a stencil with large open areas (this one is from Dylusions). Use the chalk markers through the stencil. When you remove the stencil you can soften the edges of the designs with a damp paint brush if you want.


Now let's stamp a little on the back ground. I used the x's from plate 1495- ya really should get this plate- especially if you like to art journal or do mixed media work. Stamp with black permanent ink.


Once you like your background, it's time to trim it down to fit a card. I like to work on a larger piece of paper and then trim it down when it's finished so I have nice clean edges.
I used a Waffle Flower layering die.

Mat your background onto black card stock.

Now get out your stamp postitioner (you'll want this because you're stamping a fairly solid image onto watercolor paper). Place the panel inside and line the stamp up, approx in the center of the panel. Stamp with black permanent ink (I use Archival Ink) as many times as needed (I stamped twice).
Next, adhere the finished panel onto an A2 card (mine is a top folding card) with foam adhesive. I use fun foam sheets.


Color your lady in whatever way ya fancy. I just gave a little embellishment with gold & white gel pens.

Now, if you know me at all, you know my card motto is "no naked insides".
I stamped this gorgeous flower inside and added a little accent with a gold gel pen.

What type of flowers do you like?
I like alllll the flowers, but my favorite flowers are actually tulips and hyacinths.
Since I don't have either of those in my stash, I used this Tim Holtz/Sizzix set to make flowers for this card.
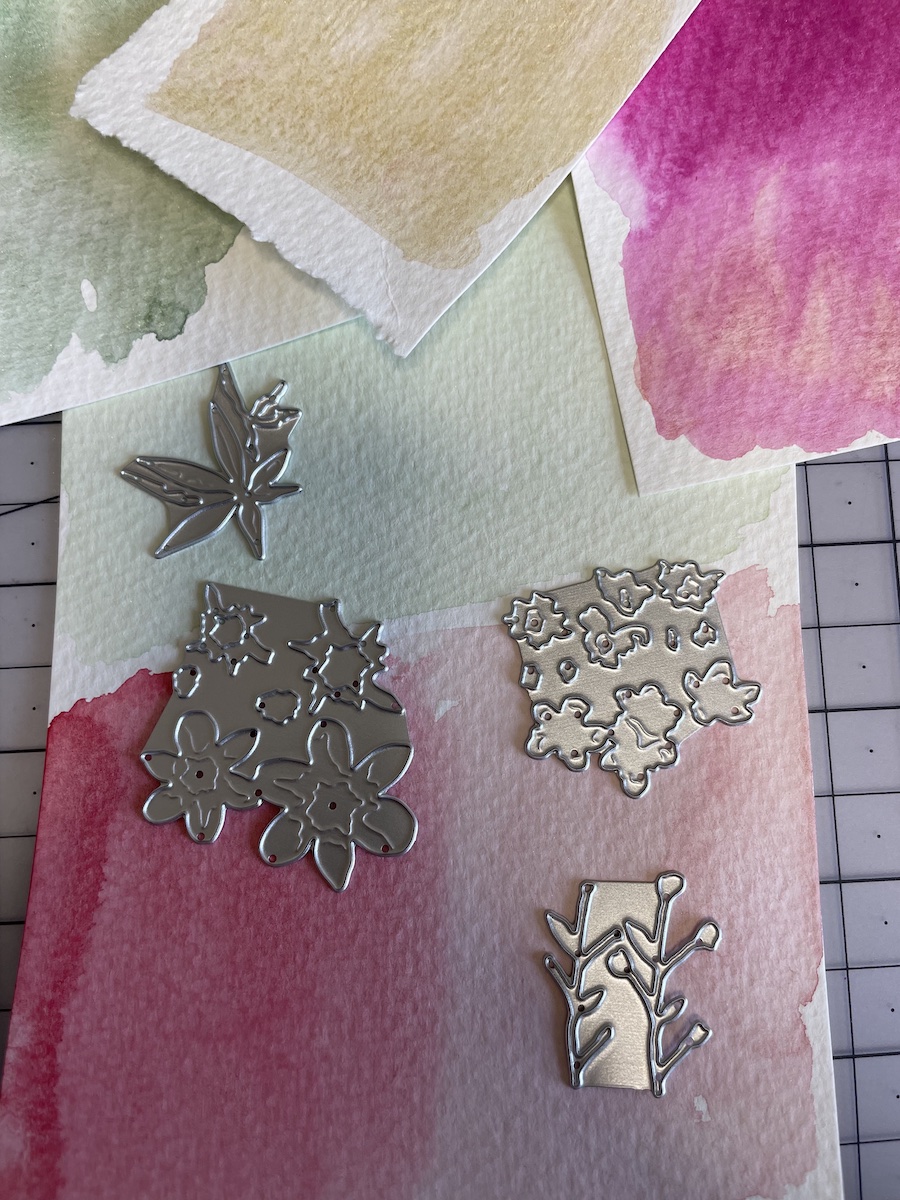


First, I watercolored some paper using the same paints that I used for the panel. Got 'em dry, and cut out the flower pieces.
Once my flowers were assembled, I inked the edges of some of them with Archival Ink (Jet Black of course).

Aren't they pretty!
I started layering the flowers by putting the first few onto the card glued flat. Then I started adding flowers with foam adhesive for some dimension.


Stamp the sentiment on a scrap of white card stock. Trim and edge with black ink. Add to the top left corner of the card.

Supplies-
- A2 card base, watercolor paper, adhesives, trimmer, die cut machine, gel pens, water, paint brush
- black card stock
- heat tool if you're impatient
- Tim Holtz/Sizzix die set (or whatever flowers you prefer)
- Waffle Flower A2 layering dies (or just use your trimmer)
- bling
- Archival Ink (Jet Black)
- watercolor paints
- chalk markers
- plate 1478
- xxx marks- single-plate
Come see me on my You Tube Channel and at my blog 😍
No comments:
Post a Comment