Showing posts with label Sassy Stamping. Show all posts

Sunday, August 23, 2020

Mail Art Monday Sass

Hello Again Crafty Friends!!!

Happy Mail Art Monday! 

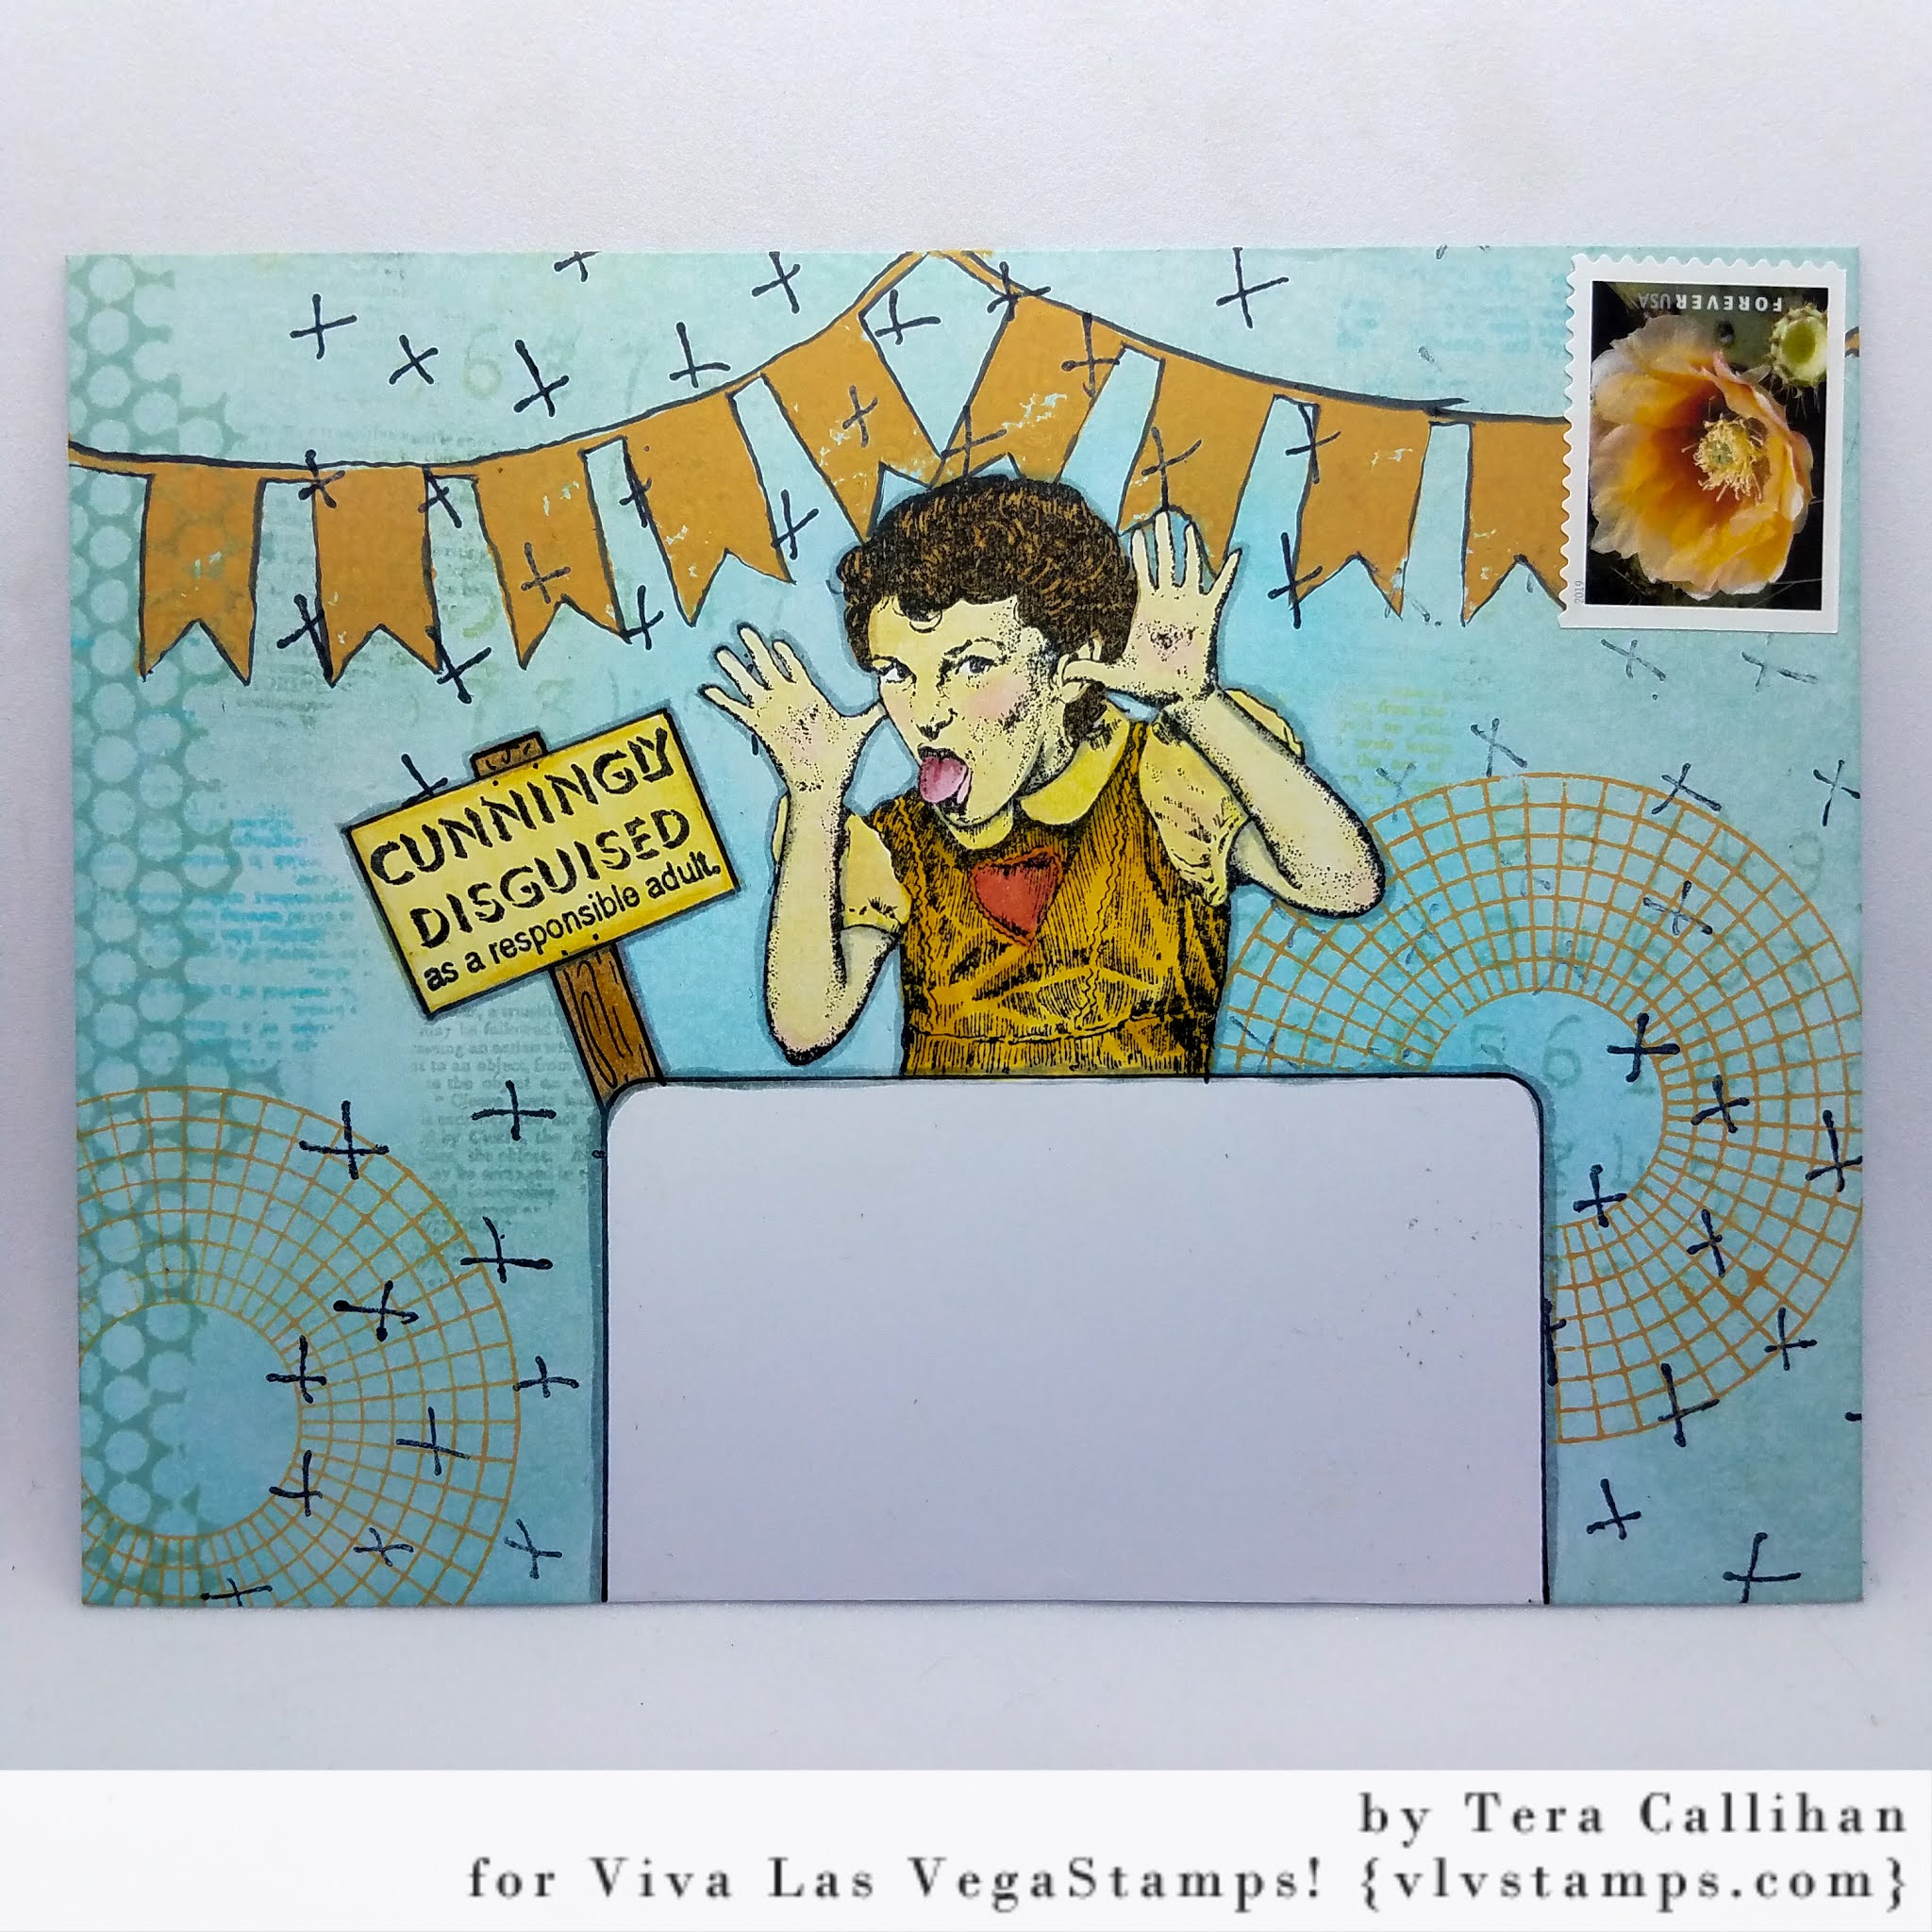
Today I want I share some snarky I made for my brother... 
I'm sure his mail carrier will be amused...


Stamp Used- 


(the snarky saying is a sticker by Dyan Reaveley)

I hope you enjoy this fun little pair.


Sunday, July 12, 2020

Mail Art Madness

Happy Mail Art Madness...

Oops, I mean Monday.... 

(or do I? I just started Keto on Thursday, so I'm definitely feeling some madness cutting my favorite food group ...carbs <3)


Stamps Used:


I started by stamping "Girl making face" and "Cunningly disguised". I then drew an address block, and a signpost to hold the quote.  With the base started I then masked off the main images.


Using a combination of Distress inks in: Speckled Egg and Tumbled Glass (both oxide and originals). I then added a layer of ink over everything , and began adding background detail stamps.


To add depth I stamped my cross marks in black archival ink. 


The banner was stamped in "Spiced Marmalade" Distress Oxide ink


With the same ink I used for the banner I stamped the color wheel lines, then removed my masks.


I just love the reveal after all that inky madness...
To finish I colored my focal images, then found a matching postage stamp to tie everything together. 


I hope you have enjoyed this little tutorial and bit of sassy mail art!!!

Tuesday, May 05, 2020

Simply Sassy... CAS Card

Hello Crafty Friends!

Today I want to share a little snarky card with you!
(I know we could all you some laughs right now.)

I chose to do a CAS (clean and simple) style card, as I felt the quote and image spoke for themselves. 

Stamps Used:


I hope this card brings you a chuckle like it did me! 
Stay safe and well!


Sunday, June 23, 2013

Panties In A Bunch- Canvas by Pinky

Hey there VLVS friends,
It's just me Pinky- here today with another heartfelt touching projects- 
JUST KIDDING...it's another sassy project of course! 

I love making canvases and to be honest I start out with perfectly 
good intentions of making them beautiful and heartfelt but in reality
I always end up putting something sassy on them...I mean it is from my
mind and I do have so many great saying from VLVS. 

Today I am using Plate 1397 Images plus alot of GLITTER PAINT
To create this fun- girly canvas just for my friend. 
It reminds you to have a huge heart, be a wonderful person
but also have a great sense of humor about life. 
 And how could I go wrong coating it in GLITTER paint, I mean
that's pretty much the best thing next to a new Viva Las VegaStamps stamp!
Enjoy your day- Thank YOU for stopping by and sharing in the fun!
Until next time- Keep on creating!!!

Products Used:
Viva Las VegaStamps Plate 1397 Item 18872 Angry Lady & Item 18875 Women Who Don't
8X10 Canvas,
Clear Scraps Frame & Banner Pieces, 
Brick Mascil,
Glitz Design Sentiment Card,
Extreme Glitter Folk Art Paint, 
Prima Pearls, 
Clear Accents Gemstones, 
Clearsnap Smooch Spritz & Metallic Inks,
Glassine Papers. 

Monday, March 18, 2013

Wear SASSY As A Badge Of Honor!

Hey there Viva Las VegaStamps friends,

Guess who? Oh yea it's me Pinky! You know the sassy one.
I have a fun project today. 
You know since I hit my late 30's and begun the slide into 40
my sass has come out loud and proud!! I mean you only live once so why not. 

Have you seen this saucy little number? Plate number 1404?
Not gonna lie- pretty much the best plate evah!

I was looking at all these fabby quotes and decided why not make myself
a badge of sassiness to wear when I am feeling extra snarky.
Here's how I create my "Badge Of Sass"

Stamp Viva Las VegaStamps image onto heavy duty cardstock. 
I used 2 colors of brown and gold. 
Spritz image with a sealer such as Preserve Your Memories Spray. 
Coat entire stamps piece in Glossy Accents. (You could use Utee or Crackle is you wanted).
Set aside to dry for 4-24 hours. Paper will warp.
 Take a strong piece of thick acrylic (I used Clear Scraps) trim to size of badge. 
Trime dark background cardstock to same size. 
Using Miracle Tape to adhere stamped image to dark cardstock. 
Adhere to front of acrylic sheet to smooth out any warping that occurs from the 
Glossy Accents or sealing layer. 
Tarnish using alcohol inks OR StazOn inks. 
 Adhere piece to PIN backing. 
 Wear with pride! After all if you do not have your sense of humor what do you have?
Have fun with it. I think I will make a badge for every one of my friends.
We can has "Badge Of Sass" day!

Until next time- Keep on CREATING my friends!

Supplies Used:
Glossy Accents
Spray Sealant
Alcohol Inks
StazOn Ink
Cardstock
Badge/Pin