Showing posts with label Distress inkpads. Show all posts

Monday, June 19, 2023

Embossed blended card by Cathy

 Hello, Cathy here with an embossed blended card for you. 

I started out with some white cardstock and white embossing power along with 20343 Victorian flower background. I embossed it.
Then I wanted a sunset blend of colors, so I took a red, orange and yellow distress ink and blended them over the embossed image. When I was happy with the colors, I took a paper towel and got it a little wet and went over the embossed image to take off the excess color. Splattered it with water and picked up the water with a paper towel. 
I then stamped 19512 gnome skeleton male and 19511 gnome lady skeleton on some scrap white cardstock and cut out. I glued them to the bottom corner.

I trimmed the blended background and layered on black then white cardstock and finished it off on a brown card base. 

                                                                    Stamps Used:

                                                         19512 gnome skeleton male

                                                         19511 gnome lady skeleton

                                                         20343 Victorian flower background

                                                                   Other items:

                                                                  Distress ink

                                                                  blender brushes

                                                                  white,black and brown cardstock

                                                                 white embossing power


Monday, August 17, 2020

Tag Tuesday


Hello Crafty Friends!!!

Today I wanted to share this vintage tag I made.


Stamps Used:


I started by using scrapbook paper to create a 3x6 in tag.
(this paper was from one of my Tim Holtz pads)


I stamped the row of numbers along the left side of the tag to add details.  Next, I used a scrap of scrapbook paper popped up on pop-dots.
On top of that, I added my typewriter (also popped up on pop-dots).


Next, I used tumbled glass distress oxide ink , and water to add drips and drops around the edges.  I also used ripped scrapbook paper with flowers to add a pretty vintage feel.
 (I did ink around the ripped pieces before gluing them down).


To finish I mounted the tag on matching blue card-stock.  I stamped the postcard atc in 2 colors in the upper right.  I stitched around the tag, and used cracked pistachio distress oxide spray inks to add extra distressed goodness.  

To finish, I added some Tim Holtz stickers, and a clip.

Friday, December 07, 2018

FINDING MY WAY ► Majo


Hello crafty friends!

It’s my turn today to show you the beautiful butterfly stamp along with all the other images on my project.

 
This 
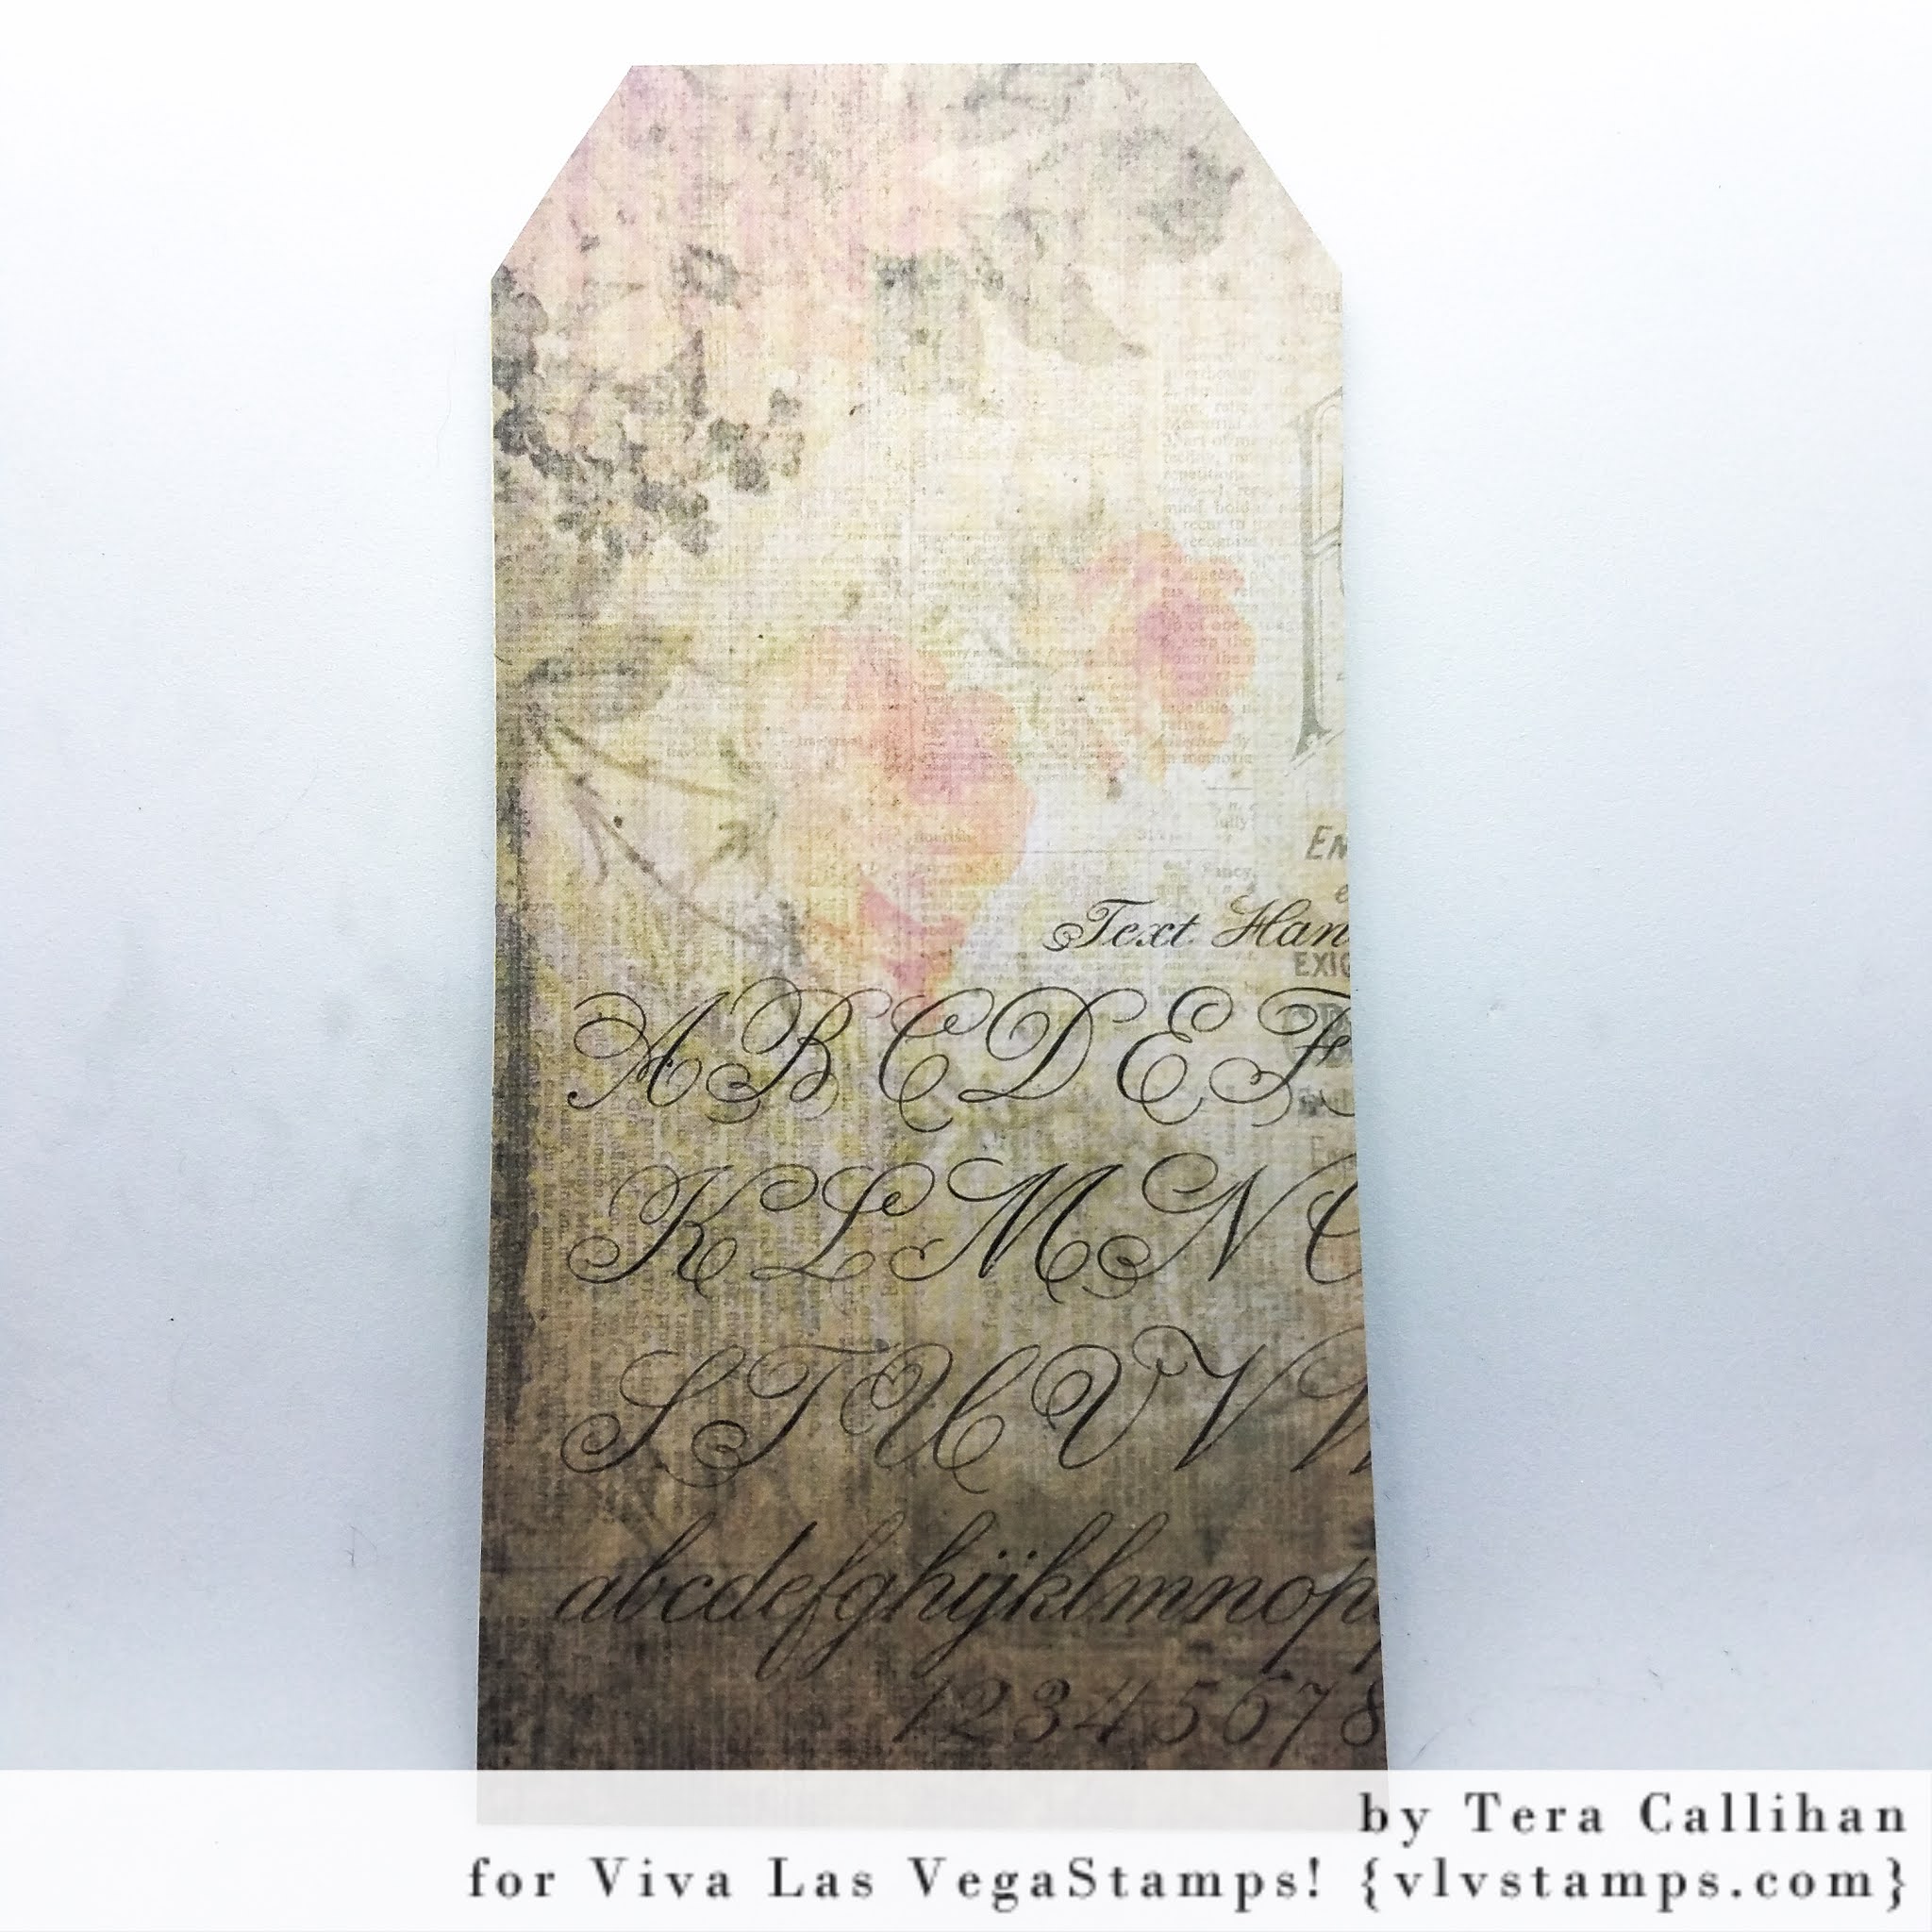
time I decided to make a ticket card. The ticket is a die from Studio Light, a Dutch manufacturer. Even though this die is meant to be folded together I liked it better this way.

I started by cutting the panels from cardstock, the smallest one is watercolor paper so I was able to spritz water on it.

After adhering the two larger layers together with miracle tape, I set them aside and started working on the smallest one.

I swiped a Distress ink pad (Fossilized Aber) over the paper and added drops by splashing water with a brush which I dipped in different colors of distress oxides. I used Broken China, Worn Lipstick and once again Fossilized Amber.

After stamping the beautiful butterfly and all the other stamps for the background texture, I cut some flowers from paper I had in my stash and added some coordinating colors. A sentiment finishes my ticket card.


 I used the following stamps:
You are beautiful 19832 from plate 1471

I also used Miracle Tape, Studio Light STENCILSL99, Sizzix Wildflowers 661190
 and Tim Holtz Kraft-Core Cardstock.

Thank you for stopping over, Happy Crafting


I wish you all a wonderful time until Christmas!

Saturday, December 01, 2012

Teddy Bear Holiday Card

Yup, the silly season is upon us.  I don't do much for the holidays but I always need a card or two, so that seemed a good project for this month.


Supplies:
Viva Las Vegastamps!

Season's Greetings 1 x 2 1/2 Item 18944 Plate 887

Bear Reading/Large 3 3/4 x 4 1/2 Item 7694 Plate 279


8 1/2 x 11 inch Charcoal Cardstock
Kromecote A2 Cardstock 4 1/4 x 5 1/2 Package Of 10

Tim Holtz Distress Inkpad-Tea Dye

Encore Ultimate Metallic Inkpad-Bronze, Pink, Blue
Ranger Archival Inkpad-Black
Versamark Versafine Inkpad-Clear


Ultra High Gloss Embossing Powder 1 oz.

Ranger Antiquities 'Christmas Tree' embossing powder


8 inches May Arts Ribbon
Spectrum Noir Alcohol Markers DG3-Green and CR11-Red
Stewart Gill Byzantia Filagree Fluid
White Gel Pen, Silver Gel Pen

Scissors, Stamp block, heat gun, 3D foam dots, Fantastix Coloring tool brush, 

Using the Ranger Archival Black, I stamped the Bear Reading image.  With the Fantastix Coloring brush tool (foam applicators with a pen-shaped tip), I colored the bears using the Distress Tea Dye and Encore Metallics. Once dry, I cut it out and set it aside.


I folded the Charcoal cardstock in half, and stamped the large tree image with the Versamark,  and embossed it with the 'Christmas Tree' embossing powder.  I repeated this for the smaller tree stamp.  Then I inked up the 'Season's Greetings' and stamped it at the top of the card.  I re-inked and re-stamped until I had Seasons Greetings all over the card. I used the Ultra High Gloss embossing powder to emboss this time.


The Encore metallic inkpad colors I have are in the little mini size, so I just tapped them all over the card, heat dried, and then used a baby wipe to pick up the color from the 'Season's Greetings' (embossing powder acts as a resist).

I use 3D foam dots to add the bears, and then finished by adding the filagree fluid.  It's basically like puff paint, and it puffs up like popcorn when you heat it.

After coloring 8 inches of May Arts Ribbon red and green with the Spectrum Noirs, I tied it into a bow and glued it to the inside of the card.

I wrote the sentiments in silver and outlined the words in white.  It didn't scan very well, but says 'Here's a wish for you, All tied up in a bow..., ...for health, wealth and happiness wherever you go!


Check out the VLVS! Store for all your stamping needs and the  VLVS! Blog for new projects and news every day. Follow VLVS! as the VLVS! Forum - VLVS! FB - VLVS! Pinterest - VLVS! Twitter.