Showing posts with label Weathered Tree. Show all posts

Monday, October 30, 2023

SPOOKY OLD HOUSE by Fran Chalmers

Happy Halloween everyone!

Today I have made a card topper/tag (I haven't decided yet!) which is a bit spooky!


First of all I blended my background with Distress Oxides in Twisted Citron, Mowed Lawn and Wilted Violet.


 I then went round the edges with Element Ink in Dark Denim.


I used a moon mask and added the Dark Denim round the outside so the moon picked up the Twisted Citron underneath.  I then stamped the old house and coloured parts of it with a black pastel pencil.  I also used a bright yellow gel pen in the windows.


I added some tree branches round the edges and stamped the raven onto a piece of thick paper, and added Blueprint Sketch distress ink to the white parts (their feathers do have a bluish black tint, don't they!)


Once I had stuck the raven onto the tag, I used a Titanium White pan pastel to give the impression of mist.


As I haven't decided yet how to use this tag/topper, I didn't put any sentiment on it.  I quite like it without anything on it and I hope you do too!


Stamps Used:

Old House 19741

Raven Looking Up 20269

Weathered Tree 19467

Other Items Used:

Distress Oxides in Wilted Violet, Mowed Lawn, Twisted Citron, Blueprint Sketch

Versafine Clair in Nocturn

Elements Ink in Dark Denim

Black pastel pencil

Yellow gel pen

White Titanium pan pastel

See you next time!


Monday, December 19, 2022

DREAM BIG - by Fran Chalmers

Hi everyone - and Merry Christmas!

Today I have made a postcard using the lovely unicorn stamp!


First I made the background.  I wanted it to be fairly dark so I blended distress inks in Uncharted Mariner and Villainous Potion, leaving the middle lighter.


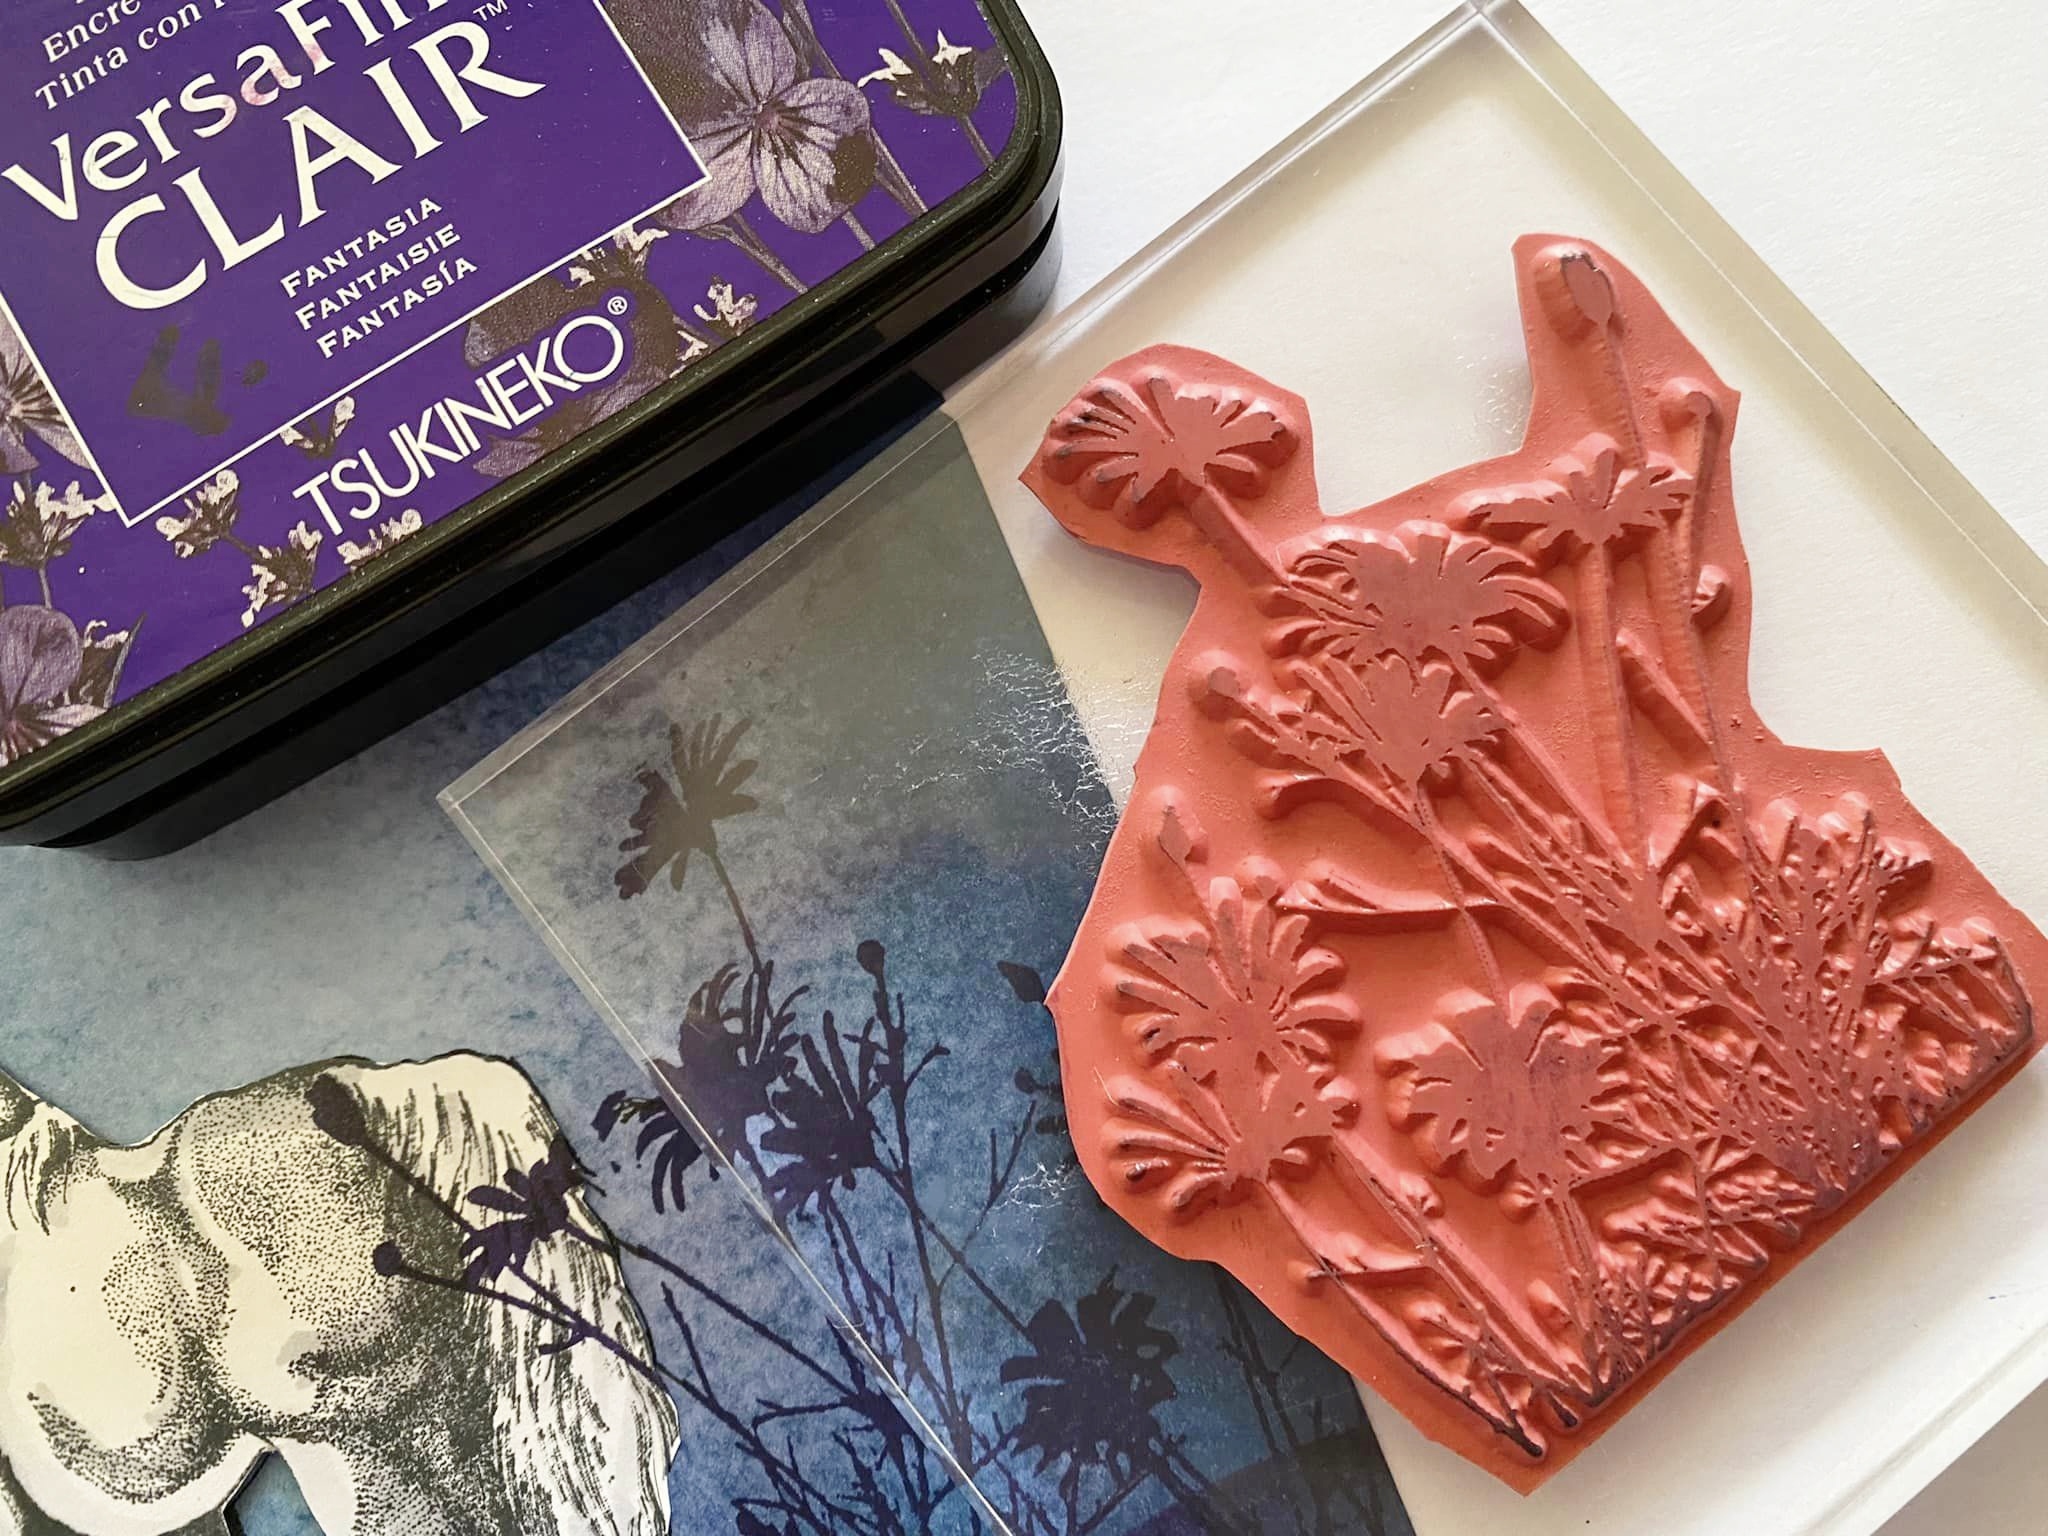
I then stamped the edges with the tree branches - I used Versafine Fantasia because I didn't want it to be black ink.


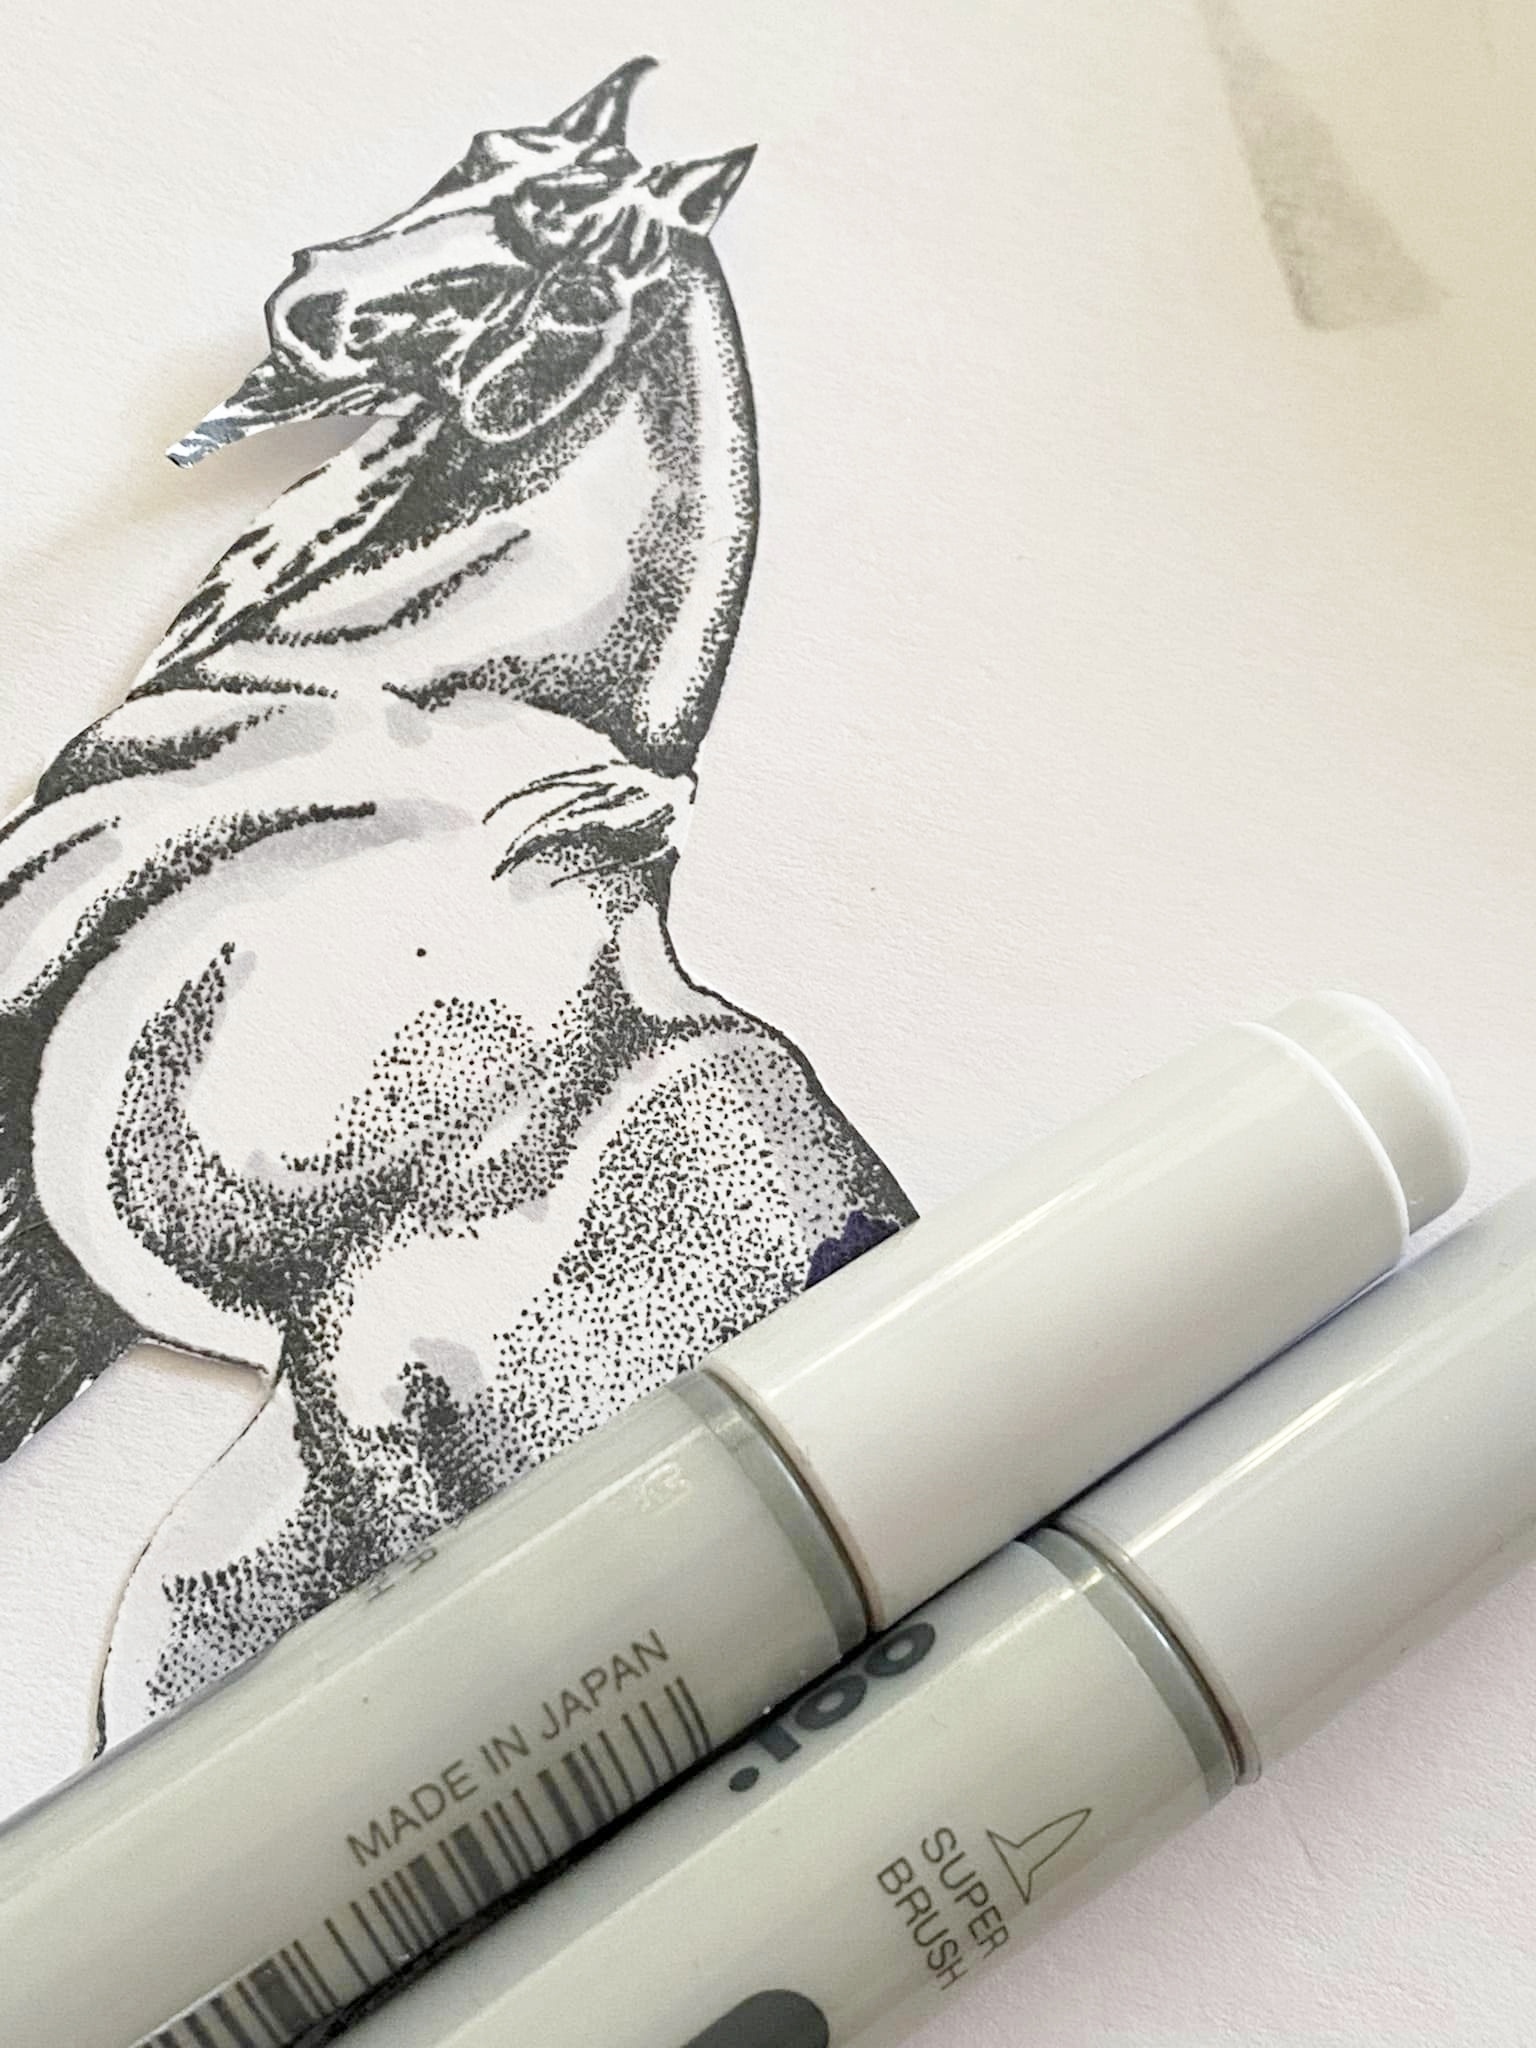
I stamped the unicorn onto thick card and coloured it with copic pens, just for some shading.


I stuck the unicorn onto the postcard, then stamped the plants over the top.


I used a moon mask to make a moon behind the unicorn's head, and went round the edges with a white pastel pencil to give it some definition.


 I stamped and embossed the sentiment in white, and made some dots as stars with a white gel pen.


Lastly, I used a white gel pen to make some rough marks on the plants, to represent the light from the moon


I love the contrast of the white and blue together.


Stamps Used:

Other Items Used:
Distress inks in Uncharted Mariner, Villainous Potion
Versafine Clair ink in Fantasia
Memento Ink in Tuxedo Black
White Gel Pen
Moon Mask
Ground Mask
White Pastel Pencil
Versamark ink
White Embossing Powder

That's all folks! See you in 2023 :)


Tuesday, July 28, 2020

Not everything in black & white makes sense with Josefine

Hello and welcome back to the VLVS! blog. I'm sharing a new page in my zine art journal using a bunch of different stamps - some of which that were in the grab bag that I got just recently. 


The page already had a background. You can see what that looked like in my first post about this journal. I simply added a bit more stamping on top. All in similar colors with a mix of Distress Oxide and Distress Inks. Btw, the tree is not blurry. I stamped it twice, once in a lighter shade of blue and then a second time in a darker shade of blue.


The tree needed someone next to it. I wanted to make sure that the image of the statue is crisp, so I used a stamp block and put a piece of foam underneath the page - both things that help with getting a detailed image.


Since the background was rather busy, I needed a bit more to make the statue stand out. I used the Distress Inks and Oxides as watercolors and colored the statue in. Once that was dry, I went over the stamped lines with a very fine micron pen.


In the end, I added a sentiment to the right and a few more patterns to outline the sentiment.


And to add just a bit more texture, I decided to adhere the postage stamp to the top left. This has been laying on my desk for months now and I finally felt that I found a good spot for it.


If you haven't seen it yet, here is another page in the same journal.

Stamps used:

Thanks for stopping by and see you next time :)


Monday, February 25, 2019

Best Selfie Ever | Sue Plumb


Hi everyone! 
Sue Plumb here to share my latest design team project with you. Today I have a mixed media scrapbook layout to share that features an assortment of VLVS stamps; a painted background; and (what I consider) my best selfie EVER!


During my recent trip all the way from Australia to Arizona to attend Creativation, I was lucky enough to also squeeze in a day trip to the South Rim of the Grand Canyon. The canyon has been number one on my bucket list of places to visit for as long as I can remember, so to finally tick it off was an absolute dream come true!  (And hence why I have called this my best selfie ever.)

To compliment my photo, I chose to use some stamps from plate #927, which features a number of travel themed phrases and images. I decided to pair the stamps with a painted cardstock background using Dina Wakley acrylic paints by Ranger.


To start my page I began by brushing on some of the blue "Sky" paint using a wide brush, then added some of the deep blue "Marine" over the top using the same brush. Next, "Elephant" grey paint went over the top using a small brayer to apply it. Finally, I added some highlights using "Evergreen" with the tip of my finger.


With all the colour in place, it was then time to turn to my stamps to add some depth to my background. I started with the Stitching Lines and Sawtooth Stitching Lines stamps, which I used to add lots of horizontal lines to my page using StazOn ink. This was to mimic the textures and layers of rock I saw in the canyon walls.


Next, I wanted to add some extra interest in the top section of my page around where my photo was going to be placed. With so many lines already on my page, I wanted to use a more organic shape, so what could be more perfect than trees? 
I used the Leaves Blowing From Tree and Weathered Tree, stamping them both out a number of times using "Faded Jeans" and "Iced Spruce" Distress Oxides. I also added some text to my background using the Wanderlust stamp and StazOn ink.


At this point I also added some small torn pieces of woodgrain and chevron print washi tapes before I moved onto creating a layered mat for my photo to sit on. I used a combination of tissue paper, paper doily, tag, small kraft bag and some frayed gauze, which I secured to the page using staples before adding my photo on top.


I love adding things directly onto my photos on my pages, so I decided to stamp out a couple of things that I could adhere to the photo. I used the You Are Here and one of the Set of 2 Hands Pointing, which I stamped onto white cardstock using "Faded Jeans" Distress Oxide, and then cut around them.


Now it was time for the finishing touches. Alongside my photo I added a denim handmade heart from Charms Creations, which I topped with a flair button from Cocoa Vanilla Studio.


For my title, I used a wood veneer word from Corbett Creations and some Cocoa Vanilla Studio alphabet stickers.


I also added a few wood veneer hearts around my page and splattered some copper coloured mist.


The final piece of my page was to add my journalling (although to be honest, I could have written 1000 words about this day and still not come close to expressing how I felt.)


That's all from me today, thanks for stopping by. I hope I have inspired you to get inky too!


Stamps used: 
Stitching Lines
Sawtooth Stitching Lines
Leaves Blowing From Tree
Weathered Tree
Wanderlust
You Are Here
Set of 2 Hands Pointing

Other Materials:
- Miracle tape
- Bazzill cardstock
- Dina Wakley acrylic paints
- Tsukineko StazOn ink
- Tim Holtz Distress Oxides
- washi tapes
- Collage materials (as specified in post above)
- Charms Creations heart
- Cocoa Vanilla Studio flair button and alphabet stickers
- Corbett Creations wood veneer word
- wood veneer hearts
- Colour Blast 'Sienna' Colour Shimmer Spray
- felt pen

Tuesday, June 19, 2018

I Hope You Know... | Sue Plumb


Hi everyone!
Sue Plumb here to share my latest VLVS design team project with you. Following on from my previous post a couple of weeks ago when I shared an art journal page inspired by the June Monthly Challenge; I was inspired to create a full 12x12" scrapbook page that incorporated some of the same design elements. (If you missed it, you can see my art journal page here.)


I began my page with a sheet of white cardstock and stamped out my background design using Staz On ink. The first stamp I used was the Tree of Life - Tree with Roots (which is also the main inspiration image from this month's challenge). I added some variety to my "forest" by also using the Weathered Tree stamp. Besides stamping the full image, I used the very tops of the branches in various places to add depth.


For my foreground I used the Smear/Smudge stamp and repeated the image several times. Then it was time to add some colour. 


I wanted to keep the colour soft and subtle, so I used Faber-Castell Gelatos and applied the colour by scribbling onto my messy mat and then I picked the colour up with the tip of a water brush and applied it to my page, blending as I went. I started in the centre of my page and worked my way out towards the edges.


After I had the colour completed, it was time to add some more details to my page. I used the new release I Hope You Know quote stamp in the bottom left corner of my page and balanced it out by adding the Flock of Geese in the top right corner. 


I also added the Tiny Moon from the new release Plate #1500 to the sky.


I added a little more detail to my foreground by lightly stamping with my fave Doodle Dots stamp.


With all of my page background complete; I then added the photo of my children, which I mounted up on some cardboard to help it pop and then adhered to the page using Miracle Tape.

To finish my page I wanted to add a little touch of magic, so I took a sweet image I had pre-stamped onto some tissue paper using the Fairy stamp. I applied the image to some cardstock using gel matte medium, then brushed on a little colour using the Gelatos again. I then trimmed the fairy and adhered the top part of her so that she appeared to be hiding behind the log in the photo, bending her wings up from the page to add a little dimension. I also added some messy white cotton thread for a little texture. 


Don't forget to enter this month's challenge, you can link up your entry via this post HERE before the end of the month. You could win a spotlight on the blog AND some new rubber! 

Thanks for stopping by so I could share this with you. I hope I have inspired you to get inky too!


Stamps used:
Fairy

Other materials:
- American Crafts cardstock
- Staz On ink
- Faber-Castell Gelatos
- tissue paper
- gel matte medium

Monday, June 04, 2018

Life is an Adventure | June Challenge Inspiration | Sue Plumb


Hi everyone!
Sue Plumb here today and it's my turn to share some inspiration for the Viva Las VegaStamps Monthly Challenge with you! If you haven't already seen the June inspiration image, it looks like this...


"Let's play with LIFE. Be inspired by nature, the tree of life, trees & roots, stars, star charts, the heavens & earth, above & below. Think tandem but opposite. Yin & Yang."

I was super inspired by the solitary tree image, and I knew I wanted to create something featuring a tree and incorporating the word "life". I was also inspired by the neutral palette of the image, so I grabbed my altered book art journal to play and this is what came out...


As always, I did my best to document my process as I went along (although sometimes I get so lost in the creative process, I forget to take a picture!) 


1. I started by adding some gesso to my book page. This was not only so I could prime the surface, but also so I could strip the yellow tint to the paper back a bit.
2. I then took some old music paper and another sheet of book paper tore up some small pieces. (I wanted to add some extra interest to the page, as the one I was using was the dedication page and didn't feature much text.)
3. I collaged the pieces onto the page using matte medium.
4. I then rubbed a little extra gesso over the collaged pieces using my finger to help them blend in.


5. I felt like using a different colouring medium, so pulled out some water soluble wax pastels in raw sienna, burnt sienna and black and added some colour to the page.
6. I then used a water brush to blend and soften the lines I had drawn.


7. I used the Stitching Lines stamp to create structure in my foreground.
8. I then used the Doodle Dots stamp to add some interest to the sky.


9. I then stamped out my feature images onto some tissue paper. I chose this method as I wanted to ensure I had a good, clean image rather than stamping directly onto the book. It also gave me the ability to shuffle the images around to decide on placement.
The stamps I used were:

10. I adhered my images to the page using matte medium, then took the pastels and added a little shading and colour around them.
11. I added the quote using the Choose Your Own Adventure stamp, then added the remainder with a black pen.


12. I finished with the second part of my quote in the bottom corner. For continuity, I used the word "choose" from the same stamp, then simply added the word well in pen.


I love how this page turned out and I can't wait to see how this month's challenge inspires all of you!
To enter, make sure you link up your entry via this post HERE before the end of the month.
You could win a project spotlight on the blog AND some new rubber! So what are you waiting for? Get busy!!

Thanks for stopping by so I could share this with you. I hope I have inspired you to get inky too!


Stamps used:

Other materials:
- Colour Blast white heavy gesso
- Old book and music paper
- Monte Marte acrylic matte medium
- Staz On ink
- tissue paper
- Reeves Water Soluble Wax Pastels
- Ohto Fude Ball 1.5mm pen