Saturday, August 31, 2013

Labor Day Grab Bag BLOWOUT! 40-60% off

Grab Bag BLOWOUT!


Get 40-60% off grab bags through 9/5/13 - no coupon code required!

Our grab bags come as a random assortment of unmounted deeply etched
pink rubber stamps. Guaranteed no duplicates in any one bag.

25 Sayings : WAS: $10 - NOW: $5
15 MIX Images/Sayings : WAS: $12.50 - NOW: $5
15 Images : WAS: $15 - NOW: $7.50
1 lb of Images : WAS: $40 - NOW: $25
1 lb of MIX Images/Sayings : WAS: $25 - NOW: $152 lb of MIX Images/Sayings : WAS: $60 - NOW: $30
 

Also... for a LIMITED AMOUNT OF TIME we're introducing a HALLOWEEN grab bag!


also...

You can now find us on Instagram! Follow us and be prepared to see sneak peeks, behind the scenes, and the inner workings of being America's Rubber Stamp Paradise. Use hashtags like #vivalasvegastamps and #vlvstamps or tag us directly (@vivalasvegastamps) to get our attention!

Friday, August 30, 2013

Pinterest, BABY!

Ok I admit it, I loooveee Pinterest!! I have lost numerous hours of my life pouring over pinterest porn (not real porn, you Pinterest people know what I'm talking about!) and have so many boards of recipes, art stuff, home decor, fashion, etc.. I just love it!!! So when I saw Viva Las VegaStamps! had a Pinterest stamp I just had to get it and play with it!!

I made 3 ATC's about Pinterest and here they are:


And if you are a Pinterest addict like me you will know that they are all true!!! haha

Here are the stamps I used to make these ATC's:

Logo
Lady with scissors
Lady with washing machine
 Cake lady
When I'm done making my ATC's I like to display them in my art room instead of putting them into my binder right away. Here is my 7 Gypsies ATC holder


and here it is close up
I love seeing all my colorful treasures on display!! I hope you enjoyed my project and have a fabulous day!

Thursday, August 29, 2013

Vintage butterfly

Hello all :) Nataliya is here :)
Do you love the butterflies? I do!
You can find this pretty creations on most of my work :) And this card - is no exception :)


Beauty:)


And what is this???


This is VLVS! Fancy Hinge Silhouette 1 1/4 x 2

Fancy Hinge Silhouette 1 1/4 x 2

I took the paper, stamp, WaterMark ink and Ultra High Gloss Embossing Powder:


The resulting image I cut and made the ink shading:


And I add Glossy Accent+glitter :)


Butterfly is chipboard. I covered it the texture paste.


Now, I sprinkle it with glitter embossing powder and heated. The result is a very interesting texture:


Some ink shading :)


Have a butterfly's day!


Wednesday, August 28, 2013

A little story to tell

Hi Hermine here.
This was on my wishlist to do for some time. Its not for the faint hearted because it isn't that easy. I wanted to  tell a little story: A cute little snail was deperately searching for his home, to find out at the end that home is where the heart is. This one line turned out to be a very chunky book hahaha.


step one: take an (old) book. I onze saw this on the net but there was no describtion, so I tried myself with trial and error. I started in the middle and worked from there, folding the pages tot the left hand side of the heart first and then mirrored the right hand side. There was no plan at the beginning so it grew along the way.
step two: this was a paperback book so I made a front and back cover out of grey board. I choose a beautiful paper and glued it on the greyboard. Front Cover: Then I took a stencil with script and stencilled it with black gesso. I stamped the pointed pen tip 18793 and the  leaves blowing from tree 19117 with Stazon Black. teared as piece of a page and glued at the right hand side. Take a piece of paper and stamp the city on snail 18975 with Stazon Black and coloured with water colours. Matt on black paper and glue on the front. Then I used the alphabet from the December Daily plate 1430 and made the tekst, each letter cut out seperately and glue beneath the image. Take a piece of string, turn around your fingers a couple of times and tie a knot. Glue little wooden hearts at the ends and glue at the front. Now over to the back cover: tear a  piece of a page and glue to the bottom. Take some wooden letters, sponge them with Adironack rust and stamp the washi grid background19007 on with Adirondack rust and glue them in place. Glue the little hearts above the letters.
Glue the covers to the exsisting covers of you book.
step three: Punch 6 hearts out of the paper used on the cover and 6 times out of white paper. Stamp with Adirondack rust the line of chevrons  18965 and outline them with a black fine liner. I used package material to make the stems by slicing small strips out of plastic. Glue the stem between the two hearts. Stamp the words with de December Daily plate 1430 and cut out each letter, then glue the words on a strip of paper and glue on the heart. Fasten the stems witgh the heart with tape between two pages. Glue a tiny wooden heart on the front of the big one. I folded some pages at the side to tuck some tags/ticket in. The large tag with the tekst with love was a ready made store bought one. The two tags 19079 and the admit one ticket 19190 are stamped on craft paper with Stazon Black and cut out. tuck them between the pages.

I totally admit this is not an easy project and your skill level has to be advanced. But you can decide to use this as an inspiration for altering an old book and turn the inside into an art journal for instance, it will be chunky also when your finished.

Used stamps:
pointed pen tip 18793
Leaves blowing from tree 19117
City on snail 18975
December Daily plate 1430
Washi grid background 19007
Line of chevrons 18965
tag 19079
Admit one ticket 19190

Tuesday, August 27, 2013

Free Live Demo!

Don't forget.. the first Sunday of EVERY month!!


Join me @ The Crafting Place where we'll explore and have fun with different supplies and techniques -- each Sunday we'll make a tag together - I bring all the supplies! If you have a favorite ink, feel free to bring it along with any basics; kraft mat, scissors, adhesive, heat gun. See you there!

Bees Singing in Lavender

This summer I went to a lavender farm.  
There were bees everywhere.  Their humming a song in the air.  Their energy--bursts of flight, wings sparkling with light.  
I wanted to capture some of that in a painting.


Supplies
VLVS Stamps Used:
Large Bee Item 19013 Plate 893

Small Bee Item 19012 Plate 893 

Bee/Small Item 1896 Plate 472

Genuinely Jane Studios Wood Book page (Picket Fence)
Cray-Pas® Specialist® Oil Pastels: Sakura Of America-Dioxane Violet, Mauve, Cobalt Blue, Titanium White/ Cray-Pas® Expressionist® - Sakura Of America: Purple, Yellow-Green, Yellow, White

Clairefontaine Rouge Mer 300 lb Cold Press Watercolor paper
Faber-Castell Gelatos:Tangerine, Mango, Butter Cream
StazOn Inkpad: Jet Black
Golden Fluid Acrylic paint: Micaceous Iron Oxide
Golden Soft Gel medium
Clay-shaping tool
Plastic eraser

I prepared my wooden panel by priming it with Micaceous Iron Oxide, an acrylic paint with particles that produce a dark surface with a fine tooth, and sparkle.  It's a good surface for pastels, and light on dark painting.


I blocked out the areas where I wanted lavender. Layering purples and blues, I moved and blended the color with a clay-shaping tool and a plastic eraser.   Long strokes of yellow and green were added for grass.  I made sure to leave areas of the Micaceous Iron Oxide showing for contrast.  I just kept layering the colors, blending and pulling out details with the shaper until I was happy.

In the upper right, where I used mostly yellows and whites, I ran the plastic eraser over the color, blurring most of the detail, and then, lightly, laid in long strokes of yellow and white to get a strong impression of sunlight.

I sprayed the complete piece with hair spray and let it set overnight (this sets it so you can layer on a medium without disturbing the pastel, but it isn't enough to be permanent on it's own).

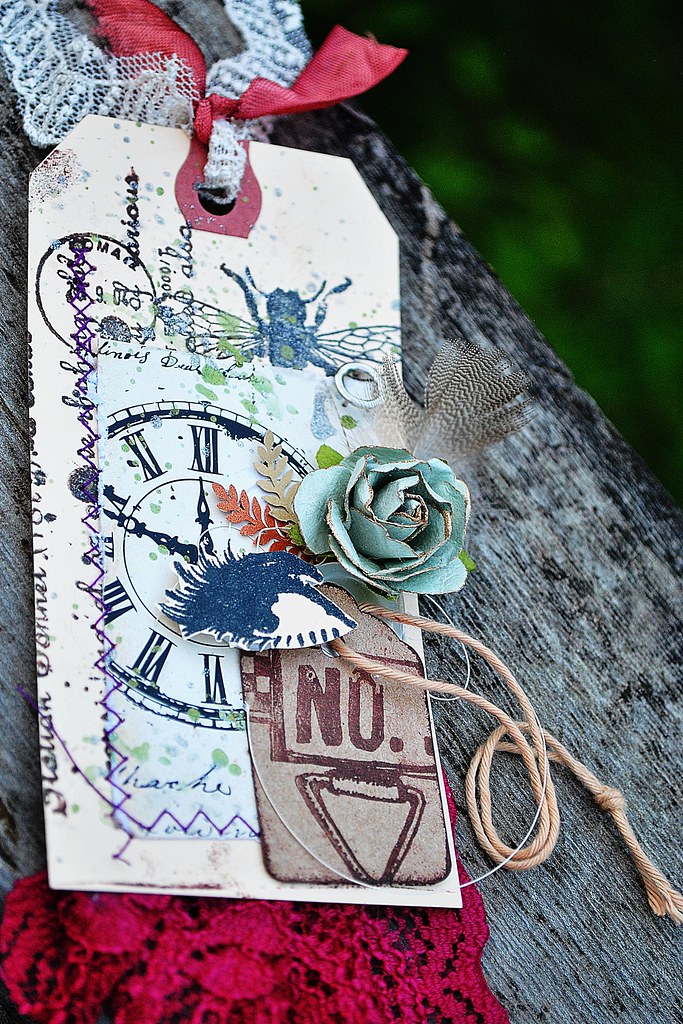
The bee images were stamped onto the watercolor paper that I had colored in yellows and oranges using gelatos. I added strokes of yellow and white oil pastel.  I cut the images out, and folded the legs and wings downward to get some dimension.

To seal the piece, and to glue down the bees, I used soft gel medium, covering the bees completely on both sides, and layering it heavily on the oil pastel.

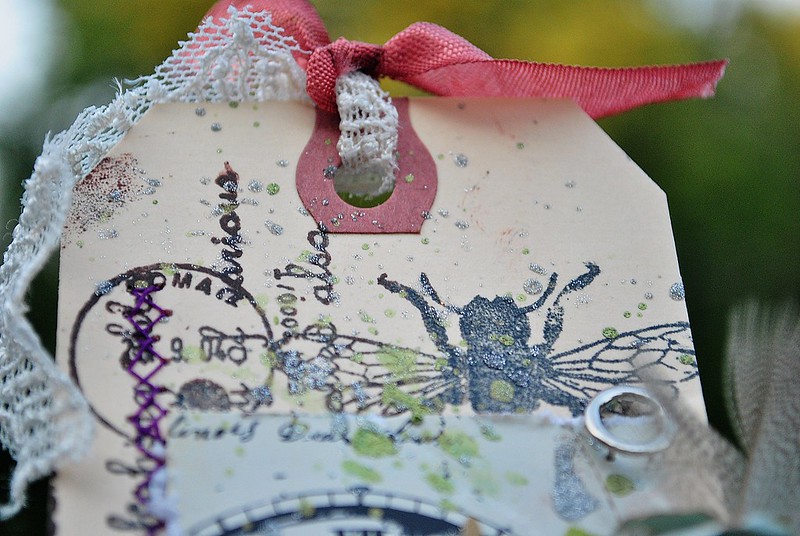
I couldn't catch it as well as I hoped, but the Micaceous Iron Oxide glitters in the light giving the impression of dust motes sparkling in the sun.


Thank you for stopping by, and I hope you've enjoyed my oil pastel painting.

There are still a few days left for you to enter the Viva Las VegaStamps! August challenge. It's great fun and a chance to share your projects with the world!


For more of my work with Viva Las VegaStamps!, Amazing Mold Putty, zentangle-inspired art, and daily links to tangles, tutorials, and giveaways please visit my "Life Imitates Doodles" blog.   ~ Sandra Strait

Helpful Links: VLVS! Store for all your stamping needs; the  VLVS! Blog for new projects; VLVS! on  FaceBook,  Pinterest and Twitter

Monday, August 26, 2013

Time 2 Stamp {Fussy Cut + Cray-pas}

DeeDee here today with a Time 2 Stamp video!

You'll notice we've been doing a lot of work with Sakura of America products lately on the VLVS! blog. That's because they were kind enough to donate some beautiful supplies to the design team in return for some stamping samples with them. Check out this pinterest board for a complete collection of all we've done.

Today I'm sharing another technique: laying down cray-pas, stamping on top, and then fussy cutting to create this tag:


For the technique I used Dancing Lady and Don't Let Anyone stamps with the Expressionist set of Cray-pas from Sakura of America. Watch the details in the video here for info on laying down Cray-pas, blending them and stamping on top!
-

-
After I did the fussy cutting and had my girl ready in the background I finished the tag with some UmWowStudio supplies (Circle Confetti mask, Star Confetti chipboard, Layered clouds) Prima Flowers, May Arts eyelet lace, seed beads, Sakura of America Micron Pigma Pen, white cardstock, gesso and a pearl brad. The paper is from 7 Dots Studio.

Friday, August 23, 2013

Welcome back SAMANTHA! {Guest Designer}

Today we're welcoming back August Guest designer SAMANTHA KAMINSKI.
 

She has brought us a beautiful ATC


Design Project Two –Artist Trading Card
ATC Theme:Fairy
Title: Sparkle Always
Quote: Don't let anyone ever dull your SPARKLE!

Products Used:
o   White Card Stock x2
o   Bo Bunny Paper Back to Basics – Country Garden x2
o   Distress Ink Pads – Spun Sugar, Worn Lipstick, Festive Berries
o   Water Brush
o   Memento Tuxedo Black Ink Pad 
o   Crafter's Workshop Stencil
o   Glue and Double Sided Tape
o   Stickles - Diamond
o   Distressing Tool
o   Scissors 

Here's a tutorial on creating this beautiful bit from Samantha:

First cut your card stock to an Artist Trading Card size (3.5x2.5”). I used my Silhouette Cameo which I created a template, for both the ATC and a card slightly smaller than the ATC.


I like my ATC nice and strong so I will generally always glue patterned paper to card stock to make it stronger. Using Distress Inks  (Spun Sugar, Worn Lipstick) and TCW Stencil I created a subtle flower background on the ATC.

 Next I stamped VLVS Fairy image with Memento Black on the card (slightly smaller than the ATC). 

 I used TCW Stencil and Distress Inks again to create the same flower background around the stamped fairy. 

I then added some colour (Festive berries ink using a water brush) to the fairies dress.


 I let it dry before I added glitter to the wings and dress.
Using my distress tool I distressed the edges of the paper and cut some slits on the side. I then adhered this to the ATC.

 The quote was printed on white card stock from my computer and distressed inked using the same colour scheme. I also added glitter around the edges.

Then to finish it off - More Glitter, just around the edges of the ATC.

Thursday, August 22, 2013

Winners and ANOTHER giveaway!

Guess what friends.. we've reached THREE HUNDRED followers via Networked Blogs and that means ANOTHER Pound o' Rubber winner!!

Randomly chosen is KIM RAYKO!! Please email me @ deedee430@gmail.com with your shipping address and what you've won - CONGRATS!!!

But the giveaways aren't done.. because guess what?

Viva Las VegaStamps! can now be found on INSTAGRAM. We're posting updates, throwbacks, sneak peeks and behind the scenes. 

 
See what VLVS! looks like as if you were here browsing the thousands of stamps on our shelves IN PERSON.


Follow us on Instagram and comment on THIS PHOTO tagging any and all friends to be entered to win ANOTHER lb. o' rubber. EACH!

Wednesday, August 21, 2013

Be Yourself


Seattle Grunge expresses my love of music!  The music itself can move me or the poetry of the lyrics.

Definition -
 GRUNGE:  A form of Alternative Rock that had a low, dirty, "grungy" sound. Made popular by bands such as Nirvana, Alice in Chains, Pearl Jam, Mudhoney, Soundgarden etc. Grunge is not dead, the "popularity" has just died down. Grunge will make its return soon.  Most alternative music has its roots from Grunge.
 
VLVS Images:
 
 
VLVS Partners:
Helmar- 450 Quick Drying Adhesive (on frame chipboard)
UmWow Studio - Chipboard
 
Kraft colored cardstock used to start a distressed look that replicates a grunge look.
 
Some elements stamped in Distressed ink to meld with the kraft cardstock.  For contrast, Blue and Orange ink used to stamp other images.  Coffee Ring image:  I used just the ring in a couple spots and not the whole ring, and stamped just the splats in various places.
 
A ripped scrap piece that was covered in random color ( used to protect my craft table) used to stamp the grunge guy on.  He is trimmed and adhered behind the painted frame, stamped with "Be True," with paint.  To do this, tap paint pen or Distressed Paint on stamp, tap lightly on scrap paper  and stamp on painted frame.
 
Create slight ragged edges with edge of scissors or distressing tool.  Wet one side in a small spot and rip out circle shape.  Distress edges with ink.
 
Print out lyrics, cut and adhere to art with Miracle Tape.  Add Chevron chipboard to a couple places to create direction and dimension.
 
A wonderfully talented young person gave me the wisdom that I knew but didn't always put into practice - Be Yourself.  That is the way to Be True!
 
 
Cre8tivelea Yours - Lea


A Tag With An Eye On Romance

Amy here today, to share a tag I made, with an "eye" on romantic style!
VLVS Tag, ALL
 I've realized lately how creating on a small scale, really helps me to grow as an artist, because I only have so much room to convey the design and thought I have in mind. In other words, it's a BIG challenge for a gal like me, who is used to working, quite literally, within a 12x12 box!
Background stamping, tag


<-----I started with just a plain shipping tag, and inked up the Italian Sonnet Background stamp.  using a gradient of tuxedo black Momento ink, and Mix'd Media inx, by Clearsnap, in leather. I flipped the stamp sideways, and stamped the bare tag.
VLVS tag, victorian, ALL


Next, I re-purposed some packaging from Prima flowers (with the clock), and added it to the page with Miracle Tape, sewing along the bottom and left side edge, using a purple thread.--------->
Of course, I couldn't leave out paint, so I grabbed some Folk Art Metallics paint in green, and Folk Art Sparkle paint in silver, and flicked it all over the place (I tried to be somewhat artistic,however, I didn't go bonkers.)                          
eye and tag stamp                                              <---------Finally, I stamped on a small kraft tag, using the No.5 Tag 2 with Archival Ink by Ranger in coffee, and adhered to the page. Using the Eyes Looking Left stamp, I stamped only the left eye, fussy cut it out, and adhered to the tag using a round Helmar Zap Dot. The only thing I thought it needed were some romantic embellishments, like the Prima flower, a button, thread, a feather, small die cut leaves, and a vintage snap base for the corner! The Gauche Alchemy lace adorns the bottom, as well as the tie at the top, and a bit of seam binding. A little bit of quirky romance, all in a small area!