Friday, May 16, 2014

Dream Big with PanPastel / Nataliya Serova

Our fifth and final day featuring PanPastels is brought to you by Natasha Serova and she's stamping and pasteling with VersaMark! Here's another shout out to PanPastel and how neat they are to work with. I hope you've enjoyed our week long inspiration!


 Hello all, Nataliya is here :)
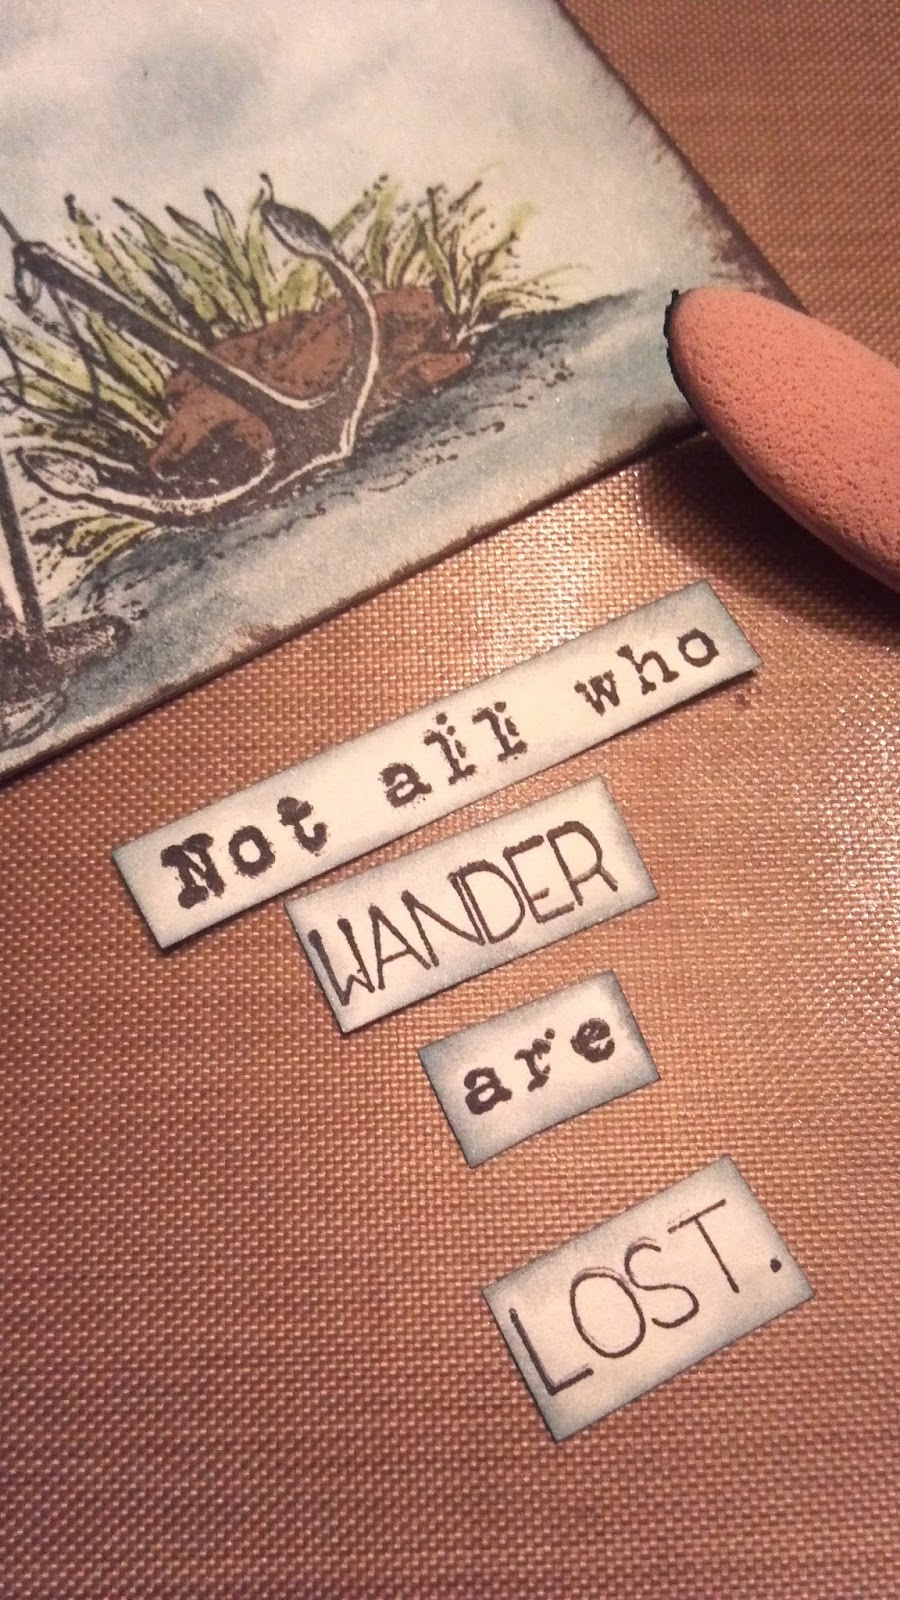
I think you have already seen how steep PanPastel! I'm just crazy about them, really :) I was most impressed by the ability to use it with VersaMark - the effect is simply incredible! And with PanPastel, VersaMark and, of course, stamps VLVS! I made a card about how important to dreaming.


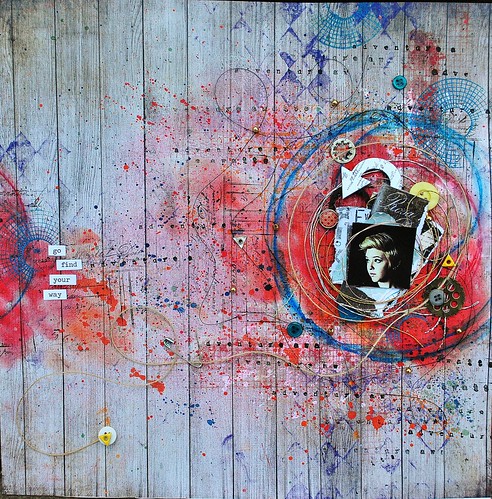
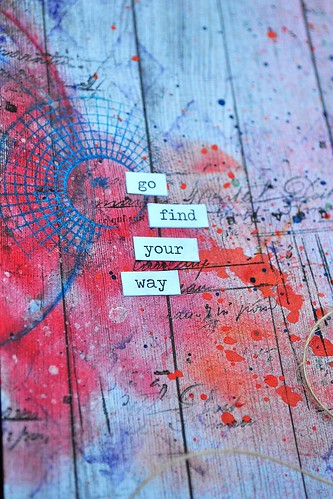
Look how chic background turned out! I just toned it using Violet & Permanent Red Tint PanPastel.


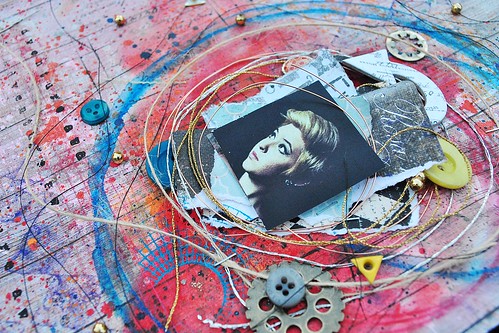
And this is another piece of background. Here you can see how PanPastel allocates pattern made ​​using textured paste.


And my VLVS!

Writing Background 4 x 4

Moon Circle 1 3/4 x 1 1/2
Dream Big 1 x 1 3/4
Boy In Cape 2 1/4 x 3 1/2

Thursday, May 15, 2014

PANPASTEL Mini Album Cover

Up for today during our Pan Pastels Feature is Tera Callihan!! 


Hello Everyone! It's Tera here again. 
Today I want to share a fun mini album I created using PANPASTELS to create a beautiful marbled background with ease!


To start I sized up the stamps tat I wanted to use on my 4x4 Mini 
I used: 

Stamps:

Diver In Suit 1 1/2 x 3

PANPASTELs in: 
560.1 Phthalo Blue Ex.Dark
921.5 Pewter


Next I stamped the Diver In Suit 1 1/2 x 3 on the left side and prepared a "mask" of him that I will use to cover the areas I don't want to overlap

After the mask was placed I stamped the Sunken Anchor 2 x 1 1/2 slightly overlapping the "mask" of the Diver
  

Next I sponged the PANPASTEL in  Phthalo Blue Ex.Dark over the front of the album as well as along the spine


Next,  I colored the Diver with my gray marker, then sponged PANPASTEL over the top to add a beautiful shade and shimmer. I also colored the stone and grass with markers to help them pop


Stamp the quote "Not all who WANDER are LOST."  on a separate piece of card stock then cut out


Use the Blue PANPASTEL to edge all of the cut out pieces so that they stand out from the background


Use your favorite adhesive to glue the quote to the cover.


Finish off with eyelets and your favorite cord 


Enjoy your finished piece!!! 

Wednesday, May 14, 2014

Stamping with Pan Pastels {with technique video}

Our 2nd post today is brought to you by Amy Lassiter and she's stamping with a paste made from her PanPastels -- CHECK IT OUT!

 
Hello stampy friends! It's Amy here today,to share a layout I created using some fun techniques with Pan Pastels AND Viva Las VegaStamps! It was so fun to play with a new medium, and to create something a little bit out of my box in style. :)
go full, VLVS, allassiter


I used the Pan Pastels both wet and dry. I had fun finding a few techniques, that were easy and gave a big impact at the same time. The vibrant colors were great to blend and layer, and I used them all over the page, to give the paint splash look, as well as to stamp with!
photo, go, close
top stamping, go


For the wider sections of the page that are covered in color, I used the sponge wand, and gently blended colors from the inside out. Between each layer I added, I sprayed the page with Fixative to keep the pastels from flaking off. As you can see in my video below, even after using the pastels wet(which makes for a great texture relief), the fixative keeps it all in place. I could even stamp with black and blue ink over the top,as well as draw and blend (using water) with Aquarelle without smudging the pastels.
pan pastels, side, close


Have a look at the quick video I created to show the stamping technique I used with the Pan Pastels:
 If you'd like to see how I created a chalky type texture "paint splatter....." head over HERE to watch that video.
Thanks so much for having a look today....and give Pan Pastels a try, you may find a new medium you love (like I did!)  
Supply List: Viva Las VegaStamps!: Harlequin Diamond Background, adventure awaits, color wheel lines,, waybill/invoice background
Paper: 7 Dots Studio- Nature Walk, Prima, Glitz Design, Graphic 45
Ink: IMAGINE Crafts/Tsukineko, Liquitex, Lindy's Stamp Gang, Heidi Swapp Color Shine
watercolor pencil: Faber-Castell Design Memory Craft Aquarelles
 Fibers: May Arts (twine), vintage Chipboard: UmWowStudio, Pink Paislee
Embellishments: 7 Gypsies, Bead Landing, Gauche Alchemy (yellow color kit), vintage
Pan Pastels: Violet, Permanent Red, Orange

PanPastel Framed.

Day three already of our PanPastels feature! Today we're starting off with MARY BROCKWAY!


Hello!  Mary here, with a picture frame I've jazzed up with a few of my favorite VLVS images and Pan Pastel.


This frame started it's life as raw wood.  I gave it a nice coat of flat white paint and then stamped the Gnome, Butterfly Specimens and 'pure' from the Pure Imagination images in StazOn black ink.


I then blended Magenta and Hansa Yellow PanPasel onto my frame and sprayed it with a clear sealant to keep the pastels in place.  I LOVE the areas where they blended together to create that lovely coral color!!


Finally, I embellished with black thread, white twine, gems and a large heart-shaped stone that my baby girl gave me.  A bit of splattered white paint softened everything.


Ok, that's it for me!  Be sure to pop in tomorrow for more PanPastel and VLVS inspiration.

xx Mary

Tuesday, May 13, 2014

Viva Las VegaStamps & Pan Pastels!

And 2nd today for our Pan Pastels Feature is the superbly talented Glenda Tkalac!


Ok, how exciting was this?? We were given some yummy pan pastels to play with and it was my first time playing with them, I was a Pan Pastels virgin!! haha I decided that I wanted to do two projects using the uber fabulous Running lady stamp
She looks exactly how I've been feeling lately so I decided to do an art journal page using her as well as these other fab stamps, the film strip stamp
and the one way stamp
and the one way small stamp
and the pylon stamp
and last but not least the arrow stamp
First of all I took a brick wall stencil and then sprayed it and then laid it onto my journal page and pressed evenly so I only got some of it (and yes I had to enjoy a nice cold beer while doing this)... also forgive the dim pics as I was playing at night!
 Then I took some of the orange pan pastel and used the sponge tool and colored when I wanted orange.
 Now it was time for placement! I had stamped the running lady stamp onto plain white cardstock and then cut her out and placed her where I wanted her, and then used black shimmerz to create a black cloud above her ('cause that's how I'm feeling lately!)
 then I got all kinds of other fun stuff as well as the cut out stamps and glued them onto my journal page.
 and here is my finished journal page!
I also made an ATC using the running lady stamps and pan pastels.  Here are the materials I used
 Once I glued the papers I wanted together onto a 2 1/2 by 3 1/2 piece of white cardstock I then took a stencil and placed it on top of the papers, and then using the sponge rubbed the orange pan pastels where I wanted it and sprayed a clear coat fixative onto it so the pastels wouldn't rub off
 I also had a rub on that was really old and crappy and wouldn't rub on so I taped it onto the card using clear tape and then glued the running lady onto the card, smudged the edges using staz on ink and voila! Here is my ATC.
I hope you enjoyed seeing how I used these stamps as well as the Pan Pastels and until next time!


PanPastel on notebooks

Our 1st post today featuring Pan Pastels is from the superb Hermine Koster!


Hi Hermine here, I enhanced some little notebooks using PanPastel.


 step 1: take a stencil and sponge a light coat of gesso. When dry colour it with Panpastel Magenta and Violet. With Versamark stamp Waybill/Invoice background 19416 partially on the righthand side and  French writing background 19297 on the lefthand side and colour with PanPastel violet.
step 2: Then stamp with Versamark Spotty Background 1461 serveral times at the right and lefthand side and colour with PanPastel Magenta. Stamp with Stazon Black Whimsical kids with Futuristic hats 19410 on the notebook as well as on a scrap piece of paper. Colour in the kids on the scrap piece of paper and cut (you don't have to cut out the antennes on the hats) and glue on the notebook. Stamp with Stazon black the tekst Not all who wander 19413
step 3: take some acryllic paint and a brush and splatter onto the notebook. make some white highlights with a white colouring pencil


 step 1: Stamp with Versamark the Victorian Flourish 19417 and undernetath that the Waybill/invoice  Background 19416. Colour the top half with PanPastel Magenta and the bottom part with PanPastel Violet.
step 2: Stamp with Stazon Black the Butterflies Specimens 19415 and the Pulse rate 19186
step 3: Take a credit card and drag some gesso on the lefthand side And colour with PanPastel. Take some different sizes lids and make some circles with gesso. Colour the circles with PanPastel.
step 4: Take a piece of paper and stamp  with Stazon Black Sitting Elephant 19157, mask it off and stamp Roller skate 19419, colour in and cut out. Glue it on the notebook. Make some hightlights with a white Sharpie.


step 1: Tear a piece of masking paper into a trangle and put on the notebook. Take a stencil and sponge Versmark onto the book. Colour it with panPastel Violet and Magenta.
step 2: Take the leftover piece of masking paper and put over the coloured background. Stamp Whimsical Cyclops 19407 with Stazon Black and colour in with water solutable crayons and a water brush. Stamp the Color wheel  lines 193398 on the lefthand and right hand side. Then stamp the text purple is the drama 19346.
step 3: Scribble with a Mircon pen around the torn lines and make some highlights with a White Sharpie pen.


Materials used:
Waybill/invoice background 19416
French writing background 19297
Spotty Background 1461
Victorian Flourish 19417
Butterflies Specimens 19415
Pulse rate 19186
Sitting Elephant 19157
Roller Skate 19419
Whimsical Cyclops 19407
Color wheel lines 19338
Purple is the drama 19346
stazon black
PanPastel Magenta
PanPastel violet

Monday, May 12, 2014

PANPASTEL The color of the soul...

Our 2nd Pan Pastels post today comes from the super talented Tina Walker! 

Hello and Welcome to another day of sharing inspiration with VLVS and PanPastel.

Tina Walker here today with an Art Journal page that speaks to me at the core of my being.


Quite often, my Art Journal pages are inspired by a favorite quote or idea.   For my project today, my inspiration came from the bright, colorful PanPastels I was going to create with.

To build my page, I cut a Pyramid Shaped template with my Silhouette Cameo to use as a guide for coloring with my PanPastels.


Once each square was colored with PanPastels, (keeping the template in place), I randomly stamped using 'Color Wheel Lines'.  (This is one of my favorite stamps!)


I then randomly colored within each stamped image with markers and pens, adding a bit of doodling here and there.

Once I was happy with each colored square, I finished my reverse pyramid with more doodling and color.


I had originally left the outside white, but really wanted the color to POP, so I painted the outside of the pyramid with a grey PanPastels.  Happy!

I found an inspiring quote to reflect my thought on color and added it below the pyramid.


Using Stamps with PanPastels is one of my favorite techniques.  They work beautifully together.

Be sure and stop by tomorrow for another amazing project!

Tina