Hello stampers; it's
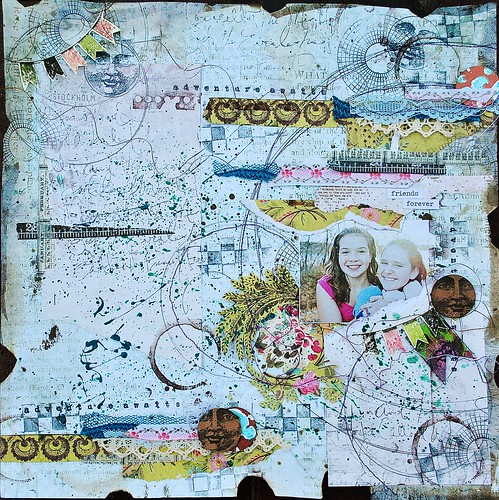
Amy here today, to share a scrapbook layout I created, using a picture of my youngest daughter Ivy, and her best friend, Mollie. They've been friends for a long time now (well, a long time when you're almost 12)...and they are almost like sisters when they're together. I recently took them out for a "best friends" photo shoot, and got some really cute shots. I just couldn't wait to create some work with them.
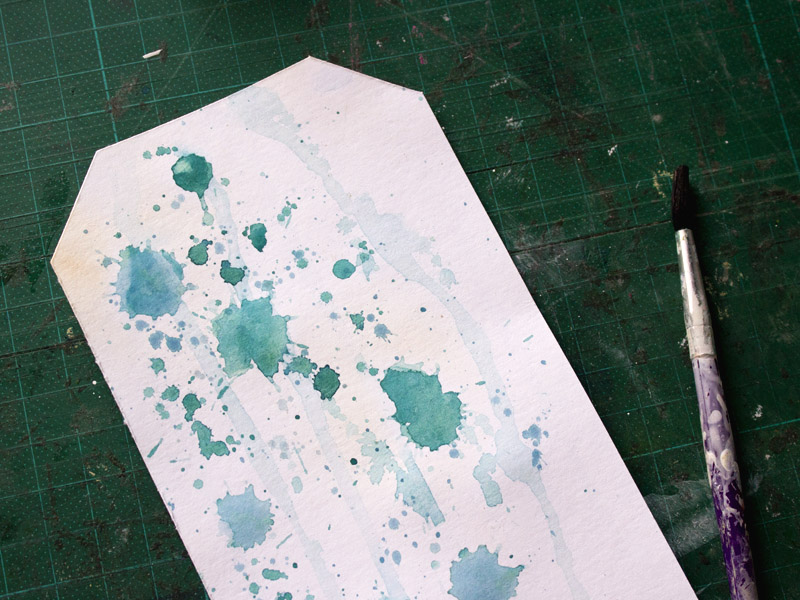
I started with a patterned paper that I burned the edges on (in a safe, controlled way), and brushed and flicked on distress stain and gesso. I then tore another paper into thirds, and used 2 of the 3, stapling and using
miracle tape to adhere them. As my next step, I added splashes and flicks of blue and green toned paint.
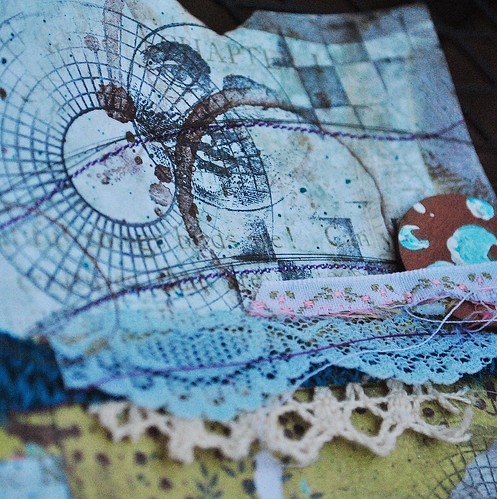
When the paint was dry, I began to stamp the background, using the
coffee ring stain and the fabulous new
color wheel lines stamps. For the next stampy layer, I randomly used the
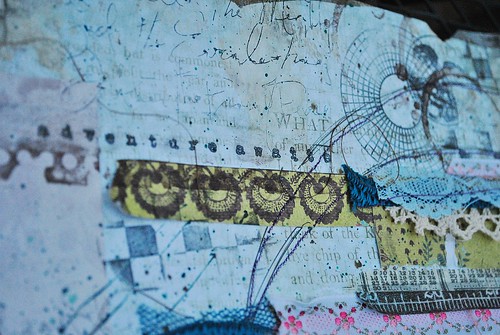
checkerboard background, cursive writing background,
torn paper , and
adventure awaits stamps, as well as some hand doodled circles.
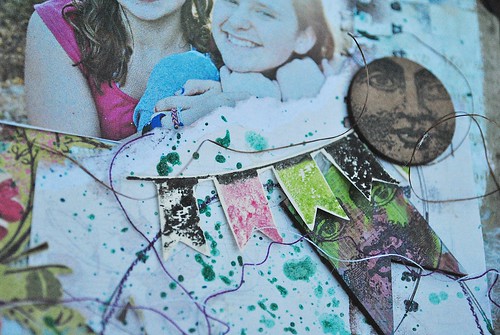
Next, I layered up some strips of more patterned paper, fibers and washi tapes, and cut a swirling flower from the Prima paper, to create more layers of color and texture.

To finish things up, I stamped the
chevron banner , using Faber-Castell design memory craft big brush pens, and the
moon circle onto UmWowStudio chipboard, and throughout the background.
Thanks so much for having a look today!! Stay tuned for more inspirado! You can visit me
here, if you fancy a trip to the land where the gnomes of creativity live. ;)
Supply List:
Stamps: coffee ring stain, chevron banner, moon circle, color wheel lines, checkerboard background, cursive writing background, torn paper, adventure awaits
Adhesive: Viva Las VegaStamps! Miracle Tape
Paper: Pink Paislee, Pion Design
Chipboard: UmWowStudio
Ink:clearsnap-mix'd media inx, noir, leather; Tsukineko- tuxedo black
Pens: Faber-Castell Design Memory Craft
Word Stickers/Washi Tape: Tim Holtz
Fibers: Gauche Alchemy,offray, unknown