Showing posts with label inspiration challenge. Show all posts

Friday, September 16, 2016

Skulls and bones


Hi all!!
This months inspiration challenge is SPOOKTACULAR!!


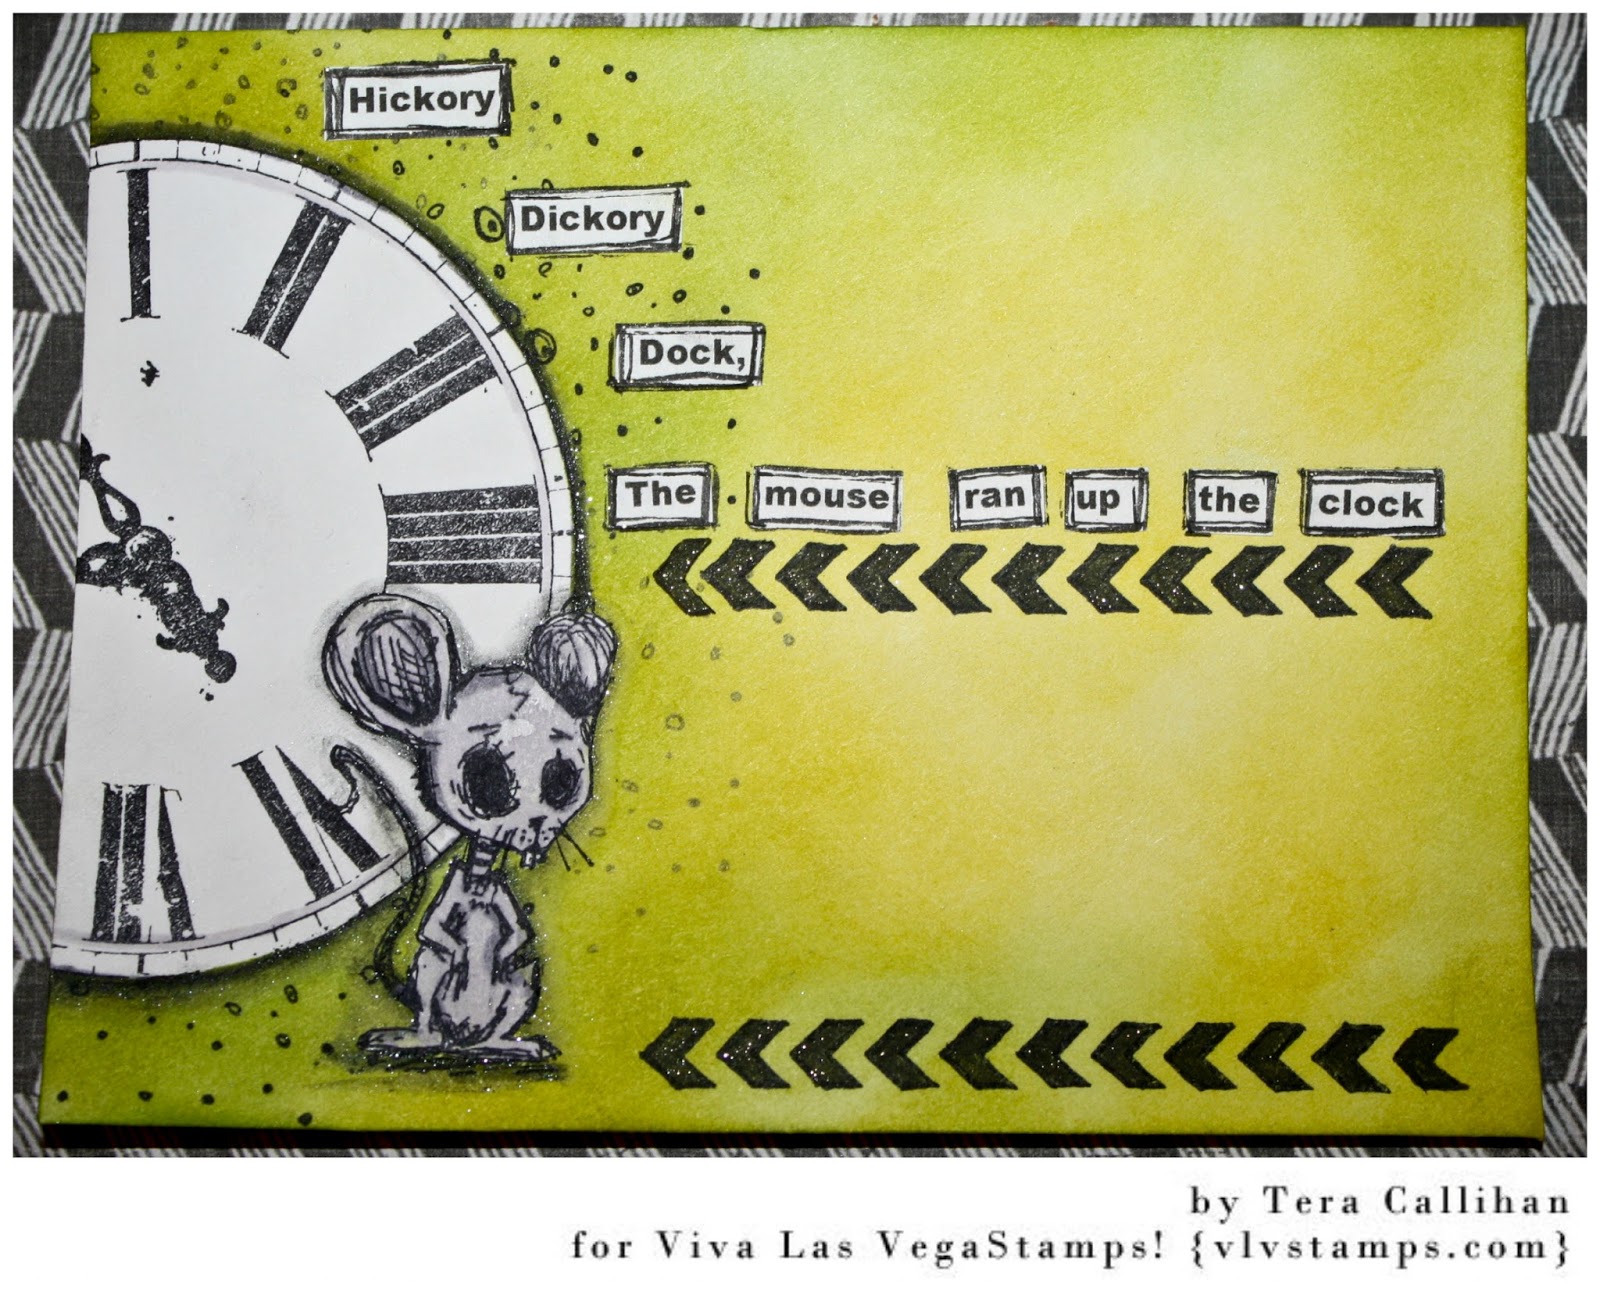
Michele here today with some challenge inspiration...this month I did a canvas inspired by bones, skeletons, spooky, creepy halloween!

I have a little tutorial on the background to share but first, here is my canvas.


I started building my background with an Um Wow Studio stencil and some heavy gesso.


While that was drying I used some of the Tim Holtz tissue and stamped the Skull several times in grey ink.


In black archival ink I stamped the Humerus Bone around the edge of the canvas.


On the canvas I sprayed Antique Linen Distress Spray and water.


After some dry time...I used matt medium to put down the tissue.


I did a little random stamping with the Smear/Smudge and Ink Drips with brown archival inks.


The skulls on the tissue look like a watermark!!


I just love background stamping!!


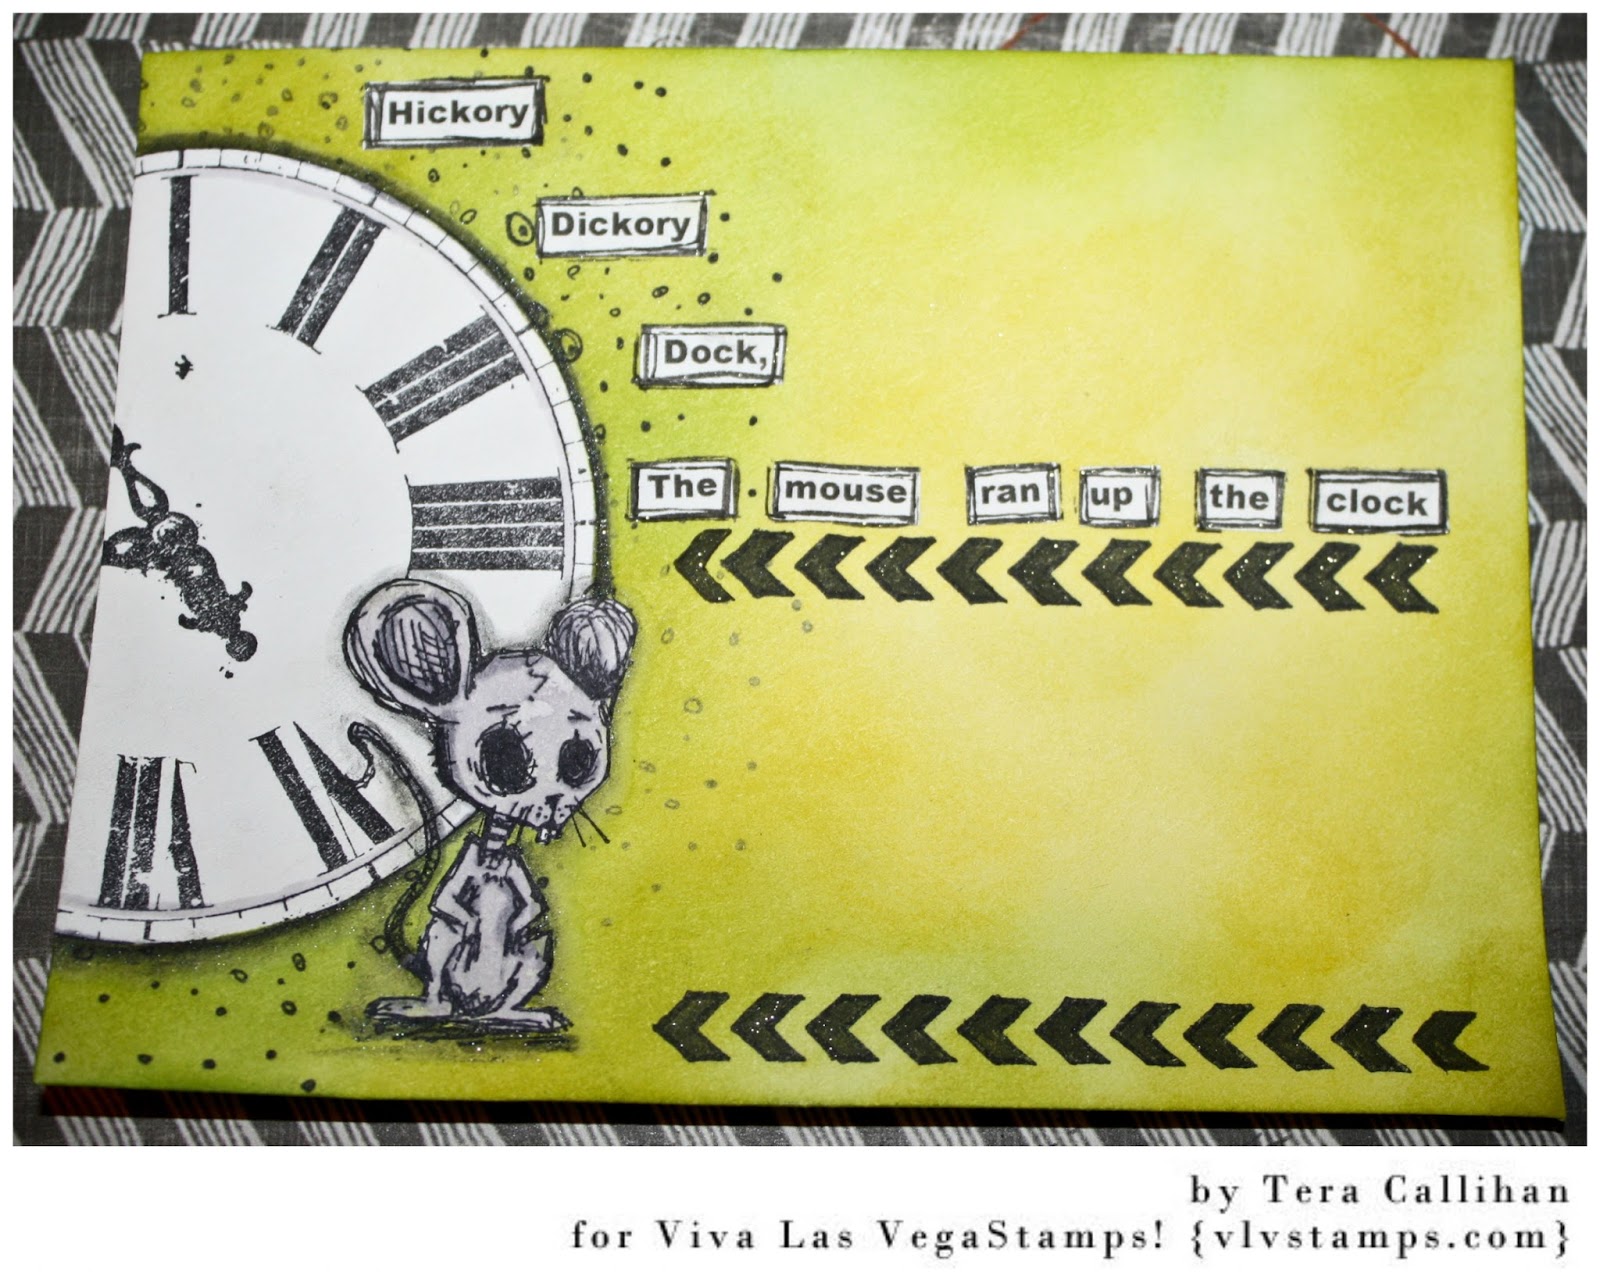
And a look at the crackle in my resin skull cast using Amazing Casting Products.  Thanks to Tina Walker for the use of her mold!!!
I also used a chip cobweb from Um Wow Studios, a fuzzy spider from my stash, black thread, thickers and cheese cloth srayed with Distress Spray.


I hope you are inspired!!!  You can link up your creation here.

Until next time, get inky!!

Thursday, June 02, 2016

Delight in the Little Things

Can you believe it is June already??  And with the new month is a new inspiration challenge...
Michele here to inspire you for our June inspiration board, don't you just love the colors???


I created a fun card with some of the newest fun images. Inspired by the colors and the Doodle/Flower Garden stamp, one of the newest from the latest release.

I also used:  Doodle Circle, Creepy Critter Sitting, Creepy Fairy Walking Dog, Forest Critter, Delight in the Little.


All color is Distress ink, paint and markers.

So, are you inspired????  Well then get linked up and maybe you will WIN!!

Monday, May 16, 2016

Mail Art Monday... Nursery Rhyme Time

Hello again!!

Its's me Tera here... 

(coming to you from Myrtle beach today!!)


Today I'm here to share how I created this fun and easy envelope inspired by this months inspiration board

Don't forget to check it out and play along with us! 

(link up your project here)


I used the words mouse and numbers to inspire me... Then went a little wild with the story book rhyme "hickory dickory dock" ... Start by stamping out your mouse/rat critter, then masking him off. 


Next stamp the clock over that ... (Also masking it off)....  At this point you begin the background.  
I began with stamping the dot textures around the clock to add depth, and I added the chevrons to create an address label.  Next I inked the background green using various distress inks (crushed olive, mowed lawn, and hints of mustered seed)

For added depth I used black glittered pan pastels around the clock and mouse. I also decided to color in my chevrons with a black glitter wink of Stella pen (just because I wanted to play with it!!! lol) 

(the quote I printed from Microsoft word and used black pen around before gluing down)


Thank you for stopping to visit with us! I hope you found some inspiration to kick off a crafty day!!


Wednesday, September 02, 2015

Inspiration piece september challenge

Hi Hermine here, made this card as an inspiration piece for the september challenge, hopefully it triggers you to have a go at the challenge.


step 1: take a piece of paper and spray with Dylussions spray at the top of the paper then hold it upright to let it droop down.
step 2: stamp with different colours blood dripping 18961. Then stamp the mason jar 18957 with Stazon Black and  May contain human flesh 18954 on the left side of the jar
step 3: stamp with Stazon on a seperate piece of paper the skull 2403, skeleton punk/Tombstone 860 and the fountain pen 439 and give both a little colour with colouring pencil and cut them out.
step 4: take a larger piece of paper and glue the background in the middle, then put washi tape around it.
step 5: put some washi tape with different patterns but all in black and white on the left hand side.
step 6: Take a black fiber and wind a few times around the card, a little below the middle.
step 7: Cut the skull in half and glue on half on the right hand side, then glue the punk skeleton on top of that. Glue the fountain pen on the left hand side.
step 8: take a black fine liner and draw lines on the coloured inner piece. Give the drips some accents with a white sharpie.
step 9: glue this on a double square black card.


And here is the mood board:


You'll have to the end of the month to enter, hope to see lots of great and scary entries. Look HERE for more information about the challenge.
Warmly Hermine

Used materials:
blood dripping 18961
mason jar 18957
May contain human Flesh 18954
skull 2403
Skelton Punk/Tombstone 860
Fountain pen 439
stazon


Tuesday, June 16, 2015

Dare to Dream... and Let your Heart Soar!


Hello everyone! Susan here my take on the Viva Las VegaStamps! June Challenge Inspiration Board. Luscious blues and greens... wings and words... I LOVE it!!! Challenges are a fun way to push yourself to try new things and new styles – and to be perfectly honest – this was way out of my creative box.


I started with a watercolor paper that I monoprinted with a blend of blue and green metallic Ranger Adirondack acrylics. Then I scribbled and smooshed on some blues and green Faber-Castell Gelatos to my liking. Using gel medium I fused a ghost monoprint on deli paper, which glues the layers together while giving translucency to colors below.


I wanted to have a scribbly heart so I made a dribbly heart mask by melting/drizzling Amazing Remelt onto my non-stick craft mat. I waited a few minutes for it to cool and solidify. Then I placed onto my background then sprayed with black Ditto glimmer spray.


I let the spray mostly dry before removing my handmade mask. Look at all the glorious blue and green exposed! I brushed some water at the top where the spray was still a bit wet and let the black color drip down. This was fun and a bit scary... I'm a total newb to the dripping technique.

I gave a blast with the heat gun to dry everything and added a few strokes of Gelatos to the heart. I stamp the butterfly onto a matching painted cardstock using black Versafine ink, then embossed with VLVS! ultra high gloss EP... and BAM!!! Wings that POP! I fussy cut and cut in half. To finish this mini masterpiece, I overstamp the bubble wrap texture and spell out "dare to dream" with Hero Arts Unicorn white pigment ink {this is the white of all white inks} and heat set.


I gently slide the collage into a Deflecto Acrylic Craft Frame and tucked the wings off each edge giving me a new georgeous piece free-standing art in an instant.

"Let Your Heart Soar..."


• • • • • • • • • • • • •


Other Supplies: watercolor paper, white cardstock detail scissors, black Versafine pigment Ink; Hero Arts "Hero Hues" Unicorn {white} pigment ink; various blues/greens Faber-Castell Gelatos; detail scissors; Faber-Castell Gel Medium; drizzle heart mask made with Amazing Remelt; Ditto black shimmer spray; and a Deflecto 3" x 4" Acrylic Craft Frame.

• • • • • • • • • • • • •


Thanks so much for dropping by! Have you seen the JUNE inspiration board... its AMAZING!  I invite you to join us and play along with the June inspiration challenge {CLICK HERE for details}. Just make a creation using the inspiration above and your stash of VLVS! stamps... linkup and you could win more RUBBER!

If you would like to see more of my creations please visit my blog, sbartist : painting in the dark HERE. Have a fabulous day!!  Sb

Sunday, November 02, 2014

VLVS November Inspiration!!

Hi there Glenda here,  and it's my turn to show my take on the Viva Las VegaStamps! inspiration piece and here is the inspiration
and here is my take on this piece
I can't tell you how much fun I had making this!!! I started off with blank pages that I painted green, sprayed orange mist at the top and let it drip down and then glued on some scraps of paper.
Then I used my Gelli plate, white paint and some stencils as well as stamped the numbers in black ink onto the pages.
Next I used a fabulous stencil I have from a book called "Stencil 101" along with a can of black spray paint.
and here are some close up pics of the project


and here are the fabulous Viva Las VegaStamps! I used: the coffee ring stain, the writing arrow, the censored, the one way, the stars, the adventure awaits, the insert your life story here, the french writing background, the arrow, the spotty background, the row of stars and last but not least the grunge numbers from Plate 1444.

I hope you enjoyed seeing how I was inspired by the November inspiration piece and would love to see your take on it!!


Wednesday, July 02, 2014

Dream..

Hi Everyone!
 Karen here with you today with my very first post for the new design team term! I'm so happy to be back and sharing some inspiration with you all again.  So I'll jump right in and share with you the tag that I created using the awesome new  July inspiration  challenge board
 
 
This board is just so me! , neutral colours, a bit of  dreamy, vintage grungy splotchy goodness.. and the colour green! 
 
Here is what this awesome board has inspired me to create..
 
 
I started off with some  Nature Walk from 7 Dots Studio  for my tag base, I couldn't decide which side of the  paper  to use, so I ended up using both.  I've used the Sunflowers stamp with my distress markers to add the base layer, along with the line of chevrons.
 
 
 I then inked up the  tall mushroom, along with this mushroom and the girl with wings and stamped them on some Kromecote paper, and added in some colour using a few more distress markers.
 
 
I then layered them on top of my tag base, using some foam mounting tape to give some elements a little extra height, and finished off by adding the word Dream, using some alphas from UmWow Studio


 I hope this is leaving you a little inspired, and wanting to join in the fun of this month's challenge! We'd love to have you join us!
 
Happy Creating
Karen xxx


Friday, May 02, 2014

inspiration may challenge

Hi Hermine here, this is my inspiration piece for the May Challenge. Look for more information about the challenge in the previous article.

http://vivalas.blogspot.com/2014/05/may-challenge.html


step 1: take a rat trap and remove all the hardwear. Give it a coat of black gesso. After drying give it a coat of white gesso but at a way that it shows brush strokes. After it is completey dry sponge with colorbox crafter's and heatset it.
step 2: stamp with Colorbox Crafter's at the top the ornament and at the bottom the script from plate 1440 Heatset it.
step 3: stamp with M'xed Media Inx Jasmin the butterflies from plate 1440 at the left side. And with Stazon Black the text Not all who wander are lost from plate 1440.
step 4: take a stylus tool tip round and dip this in the Colorbox Crafter's and stamp two rounds on the right hand side. Take a smaller circle and do the same with the green, then take an even smaller circle and do this with white. Trace around it with a black fine liner.
step 5: stamp the sitting elephant1957  on a piece of cardstock, cut out and colour in with Lyra crayons and a water brush. Glue on the trap and give it some shades witgh Lyra.
step 6: colour 2 tiny cloth pins with Colorbox Crafter's
step 7: take a wooden heart, screw in some hooks and stamp with Colorbox Crafter's the ornament from plate 1440 on the heart. Ink in the butterfly (also from plate 1440) with Stazon Black and colour it with Lyra crayons. Stamp with Stazon Black the word Daily from the December Daily plate 1430.
step 8: Assemble the rat trap with the hardwear and hang the heart. Put the tiny cloth pins on the righthand side.
step 9: put a paperclip at the top, so you can hang it on your wall.

Hope you like this inspiration and hope to see you at the challenge.


Warmly Hermine


Used metarials:
plate 1440
December Daily plate 1430
sitting elephant 19157
Stazon