Hello VLVS! Friends,
It's Mail Art Monday! Elina here, sharing with you my very first mail art project!
For some reason I had only admired gorgeous mail art projects here in our blog and in Pinterest, but had never before tried it out myself. I love the idea of not just sending something beautiful and handmade to a friend inside an envelope, but also creating art on the envelope itself!
Decorating this craft envelope was so much fun that I'm convinced it will not be my last mail art project. Quite the opposite; my head is already spinning with new ideas!
Here's how I made it:
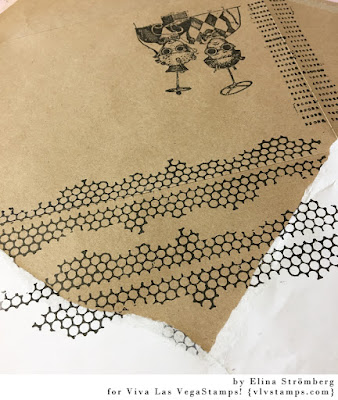
I used a ready made craft envelope, and before starting I gently opened completely using a kitchen knife. I started with stamping a few images on the envelope front, letting the images continue on the backside, too.
Using a piece of white paper as mask, I continued decorating the back lid. Masking was not absolutely necessary, but I wanted to leave a blank border around the lid.
The address shall be written inside a thought bubble. I sketched the bubble with a pencil, and drew over the sketch lines with a black marker.
I colored the main images with color pencils, and added some hightlights to the thought bubble and patterns, too. Light tints look great on dark craft background!
Here's the finished project:
Backside looks like this:
For my mail art project I used the following VLVS! stamps:
Whimsical Kids in Futuristic Hats
Punchinella/Sequin Waste Border
Typeset Scallop
Rows of Numbers
Carved Xs
Other supplies used:
Craft envelope
Coloring pencils (white, yellow, orange, light and dark green)
Pencil
Thin black marker pen
Happy stamping!


4 comments:
Great mailart Elina !
I'm so inspired! I only saw the front side on FB. Brave lady for taking the envelope apart! But it takes the concept of decorating the envelope to a new level! LOVE!
Fantastic envelope Elina!
Love the mail art design! xo Cheetarah
Post a Comment