Sunday, August 19, 2012

My 1st Journal entry


These Clairefontaine Journals were provided to our Design Team. Comment on all the Clairefontaine posts throughout the month to get a chance to win a free journal and a $15 coupon to the VLVS! online store!


I have been working with the Creative Imaginations design team.  A big part of this is making ATC cards.  I used my Clairefontaine journal to attempt trying out some of my favorite Viva las Vegastamps! ideas for ATC's.  I did some layout 2 1/2 X 3 1/2 size designs.  I have made myself a clear plastic template to layover the stamps or stamp combinations to see how the look at this smaller size.  I then traced around my template and try different areas to see what I like best. 


Igor 2 1/4 x 3

Igor item no.2031           haunted house item no.4470

Nesting Gears 2 3/4 x 3 3/4Facial Features Small 2 1/2 x 2 1/4        
          Nesting gears item no. 2038 and facial features item no. 8852

Reindeer 2 3/4 x 3 1/2

Reindeers  item no.17972


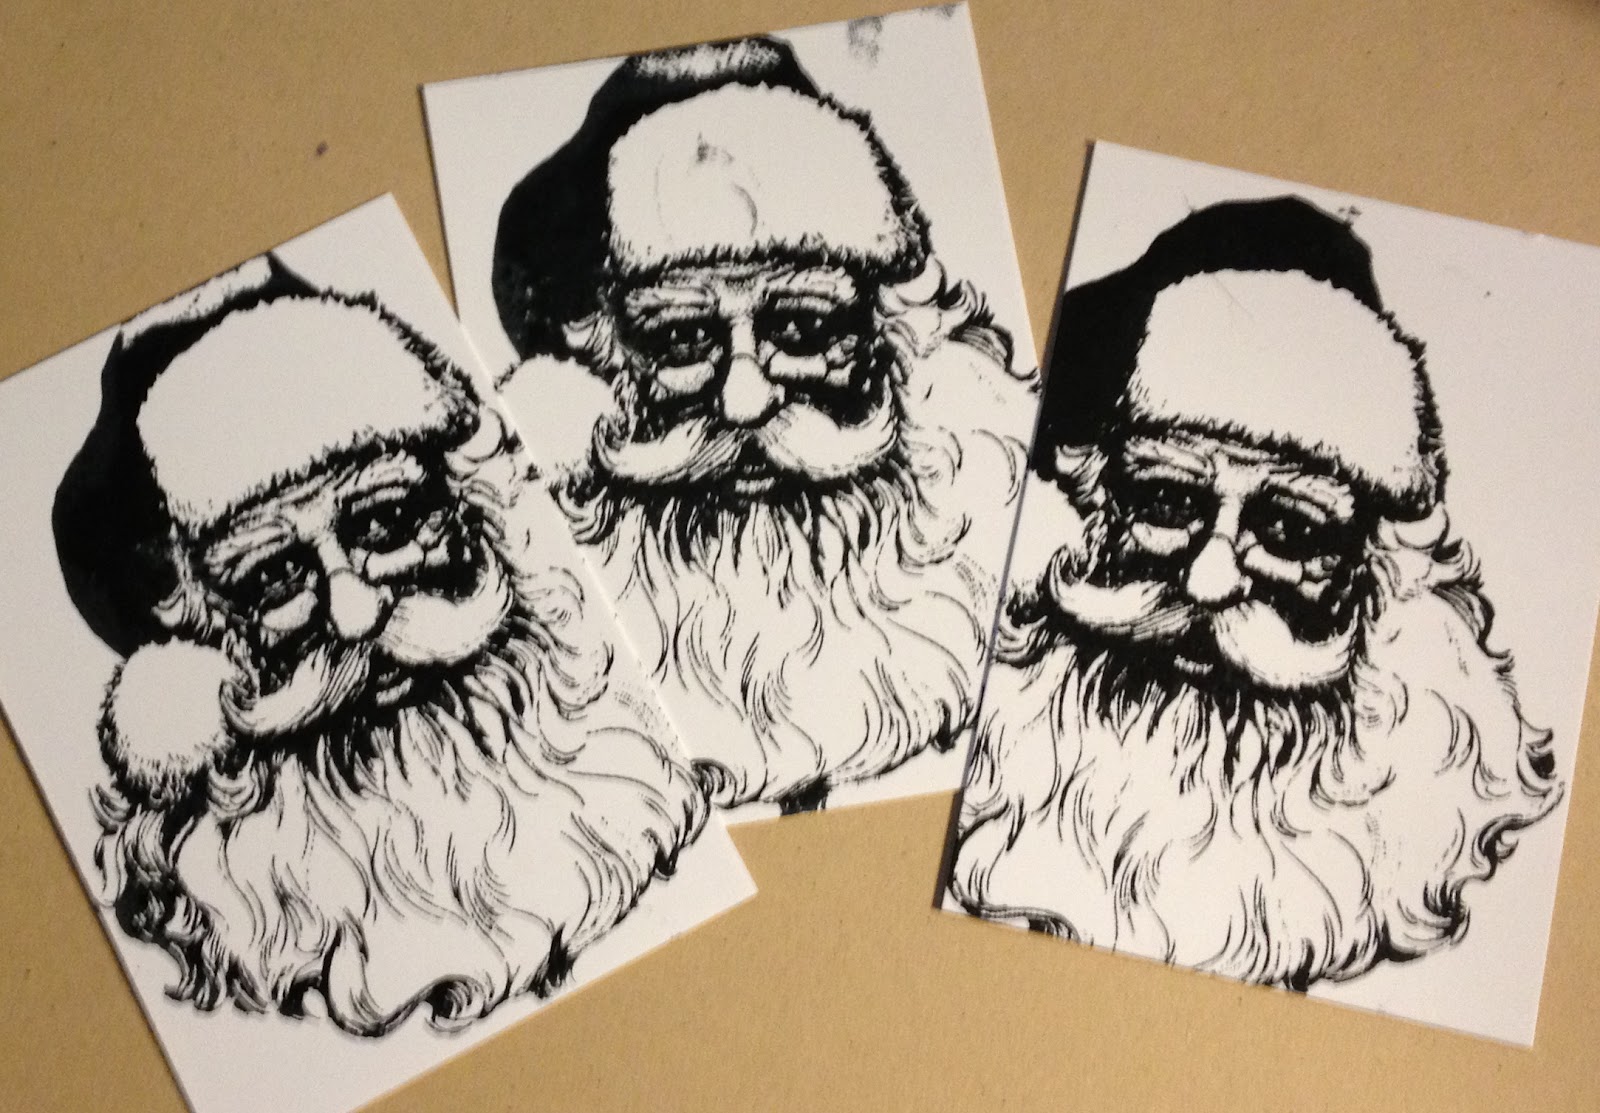
Santa's Face 3 1/2 x 4
Santa face item no.2034
I then tried out my designs on actual ATC cards.

Crack the Glass with Floor Paste Wax


Supplies:
Johnson’s Paste Wax
Tsukineko - Ink Crystals – Walnut
Ultra High Gloss Clear Embossing Powder 

VLVS! Stamps:
Tree Writing Collage 4 1/2 x 5 3/4All Hallows Eve 2 1/4 x 3 3/4 
Ink/pads:
Ranger Archival Ink-Black
Tim Holtz Distress Ink-Vintage Photo
Ancient Page Re-Inker-Cardinal

Papers:
12x12 sheet Colorbök’s Specialty Pack
8.5 x 11 Paper Accents Heritage-Aged Parchment

Tools:
Scissors
Sponge daubers
Water (or Walnut crystals already mixed in water)
Brush

Creating the ‘Cracked Glass’ effect
Stamp the images in black on the Kromecote paper, leaving ½-1 inch around each so you can tear them out and still have white surrounding them.
Tear the images out.  You want rough edges.
Brush generous amount of wax over the entire surface of the Tree Collage Image.  
Dip the brush in the Walnut crystals and brush them in the area surrounding your stamped image.  I brushed up around and over the edges of the image because I didn’t want an evenly ‘square’ look.  It can take a minute for the crystals to liquefy.  If they don’t liquefy, then add just a touch of water. 
Drop a single drop of the Cardinal re-inker towards the bottom of the image and brush into the walnut stain.  A little Cardinal goes a long way, so be careful.
While the stain is still wet, heap on clear embossing powder to cover the entire waxed piece and heat ‘til melted. 
Cover the entire piece in wax again, and again coat in embossing powder and heat.  Let cool.
Once the piece is cool, fold it in several places until the wax cracks.
Gently rub the Vintage Photo Distress ink over the cracked edges to bring them out.
Set this piece aside and repeat the whole process for the ‘All Hallow’s Eve’ piece.

Putting the card together
Place the Tree Collage piece you just finished on the 8.5 x 11 Aged Parchment sheet to eyeball the size.  Tear out a piece of the Aged Parchment so that is it roughly ¼ inch larger than the Tree collage piece.  You want rough edges.
Use the Miracle tape to adhere the tree collage to the Aged Parchment.  I tilted my Tree Collage slightly to once again avoid a straight-edged square look.
Take the 12x12 Colorbök’s sheet and fold it in half with the white side in, to make it a card.
Place the Parchment/Tree piece on the lower right of the Colorbök’s to eyeball the size.  Tear off the top off the Colorbök in a rough tombstone-like curve so that there will be about 1 inch around the Parchment/Tree piece.  You want rough edges.
Adhere the Parchment/Tree piece to the Colorbök with the Miracle tape.  Again, I tilted it a bit.
Drop a few crystals in a small amount of water (or used already mixed Walnut stain) and use a sponge to daub it on all the rough edges.
When the walnut stain is dry, tape the All Hallow’s Eve piece to the card. 
Add whatever sentiment you wish to the inside of the card.

Lb o' rubber winner!


Thanks so much everyone for playing along with our referral contest and trying your hardest to get us some new fans!!!


I've decided that even though we didn't reach our "numbers" - in celebration of YOU.. our FANS.. we'll give away a pound o' rubber anyways!!

Just comment on this post with what sort of images or genres you think we need to add to our stamp selection

Friday, August 17, 2012

You're a doll

Today's post I thought I do some art dolls. The bodies are tags that I die cut using the Tags Sizzix die, with using paper that embossed with the Cuttle bug embossing folders in the retro 50's that  I was RAK'ed . I looked through my Viva Las Vegastamps! for the right stamps to use for them.


This one I  painted the tag with a little bit of french vanilla craft paint and a little white craft paint. let it dried and then sanded so the design would pop. The legs are from Grunge Board Elements. One is an arrow and one is a hinge that I chopped the decorative bits off. I glued the arrows with Aleen's tacky glue. I find that is the only glue that the grunge board will work. The wings are from the negative from the same Grunge board set, using it in a stencil as you will see in the rest of the art dolls.  I set the now stencil over a piece a paper. I then traced the designs I wanted to use, just to make it easier to cut out so I can see. I took some of my Lindy's starburst sprays and sprayed some color on the paper. I cut them out and glued them on the back of the tag.  I stamped Victorian lady with flowered hat on white card stock with a brown Vivid ink pad. Colored her with my Prisma color pencils. 


The wings for her I used a red and yellow sprays, making some bits orange. Again I stamped Victorian lady with hat on Brown Vivid ink pad. colored her with prisma color pencils. The legs are arrows that I painted black. Glued the wings and head with glossy accents and the legs with Aleen's tacky glue.


This one is probably my Favorite of the 4. I stamped the Smiling baby on kromecote using a Versafine Black ink pad. Embossed using Ultra High Gloss Embossing powder. Colored the face using Prisma colored pencils. The crown is another part of the elements grunge board that I was now using as a stencil. I sprayed some black and other colors. The arms and legs are Grunge board arrows, that I painted black. They are actually 2 different sets. one is dots and the other is swirls.


This one is another favorite. Used the same smiling baby. I put a different crown on her. Glued the last of my grunge board arrows on her too. I stamped the Striped butterfly using black Versafine ink pad on the kromecote. I pained the wings using the Artist loft watercolors. I then added some shimmer using the pearlesent water colors.


Items used
Brown vivid ink pad
craft paints
cardstock
embossing folders
various sprays
Grunge board elements
Versafine Black ink pad 
Prisma color pencils
Glossy accents
Aleen's tacky glue

Stamps used:

Thursday, August 16, 2012

Memories.......

We are only here on this big ball of mud for a short time....
so enjoy!!!!!

I hope my page reflects that sentiment and makes you want to go out and 
MAKE A MEMORY!!!


Harlee (my 13 yrs. old daughter) and I had a girls day, back in May of this year.
We went to lunch at a local Deli and then we perused all the local shops and 
then we decided to visit the local cemetery.  
There are some really old tombstones there and she and I both love looking at them.

Even at 13, she said its a very calming experience...... 
I {heart} that girl!!!!!

On the journal page above (in my new Clairefontaine journal)
 I used several items listed below....

Rubber stamps from Viva Las Vegastamps!
Film strip #18921 (which I stamped on velum using Black staz-on)
Clock hand 
Retro flower punch
 (dragonfly wings, tear drops and decor along side sentiment)
Inked background using a mister bottle with some ink dabbed onto wet surface.
Inked around pic and tree background with sponge and ink.
Miracle tape to adhere pieces to journal page.

Love how this turned out!!!!

Hard to tell from the pic, but Harlee is posing next to a tombstone that's carved to look like a tree trunk. It has a beautiful poem inscribed on it and she fell in love with this one. 
I have learned that most symbols on headstones are not just beautiful, or that the person liked that particular thing.  There are certain meanings behind those symbols.
 Here are a few:
Ivy - Friendship
Angel - Spirituality
Scroll - Symbol of life and time
Urn - Old age (morning if draped)
Lamb - Innocence

Well, a tree trunk represents "The beauty of LIFE"

I think I have found the tombstone for me when that inevitable day
happens and I'm taken from the standing up position.

Don't get me wrong...... I plan on going KICKIN' AN' A SCRATCHIN'
But when I do ...... I want that as a symbol of my life.
As artists don't we find beauty in the most unusual objects...
Bwahahahahahahaha!!!

FYI: I have some hidden meanings in my journal page....
film strip (take many many pics of your loved ones)
Dragonfly (power of life)
Tears (for those that have left too soon)
Blue (sad to see them go)
Clock hand (time doesn't stand still)

Hope you enjoyed your short journey of my 
somewhat cluttered mind. 

Until later, beauty seekers........Gotta split (for now)...........TFL!!!!
Photobucket

Tuesday, August 14, 2012

The Sailor Says "Brandi....."


A journal page does not necessarily have to be created with "real" things happening in your life.  I like a surrealistic point of view.  I used to draw people and friends would say "who is this?"  Well 99% of the time, I've made up the person. 

VLVS gives me the tools with their images to create a surrealistic point of view without having to draw myself.  I LOVE IT!  I've made up my own story to the song "Brandi," which I believe was out in the late 60's early 70's.   The sailor says his life - his love and his lady is the sea.....but what is in the sea?  A beautiful mermaid.  So I changed the story a bit!

Creating this page took some time and planning.  I used various techniques with MicaColor Watercolor Palettes, Jewelz mica powder (great over the watercolored sand for texture) and overlap stamping for the sea.

I bought the unmounted version of this stamp and overstamped slightly on the edge to create the water.  By using a white gel pen and MicaColor watercolor, you can achieve the look of continuous waves.

For the mermaid, I cut the bottom of the tail and used my Miracle Tape to adhere to the water.  I positioned the mermaid parts in a way where the waves are lapping up.  It is to give the illusion that the mermaid is in the water and the tail is curved and coming out of the water at another spot of the sea. 
The sparkle of the sea and sky and texture of the sand does not show with the photograph.  Using Jewelz mica powder over the sand gives texture and sparkling dimension.  Add the mica powder while the watercolor is damp (not wet or you get a mess) and it holds to the surface.

A mix of stamping right on the page and stamping/coloring/cut-out, add dimension.   


VLVS Stamps Used:

18808  Mermaid  (Buying 1426 gives you 2 mermaids and lots of other images!)

This month we are celebrating these wonderful Journals :

the Clairefontaine Journals provided to our dt.. this on by LR - comment on all the Clairefontaine posts throughout the month to get a chance at a free journal and a $15 coupon to the VLVS! online store! http://vivalas.blogspot.com/
2012/08/

yo-ho-ho-and-some-art-journalin
g-too.html You can check up on all things journal related at the Rhodia Drive blog: http://rhodiadrive.com/ and also on their Facebook page: http://www.facebook.com/pages/Rhodia-Drive/98458096197.

Post a comment - random drawing to win a journal valued at $15!!!!!  Quality sketch paper, huge workspace, best way to journal!


Use moments in your life, make up stories from your imagination or song lyrics....Express Yourself!!!

Here's the link to the YouTube Song:  Brandi

Cre8tivelea Yours,   Lea

Alright Alright!! Here are the details for our Referral Contest!!!

While the boss is away.. the kids are at play!!!!!

It's stamps galore for you! Our fans mean the world to us and we're thinking if we round up some more we'll give you, our here-since-the-beginning-ites, some rubber!!

Monday, August 13, 2012

Stamp-Boards in my Clairfontaine Journal

I have always wanted to try my hand at a stamp-board, you may ask what am I referring to? Instead of always having to buy your background papers for your cards and scrapbooking make your own!  

With my awesome journal from Clairfontaine I have been dabbling with stamp-boards.  The 83lb paper is the perfect weight, I have sprayed each page with a mist before stamping and they didn’t buckle!

All pages were misted first, set aside to dry and stamped.  All stamps are from Viva Las Vegastamps! 

WRITER - DRAWING
Mist: Stewart Superior Memories Mist-Wheat Grass 
Ink:  Tim Holtz Distress Ink Tea Dye

Draw 


 DOILIES
 
Mist: Stewart Superior Memories Mist-Iridescent 
Ink:  Color Box Fluid Chalk - Rouge


PARIS
Mist: Stewart Superior Memories Mist-Sparkling Silver
Ink:  CTMH Barn Red (Stamped off)


STEAMPUNK
 Mist: Stewart Superior Memories Mist-Sparkling Silver
Ink:  Tim Holtz Distress Ink Barn Door(Stamped off)


Try making your own stamp boards!
The month of August, twice a week, the VLVS! Design Team is featuring journals entries   in “Carnet de Voyage Travel Album” by Clairefontaine. You can see Clairefontaine products HERE. As part of this month long event, Viva Las Vegastamps! and Clairefontaine are hosting a month long contest--comment on all the Clairefontaine posts throughout the month to get a chance at a free journal and a $15 coupon to the VLVS! online store!  You can't win if you don't enter!!! Good Luck!
The next Clairefontaine post by will be Friday by Aimee. 


VLVS! @ CHA!

I had the pleasure of sending some projects to CHA Summer for 2012 in Chicago.. and one *or maybe a few* happen to have had Viva Las VegaStamps! in them...

one would be this teapot Globecraft Memories globe I altered... check it out:


The
was stamped in Memento's Tuxedo Black and embossed with Viva Las VegaStamps's Ultra High Gloss Embossing Powder on Kromecote cardstock. The cheese was colored in with the Mustard Seed distress marker (we've got the best deal around on these!!) by Tim Holtz. 

Papers used are from Echo Park's Be Mine collection, and the steam for the teapot is the cotton from a q-tip! 

Sunday, August 12, 2012

A Mosaic of Stamped Flowers Make a Quick and Easy Card

It's Sunday and Welcome to Viva Las Vegastamps!!! Susan here with a quick and simple card. I hope you are having a fun day creating and getting inky!

I'm unwinding from Christmas in July and the Halloween madness is just about to begin...so I've made a sunny flower card using the Stylized Bee #3713 and Daisies #4994 stamps. 


I stamped the images using a Ranger rainbow ink pad with an orange to brown color blend onto a piece of handpainted yellow paper. I painted this particular paper using acrylic paints and a technique by Traci Bautista's from her book "Collage Unleashed". I really enjoy painting my own papers and I have a whole stash of them in different colors. **A TIP** Whenever I am painting, I use any leftover paint on my palette to paint over vintage sheet music or book pages; or just to paint over white cardstock. 


I stamped the Daisies on the bottom right side. Then I made a couple of quick masks with stickie notes and continued stamping daises across the bottom of the sheet, masking each before overlapping the next impression. That creates a beautiful garden of daisies - all it needs is a stamped bee. Since I stamped over acrylic paint, I heat set ink to make sure it was completely dry and wouldn't smear. 

I cut the paper apart into asymmetrical sections then inked the edges of each. I adhered the pieces back together using my MIRACLE TAPE into a mosaic pattern. I added some touches of color with a few colors from my set of Ranger Distress Markers. The "Picket Fence" {white} really makes the daisy petals pop. I added a few bling gem rhinestones...and a quick and easy card is ready to go!


Throughout the month of August, twice a week, the VLVS! Design Team is featuring sketch journals by Clairefontaine. You can see their products HERE. As part of this month long event...Viva Las Vegastamps! and Clairefontaine are hosting a contest this month--comment on all the Clairefontaine posts throughout the month to get a chance at a free journal and a $15 coupon to the VLVS! online store! Great prize!! Good luck!! Remember, you can't win if you don't enter!!!

The next Clairefontaine post by will be with Lyneen on Tuesday. 


I am currently working on another art journal page in my Clairefontaine journal and I can't wait to share it with you. Please take some time to stroll around to see what the rest of the Viva Las Vegastamps! Design Team has been creating as well. To see what else I've been up to please visit my blog, sbartist : painting in the dark HERE. I will be back with another inky adventure on August 20th.

Have a great day! Sb