Showing posts with label Ouija Board. Show all posts

Friday, April 04, 2014

Bewitched {Mixed Media Scrapbook Layout}

ouija stamp, bew, allassiter
Hello stampers, It's Amy here today, sharing a layout I created with some pretty rad stamps. I used a photo of my daughter, and used some of her favorite things........mystical, magical things.
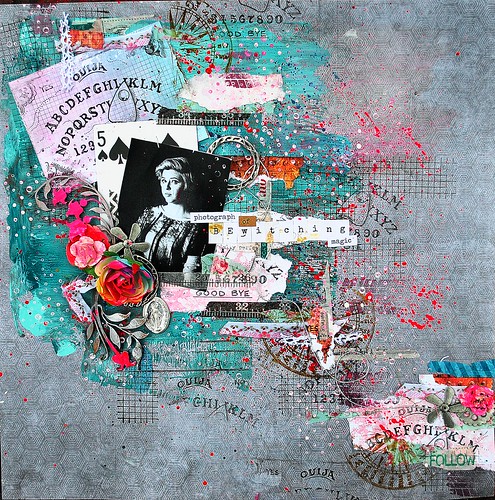
Bewitched, ALLassiter, VLVS
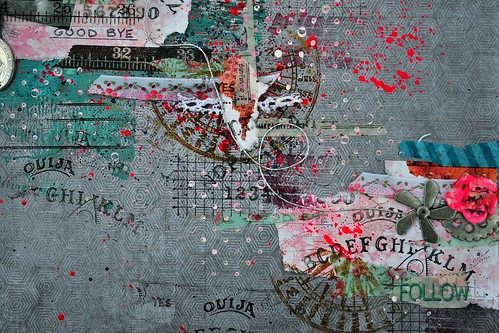
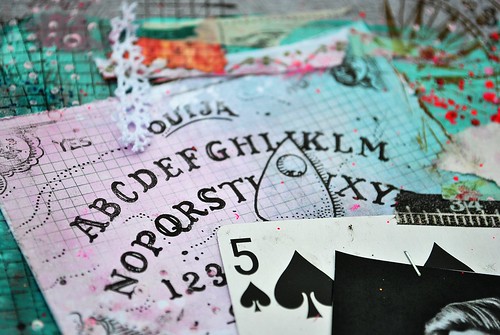
I started by painting my background, and then finding a few coordinating papers, that I then stamped with the ouija board onto them, using Momento ink in Tuxedo Black. Next I stamped random lines with the washi grid background, using Ranger Archival Ink in Coffee; and then layered on the photo and playing card, as well as some more paper bits and washi tape.
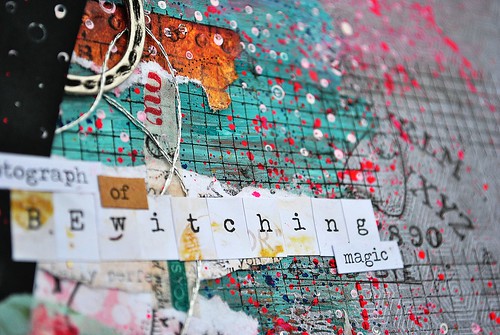
title bewitched
When those were complete and adhered, I stamped with the directional circle
, as well as inking up only bits of the ouija board stamp, and randomly adding some stamping to the background. After adding my embellishments, I stamped throughout using paint, with the cross square background stamp...which really completed it for me. 

close flower, bewitchedbottom section, bewitched,allassiter

 Thanks for having a look today, and I hope you have a creative day! :)

Supplies used: Viva Las VegaStamps-ouija board, directional circle, washi tape grid background, cross square background
Paper-7 Dots Studio-Illumination, Messy Head, Domestic Goddess
Flowers-Prima
Chipboard-UmWowStudio
Stickers-7 Dots Studio
Paint-Plaid folk art Ink-Hero Arts, Tsukeniko/Imagine Crafts, Ranger, Liquitex

Sunday, October 09, 2011

Ouija Board Halloween Card


Ouija Board Finished Card (5" x 7")


Welcome! I’m happy to be posting the first project of my second term on the Viva Las Vegastamps! Design Team.


Glitter Sepia Trees on Linen from The Robin's Nest


This month, the folks at The Robin’s Nest provided us with a selection of their papers to use in our projects. As I flipped through the pile, I saw my favorite – Glitter Sepia Trees on Linen. I love the color, tones, shadows and glitter. I knew I had to use it on my project.


I always think of spooky things being conjured up when someone uses a Ouija board and Viva Las Vegastamps! has the perfect stamp of a Ouija board! It measures 3.25” tall x 4.25” wide. Combine that with ghosts from The Robin’s Nest’s Glitter Ghost Camo cardstock and you have a successful séance.


Glitter Ghost Camo cardstock from The Robin's Nest


I wanted the sentiment to look like the Ouija board and found out that the most common font used on Ouija boards is Captain Howdy. You can download it for free from Urban Fonts. In case it sounds familiar, “Captain Howdy” was the name of the spirit the little girl talked to on her Ouija board in The Exorcist, so it’s the perfect font to use for Halloween.


With the paper, stamp and font set, I was ready to create my ghoulish 5” x 7” card. Here are the steps I followed.


  1. Print “Happy Halloween” in Captain Howdy font along a curve on acetate. Cut out.


  2. Cut a background mat from Glitter Sepia Trees on Linen (4.75” x 6.75”). Ink the edges.


  3. Cut out some ghosts from the Glitter Ghost Camo cardstock.


  4. Stamp the Ouija board on Sizzix Little Sizzles™ Hombre Texture Pad paper. The brown looks just like the aged wood you see in vintage Ouija boards. Cut out. Ink the edges.


  5. Stamp the Ouija board again on Sizzix Little Sizzles™ Hombre Texture Pad paper. Cut out the planchette (small heart-shaped piece of wood). Punch a hole at the end and attach a small piece of acetate to the back to cover the hole. This will make it look like the real playing piece, which has a small glass window that reveals the letter under it on the Ouija board. Ink the edges.


  6. Assemble the card.


  7. Adhere the planchette to the Ouija board with a pop dot.
    Adhere the background paper to the card base.
    Adhere some ghosts to the background paper (so they are coming out from behind the Ouija board).
    Adhere the Ouija board with pop dots.
    Adhere some ghosts so they are on top of the Ouija board. Use pop dots to support the parts that aren’t attached to the Ouija board.


Check out my other projects on my Create & Craft blog and Happy Halloween!
Joe Morgan