Hi Lovelies 💜❤
I'm back again at the Blog with a new project.
Today, I wanna share my brainy shakercard :
Some close-ups:
And here are the single steps, how I made it:
1.) I choose black cardstock to create a folded card. Aquarellpaper for the images and of course rubberstamps.
2.) I stamped my main image onto the aquarellpaper.
3.) Stamped some brains onto a seperate piece of aquarellpaper.
4.) Cut out the inside of my jar image, as also all the brains. I kept the jar inside piece to design it.
5.) Now, every single piece is designed and waiting for the next step.
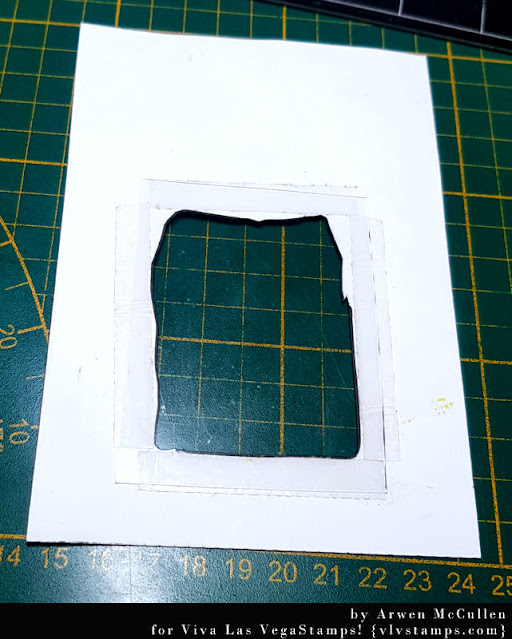
6.) I used duct tape around the image hole on the backside and stick a fitting piece of foil on it.
7.) Next step - stick some 3D pads around the hole. I used my selfmade 3D pads, so I can cut some larger rows.
8.) I filled the hole with my brains. Beware to make sure, the frontside looks down.
9.) Ok, before I stick my project onto the folded card, I framed the whole card with 3D rows at the backside.
Just stick it onto the folded card now and that's it!
All stamps, I used:
- Brain
Other materials:
- black cardstock
- aquarellpaper (Canson)
- Staz on
- Dylusions Shimmer spray
- Distress reinker
- Distress Oxides
- thick foil
- 3D pads
I hope, you like my card :)
See ya soon


No comments:
Post a Comment