Hi VLVS friends!
Sue Plumb here today to share my project for Mail Art Monday. I was actually inspired by the current "Under the Sea" Monthly Challenge to design this sea themed piece. Although I have created mail art before, it has usually been on a bigger scale (pizza boxes); so creating on this envelope was a good push to do something outside what I am used to.
When I started this piece, I realised I didn't have any larger sized white envelopes left at home, only some yellow ones. The answer? Gesso of course! And then lots of lovely layers over the top!
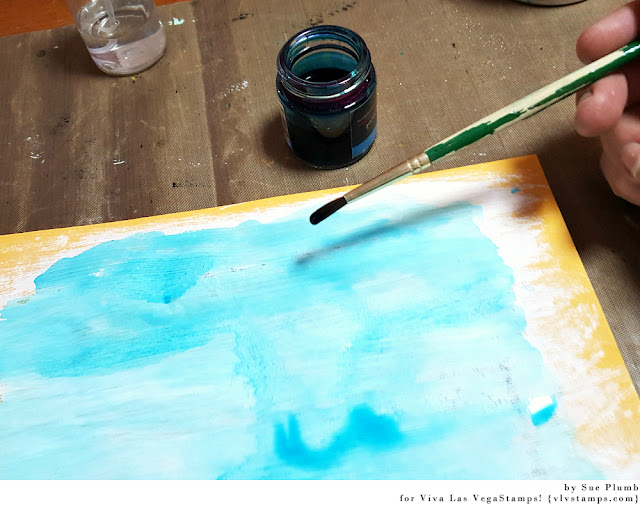
I started with some Colour Blast Colour Artist Ink, which I applied directly over the gesso, along with lots of water to help move it around before drying it off.
Next, I wanted to blend the edges of the envelope, so I used a Faber-Castell Gelato to scribble some colour around the edge before blending it with a baby wipe.
Next, I wanted to blend the edges of the envelope, so I used a Faber-Castell Gelato to scribble some colour around the edge before blending it with a baby wipe.
Then it was time to turn my attention to my focal images for my envelope. I had previously stamped some gorgeous jelly fish out onto tissue paper using the Jelly Fish stamp. Because the tissue paper is so thin, it means the image can been seen well from either side, which allows you to flip its orientation to face the other way.
I added some subtle colour to the jelly fish bodies using another Gelato, then used a Faber-Castell watercolour pencil to add some colour along the tentacles before sticking them down onto my envelope.
Once I had the jellies in place; I then took a piece of scrap cardboard to mark out the address box, before I used the same blue Gelato to blend around the edges of it, and also around the edges of my jelly fish.
Next, it was time to add a little greenery to my under sea scene, so I used the Doodle Flower/Garden stamp to add some plants along the bottom edge.
I also added some "bubbles" to create a sense of movement using my favourite Doodle Dots stamp. (I told you, there is no project this stamp can't be used on!) I also added some more pink to the jellies with a darker pink Gelato, as I didn't think they were "popping" enough.
I used a green Gelato to roughly scribble some colour over the top of my stamped plants before blending with a wipe.
To finish off my envelope, I added some blue ink splatters before removing the cardboard to reveal the address box. To help further define the box, I used a watercolour pencil to quickly draw around the inside border.
I am really happy with how this piece turned out; although sadly, I don't think it will make the mail. As soon as my daughter saw it she said "can I have that?" (she loves the ocean and its creatures) and I didn't have the heart to deny her.
If I was planning on posting this however, I would recommend a quick spray with a water based sealant to protect it from the mail handling process and prevent the colours being rubbed away.
Stamps used:
Other materials:
envelope
tissue paper
Colour Blast White Heavy Gesso
Colour Blast Colour Artist Inks (Calypso & Marine)
Faber-Castell Gelatos
Faber-Castell watercolour pencils
Staz-On ink


3 comments:
Such a great piece! Thanks for all the details, and I'd love to get my hands on that doodle dots stamp...
Love it. Want those stamps. Have the doodle flower/garden and it's one of my favorite stamps. Thanks for sharing your art.
Gorgeous !
Post a Comment