
Hello Again Everyone!!!
It's me Tera here again with another super fun tutorial!!
Today I want to share something that would be great as Halloween props, or for general decoration if you have a cabinet of curiosity's like I do! This is still in keeping with the creepy medical theme I have had the last few projects, as you can tell I LOVE this theme!!!

Stamps:
Plate 1430
Other Supplies:
Inks: in Browns, Reds, Blacks, (any other colors you like) I really LOVE VersaFine in Sepia, and VersaFine Black (because these two won't run if you need to add more distressing) as well as the distress inks in Vintage Photo, Walnut stain, and Antique Linen
Stamping Markers:in RED, BROWNS, BLACK, etc (these are optional if you want 2 tone labels like I made)
Miracle Tape (or your adhesive of choice to adhere labels to you bottles)
Small Bottles to alter
DISTRESS STAIN (vintage photo, weathered wood)
Cardstock (for string tags)
printer paper (for labels that will go directly on the bottles)
DieCut Tags (optional)
Scissors
String for tags
Non--Stick Craft Matte to work on
water spritzer
Start by swiping your distress stains (or distress ink) a crossed your craft mat, then spritz with water so the colors will flow better. Drag and blot your paper and cardstock through the stains (let dry between layers so it doesn't become "muddy", I love the look of the spots!)

Now (making sure that your paper/cardstock is completely dry) start stamping your numbers for your "Labels" In various colors to decide what you like the best, This is the fun Part!!!
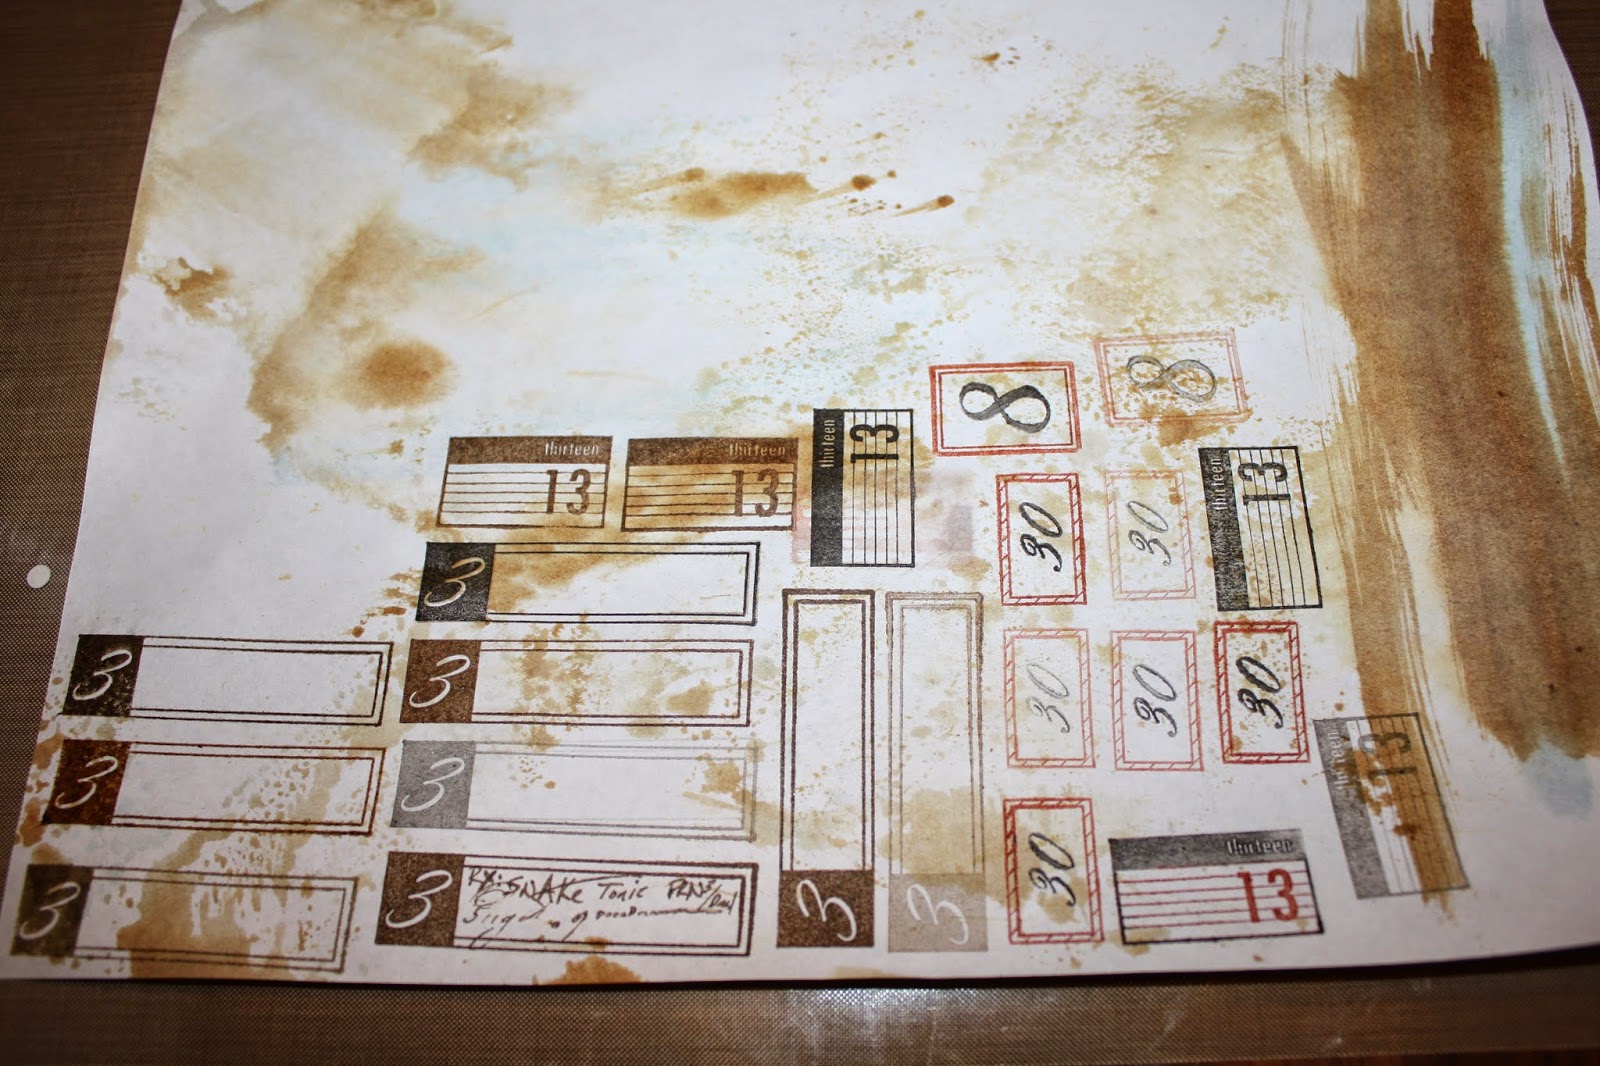
Once you have your desired # of "labels" cut them out, and decide if they need any "EXTRA Distressing" (many of Mine did!!)

Once you are satisfied with the look of your labels, use your Miracle Tape and adhere to your bottles!! If you've also created form hanging tags, grab some string and tie it to your bottles


Thank you all in advance for your comments!
Hope you enjoyed this fun adventure!!!
4 comments:
This project looks great. Very vintage and I love it ? Thanks for inspiring me Anneke.
Thank you!!! I love vintage goods and antiques but sometimes the real thing is exspensive. This is gar cheaper and more fun!!
Very cool!!! I love them!! I wanna makes some of my own now too! Thanks for the great inspiration! :)
Great project, Tera and the end result is spot on for vintage in a flash! Very nice tutorial!
Post a Comment