Showing posts with label tsukineko. Show all posts

Monday, September 21, 2015

Witchy Mail Art Video Tutorial

Hello again! 

Its me Tera here with another fun installment of Mail Art Monday!!!


Here in Ohio the air is getting crisper, leaves are falling and I'm loving my spiced tea and coffees... Fall is such a fun time!


 So today's tutorial is a fun Halloween themed envelope and postcard. 
(Stamp links at the bottom of this post)


And speaking of fall themed postcards don't forget to stop by the Viva Las VegaStamp! Groupies on Facebook to join our swap!!!  I know I was so excited for this swap! I'm mailing my 4 out this week (don't worry they are still taking sign ups and they aren't due to be sent for quite a while).

Stamps Used:

Jack o' Lanterns Along Fence 3 x 2 3/4


Thank you for visiting! I hope you are feeling inspired.  Stay inky!

Thursday, January 22, 2015

WOW... It's Chilly Outside!


Welcome to Viva Las VegaStamps! Susan here today and I'm so overwhelmed by my ever growing stash of VLVS! stamps – I can't decide what to stamp or create. So what's a gal to do??? Scroll through the hundreds of emails in my yahoo box from blogs I subscribe and see what's shakin'!

I found a winner... a cool challenge over at the Sisterhood of Snarky Stampers. SOSS #25 - W is for WOW it's Cold. Winner winner chicken dinner! I'm off and running and I know exactly what I'm going to use to make a couple ATC's to enter in the challenge.

I started out with a leftover section of marbelized paper using T!m's technique with Ranger Distress Paint Daubers, in wintery colors. Then I made some quick trimming to get my ATC blanks ready to stamp. I stamped my images using black waterproof ink and created a quickie mask of each with post-it notes so that I can layer in some scenery.

After stamping, I hand colored with my waterbrush and Sakura Color of America Gelly Roll Starburst and Soufflé Pens – this really gave the characters a fun "POP" of shimmery color. I added some layers of torn handmade paper at the bottom of each for snowbanks using Miracle Tape. EASY PEASY! I finished off with labelmaker stamped words and a smudging with Tsukineko Antique Gold Dewdrop ink around the edges. Totally chilly and fun!

WOW it's COLD!!!


Snow Much Fun!


• • • • • • • • • • • • •


Thanks so much for dropping by. Don't forget about the January inspiration challenge. Just make a creation using the inspiration above and your stash of VLVS! stamps... you could win more RUBBER! CLICK HERE for challenge details. Also, you definitely want to subscribe to the blog feed and to the Viva Las VegaStamps! newsletter to be IN THE KNOW of everything going on at the Viva Las Vegastamps! store. There's so much amazing inky inspiration to see!

If you would like to see more of my creations please visit my blog, sbartist : painting in the dark HERE. Hope you have a fabulous day!!  Sb

Tuesday, August 12, 2014

Mixed Media card for friend

Hello all :) Nataliya is here!
Today I will show you my new card and tell you how I created it.


Card a little minimalistic, but at the same time, gentle.


And, perhaps, you remember that I adore sparkle and shine)


And now, some tips for you)
I took a ordinary sheet of watercolor paper. On it I stamping VLVS! Victorian Ornamental Flourish 1 3/4 x 2 1/2 using Gelatos


It's perfect! Especially with Metallic Melon Gelato (sparkle and shine, sparkle and shine:))


Now I added some blots with masking fluid (I shall erase it later)


And add my fav spray :) with pearl powder :)


Little bit of watercolor:


And some stamping VLVS! Design Open Circles 1 3/4 x 1 3/4 with Memento Luxe and Radiant Neon:


For my taste, is not enough shine :) and I added pearl powder :)


It is time to erase the masking fluid!


I love this effect!


Background ready and you can decorate card :) I added a piece of paper, napkins, chipboard and frame.

Have a shiny day!

Wednesday, May 07, 2014

Four Vintage-Style Chunky ATC's

Hello all, it's Amy sharing a project today, that's just a little bit south of the average ATC....what I'm going to call "chunky ATC's!"
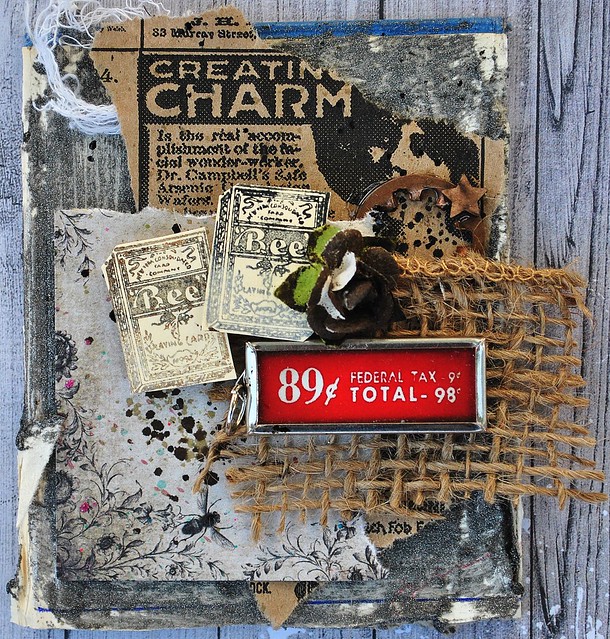
To start my 4 piece set of vintage images and their layers, I cut a 8x6 vintage book cover into fourths. I used the side that had a layer of paper, and painted over it with Viva Decor Ferro paint in Graphite. This gives lots of sparkle and texture.
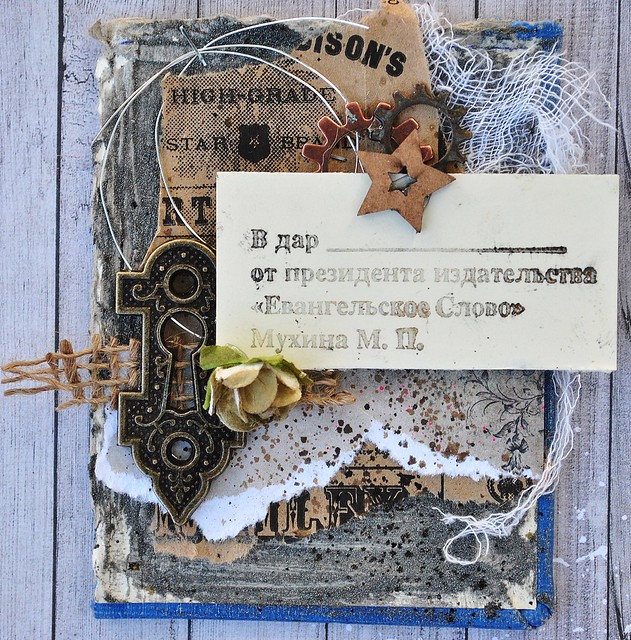
cyrillic full, Next, I grabbed a vintage printed paper bag I received from a local store, and upcycled it...it has some really fun images on it. I tore four pieces, and adhered using my Tim Holtz Tiny Attacher mini stapler. On top of this, I added a strip of paper, from the 6x6 Nature Walk collection by 7 Dots Studio, adhering with Miracle Tape. 
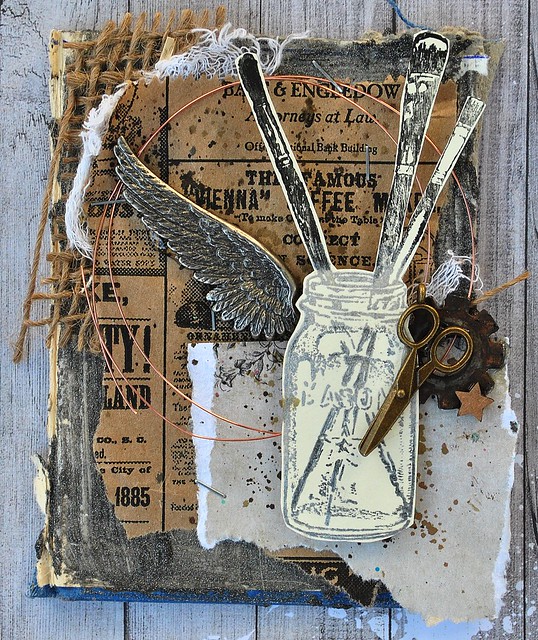
jar brushes full Prior to adding my stamped images, I added bits of burlap and cheesecloth....for even more yummy texture. Adding little splash of walnut inks here and there, gave a little flash of color, as well.
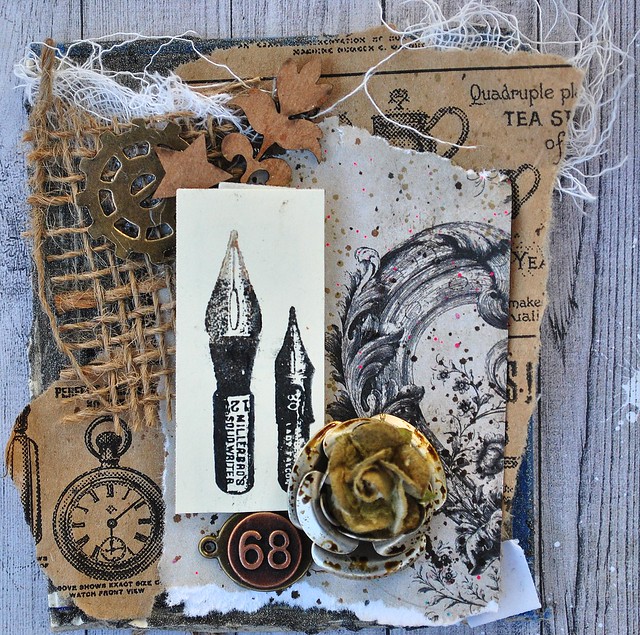
pens full Finally, I stamped my images onto a library card. For each of the images, I used gorgeous Tsukineko inks in copper, silver and gold.....and stamped them as a gradient for interest. I cut these out, and added with foam tape. After adding bits of chipboard, metal, flowers and more.......I had four cards done. bee cardsf ull I believe I will frame these in a vintage style shadowbox frame. I think that will add a touch of quirky vintage to my living room!
Thanks so much for having a look today!
Loves,
Amy

Supply List:
Viva Las VegaStamps!: Bee Cards, Russian Cyrillic, Pen Tips, Paint Brushes in Jar
Paper: Upcycled, 7 Dots Studio-Nature Walk
Ink: Tsukineko- Delicata Silver, Copper, Gold; Momento- Tuxedo Black; walnut inks- eucalyptus, java, terra cotta
Chipboard- UmWowStudio
Flowers- Prima Marketing
Metal Bits- Bead landing, Tim Holtz, 7 Gypsies