Showing posts with label chicken wire. Show all posts

Friday, April 14, 2023

Fall vibe by Tracy Blackwolf

 Hello Everyone!

Crazy weather and hot temps has made me miss my beloved fall-It inspired this art tag....

I started with a resin frame I had sitting around and have been wanting to use. For that I used a mould and black quick cure resin. once cured, I used rust effect paint to give it that old grungy look. 
i used some resin flies I had ready as well. Glued them on with some thin sticks. Then I die cut a spider web from card stock and used the rust effect paint again.
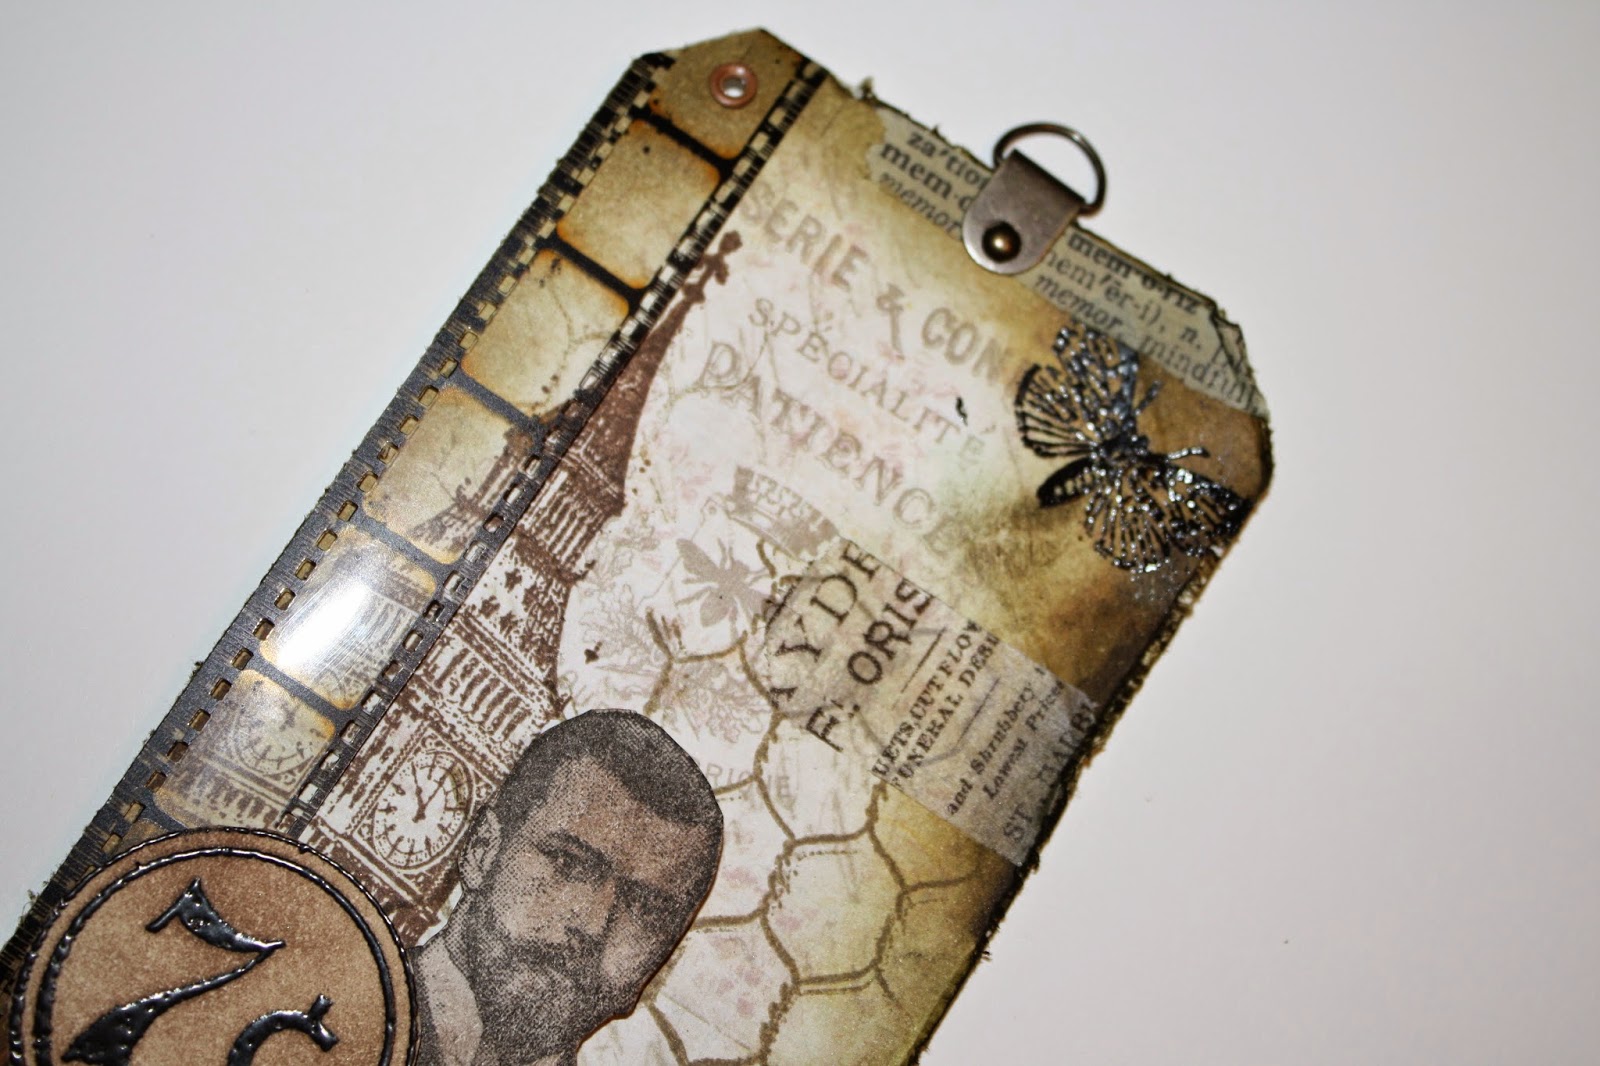
For the tag, I used Distress spray stains. Spray background with antique linen, dried, sprayed with some stormy sky, dry then drip on more colors drying in-between to get that mottled look. once dry, I stamped the chicken wire in brown. 
I then stamped the milk jug, fussy cut it out, sprayed with antique linen and rusty hinge spray stains. I cut a slice in top and put sticks in there. Taped them on the back and attached to the bottom of frame inside.
Showing the kind of brush I use for rust paint. I stipple it on. Make a jute bow and that's
 it. I use a really sticky double stick tape to adhere the frame to the tag.

Stamps used:
Chicken wire       5757
Metal milk jug     20021

Other supplies:
Distress spray stains:  Antique linen, Uncharted Mariner, Rusty Hinge, Spiced Marmalade, Stormy Sky, Black soot

Black Resin
Finabair moulds
Rust effect paint kit- Finabair
sticks from nature
Tag #8 TH


Monday, August 11, 2014

A Vintage Game of Tag

Hello, Its Me Tera here again with another fun project to share! 
Today I am sharing a fun Vintage themed Tag that I created. 

I started  with a base of patterned paper by Prima, and a main focal image that I wanted to build around. 
(From here I really got into the swing of everything and forgot to take progress shots as I went so bare with me while I try to explain my madness :-D) 

 I started by stamping Chicken Wire 3 3/4 x 4 1/2 randomly on the background in frayed burlap. 

Next I stamped the Big Ben 1 3/4 x 4 1/4 on the left side in VersaFine Sepia.
 I also inked and distressed around the edges in various shades of browns.  On a separate sheet of paper I stamped the Bearded Man 2 1/4 x 2 1/4  in verafine black and distressed it with versafine sepia. I also stamped the #7 from Plate 1430  then embossed it with black embossing powder before i cut it out and distressed it.  At the top right I stamped Butterfly Specimens 1 1/2 x 4 1/2 then also embossed it in black. To finish things off I added some film strip by Tim Holtz to the side, as well as some random spots of Tim Holtz washi tape. I popped up the 2 pieces on pop-dots, then embellished with UmWow Studio Gears

Below are a few more detail pictures :-D


Wednesday, April 16, 2014

Art Journal Faces for those who don't draw


Hello Again! 
It's me Tera Here with a fun tutorial on creating beautiful faces in your art Journals using Stamps!
 Who says you have to be able to draw to art journal?


 Have a peak at the first video for a quick and easy tutorial on how I created the beautiful face below. 
With rubber stamps you can create a completely cohesive piece without knowing how to draw!

(Part 1 The making of the face)

You can watch part 2 HERE 
If you're still playing along HERE's part 3
Finishing touches HERE for part 4

Supplies list in cast you want to play along: 

Rubber Stamps:

Eyes Looking Left 1 x 3Large Arrow Heart 2 x 1 3/4Chicken Wire 3 3/4 x 4 1/2The Usual Suspects 3/4 x 3Flying Eye Insect 2 3/4 x 2 1/4Harlequin Diamond Background 4 1/2 x 5 3/4, Number Strip 1 1/4 x 3 1/4Plate 1428Plate 1430, (in the example below I also used: Large Lightbulb 2 x 3)

Acyrlic paint in various colors (I used: pink,yellow, medium skin, green, aqua, white)
Paint brushes (various sizes)
Paper/Art journal for you to work on (I used vintage sheet music)
Scissors (because you never know)
Black permanent marker (Micron or Zig Vellum writer are my preferred markers)
Washi Tape
Gel Medium or Mod Podge (or your preferred adhesive)
You could also use scrapbook paper and word cut outs


I hope this inspires you! 
Please share what you create I'd love to see your art too!!


Wednesday, November 06, 2013

Be true

Hi guys.. Karen here with you again, Hope you have had a wonderful week.. Today It's  my turn to share with you my swap tag made using some amazing 7 Dots Studio .

I love all of their paper lines and find it so hard to pick which ones to use.  But for this one I've decided to use the reverse side of Deep Water from the 9th Wave collection.


- the colours in this line are just stunning!


I started off by covering my tag with the Deep Water paper.. I used the top left hand section to cover my tag so that I could get some of the more plain and the grungier sections of the paper on the one tag.
 
My next step was to ink up some VLVS Rubber...
 
 
Coffee Ring Stain 2 3/4 x 2 1/4
 
stamp with Distress Ink, I used both Walnut Stain and Black Soot at once to give it a bit depth. I then did the same with the Chicken Wire
 
Chicken Wire 3 3/4 x 4 1/2
 
 stamp, and randomly stamped both on the tag. I also stamped Be True
 
Be True 3/4 x 1 1/2
 
on a piece of the Deep water paper the same way to use in the ornate frame. The ornate frame has been painted with Antique Linen Distress crackle paint, and inked with a bit of black soot distress ink when dry.
 
The next thing I did was of course to sew around the edges with my trusty sewing machine.. To finish off I added in a fussy cut butterfly coloured with distress markers ,some wire and twine, a metal corner, and number and some gorgeous Star Confetti from UmWow Studio..


So don't forget to drop on by the 7 Dots Studio Blog for a visit!
 
 I'll see you a bit later in the month, Thanks so much for stopping by today..
 
Happy Stamping xxx


Friday, October 11, 2013

October Guest Designer : Kathy Clayton!

Help us welcome our October Guest Designer Kathy Clayton!


Hi!  Kathy here today and I want to share with you a mixed media layout I did . . .  it is actually the 4th one I have done this month.  I had received a big package of flowers that I had been dying to use, so I finally took the plunge and decided to use them with some VLVS stamps and along with some techniques I learned online a few weeks ago.  I am so excited (and more than a little nervous) to be a Guest Designer here on the VLVS! blog.  I mean, I have seen what VLVS's designers have done . . . and they are so A-W-E-S-O-M-E and so inspirational.  I just hope I don't trip in their shoes. lol 

But first, a little about me.  I live a little town outside of Des Moines, Iowa, with my husband and 17-year old daughter. I am a 2x cancer survivor . . . the 1st time being 17 years ago and the 2nd time 10 years ago.  Being a 2x cancer survivor and dealing with other life-threatening illnesses, I've learned to take chances whether it'd be a new treatment, meeting new friends or trying new techniques/projects (like I did for this project).   What's the worse that can happen if doesn't work? I have to try again?  There are worse things in life.  I love to craft, can, cook, read, garden, quilt . . . well, just about everything working with my hands while being creative.  My blog is http://www.upinthenightwithkat.blogspot.com
 
Now on to my layout:


For this layout, I got my inspiration from one of my favorite designers, Czekoczyna I used a few of my favorite VLVS! stamps along with one of my daughter's favorite colors . . . also a picture she took of herself and sent it to me.

I used the following VLVS! products:

Other items:
UmWowStudio flair, May Arts lace and jute, black Archival Ink, misc. washi tape, various patterned cardstock from Basic Grey, Prima & Pink Paislee, gesso, Glimmer Glazes & Mists from Tattered Angels,  masks from Prima (dots & checkerboard), assorted flowers; a stick pin (I made this for a swap I was in), rub-ons & a key from Tim Holtz, chicken wire chipboard from Dusty Attics and black drawing ink

Since this was a long process (as least for me), I am only going to highlight the most important parts of what I did.  The very 1st thing I did was use my Miracle Tape and taped some Super Stock behind the cardstock I was using . . . this was to help stiffen it so it wouldn't buckle under the weight of all the embellishments I was going to use. Then I adhered strips and squares of different papers using Helmar 450 Quick Dry Adhesive (it is important to use a liquid adhesive for this first part so the paper doesn't wrinkle as much).  Once I had my paper down in an assortment that worked with the picture I was using, I added some washi tape.  After that, I applied gesso over it using a square piece of plastic (this is to help pull of the papers together) and added small clusters of checkerboard throughout.


I then added my picture using foam tape. (I did cover my photo with a blank piece of cardboard as not to get ink or glue on it . . . I just wanted it there to help with placement of my flowers and such). Then I started adding clusters of flowers, pieces of chicken wire chipboard, lace, and rub-ons.  Then I went to work with my mists and glazes till I was happy with the results.  I added some jute, a stick pin and a key to my clusters of flowers.


Once I was finished with all the adhering and misting, I stamped my VLVS! images here and there.  I added the chicken wire stamp in various places around my photo and lower flower cluster. Stamped "Pure Imagination" below my photo and stamped "Be an ADVENTURER" to the right of my photo . . . I ended up trying to double stamp it, trying to "shadow" it, but it didn't quite work the way I wanted.  But I am happy with it anyway....as I always say, "There are NO mistakes, only creative discoveries . . . nothing is right or wrong."

Added some bling and some droplets of black drawing ink and VOILA! I was done.


Thanks so much for stopping by.  I hope I was able to inspire at least one person today . . . if I did, my world is complete (well, at least for today it is - lol).   I can hardly wait to share my 2nd project in a couple of weeks.

Monday, March 11, 2013

Sharing a canvas set...


Hi Stampers! DeeDee here, today! 

I wanted to take the spotlight off me for a little while and show you something an avid VLVS! fan made. If you remember I posted a couple months ago about doing an altered canvas set where we use stamps to help us create a background on our canvases!


Well after a few bumps and bruises we got through the first half of our class yesterday and here's what Michele created:


Now I only showed her how to do the canvases, she took it upon herself to use her knew knowledge and alter the tray that she mounted the beauties in!

We used stamps:
Six Hex Background
and Michele also used on her own:
Line of Chevrons

All the stamps have been stamped in gesso and then colored with glimmer mist and distress stain.
Then the canvases were altered and layered in all types of mixed media goodness! Michele went even further by altering her tray and adding the canvases as their own complete layer.

You can see a close up of the six hex used here:


WELL DONE MICHELE!!!

Tuesday, February 26, 2013

Spring is Coming!!!

With Spring come the BUGS!!! 
Here are a couple of buggy cards for you!

Grandville Bug & Bike
With black ink on white card stock stamp VLVS! Grandville Bug cut mask of VLVS! Grandville Bug to cover stamped image then stamp VLVS! Clockface Bike. Heat emboss images with VLVS! Ultra High Gloss Embossing Powder. Stamp VLVS! Christmas Trees Large in the background, the more distant trees stamp off some ink before stamping on the card.  Heavily distress bottom edge of card with brown ink, lightly around the sides and top. Adhere to green base with VLVS! Miracle Tape.

If you haven't seen all of the Grandville Stamps you should go check them out in the VLVS! online store.  Search for Grandville and you will be delighted with them!

Supplies for Grandville Bug & Bike:
Ink
Card Stock


Bees on Honeycomb
On yellow card stock stamp VLVS! Chicken Wire with brown ink, using black ink stamp VLVS! Large Bee once and VLVS! Small Bee twice. Heat emboss images with VLVS! Ultra High Gloss Embossing PowderHeavily distress edges of card with brown ink. Adhere to brown base with VLVS! Miracle Tape.

Supplies for Bees on Honeycomb:
Ink-Black and Brown
Card Stock Yellow and Brown

Spring is just around the corner!
Get your bugs at Viva Las VegaStamps!

Monday, December 03, 2012

a 12x12 Layout with VLVS!

Hey All! DeeDee here today! I'm sharing one of my serious all time favorite layouts!
This page has all my favorites on it! Including my husband and son. 
First I started with a piece of recycled cardboard and bobunny vintage double dot. Both were distressed, one with ink and one with a prima distressing tool. I also used strips of paper by echo park, punched some with a martha stewart punch, and distressed all.
I used the Chicken Wire stamp twice, once in the background with white embossing powder, and once in the background with ink.
I also used a stencil from Creative Imaginations, and silks from Luminarte. 
(foreshadowing : we'll be doing a swap with CI and Luminarte next year!) 


There's some Ribbon by May Arts, floral beads, eyelets, gesso, canvas and resist canvas flowers from prima. The miniature peonies are made by me.

Monday, September 10, 2012

VLVS! and Tags

Hey folks!! DeeDee here :)

Hope your weekend went well! We had some amazing projects over the weekend so if you haven't seen them be sure to go back and look!

Today I'm sharing a set of tags that debuted last week on the May Arts blog. I recently go take a trip to the coast of California and introduce my son to the Pacific Ocean!

He.Loved.IT!

To commemorate the event I made this set of tags:

 I grabbed some of my all time favorite VLVS! images:
1.5 x 6.5 - $11.75
3.75 x 4.5 - $15.25
4x4 - $15.50
All of them were stamped with Ranger Archival Ink straight onto the patterned paper or ribbon.
For the faux ribbon tape on the first tag I used Miracle Tape to give the ribbon adhesion. PERFECT!

Other products used: May Arts: XL09 – Ivory Suede Leaves, 393-25-01 – White flowers, EM02 – Ivory Net, and the Ivory Canvas.Paper: Black cardstock, My Mind’s Eye On The Bright Side. Inks: Ranger’s Archival Black, Distress Stain in Pumice Stone, a Uni-ball pen, Liquid Pearls, Tattered Angels Chalkboard mist in Charcoal. Stamps: Other: Pink Paislee Wooden Alphas, Helmar Quick Dry adhesive, double sided tape, Martha Stewart Punch, pearls, brads.

Sunday, July 29, 2012

Chicken Wire

I'm having so much fun art journaling.. Here's one of my most recent:


After I misted my background and did a bit of ink puddling, I gathered my spiced marmalade distress ink and stamped my
Chicken Wire Background

3 3/4 x 4 1/2 - $15.25


to add some orange to my page. I sponged the pad directly to the stamp but then misted the stamp a bit with water. It's an easy way to break up a monotone piece and throw in a bit of excitement without taking away from the whole thing. Gives it sort of a watercolor feel.


When misting.. hold the bottle up high and let the water just "speckle" the ink on the stamp. I didn't let mine puddle.. but that doesn't mean it wouldn't have been a nice effect! Just try it out :)
Other products used include a star punchinella from Gauche Alchemy, charcoal tattered angels glimmer mist, a jar, gesso, art blanche alphas, 7gypsies file tab and a woven web from my friend Paula!

Wednesday, January 11, 2012

Celebrate the Every Day

If you haven't heard or haven't been paying attention... VLVS! is hosting a monthly challenge where a selected winner receives a gift certificate to the online store! Very generous of our fearless leader, Wayne! 

This month's theme is "CELEBRATION"

and I made my first piece for January based off the idea.. but with a twist.. I'm a big fan of "the small things" and so I went with "Celebrate the Every Day"

I recently got my little grubbers on two fabulous stamps that are going right in the front of my stash.. 


I used the chicken wire as a background.. I stamped it in clear embossing ink and then doused it Ultra High Gloss Embossing Powder by VLVS! I then smeared, sprayed and spritzed a combination of Broken China distress stain and water all over my tag. Once that was dry I laid newsprint over my tag and ironed out the embossing ink. Then I grabbed the bird stamp, my Memento Ink and a clear block.. some creative placement and VIOLA! the "Sing" "Chatter" and "Spread Joy" were written by hand in black ink on manila to match the rest of the tag. Swipe the edges of the tag with the same ink as the stamp and some creative doodling... And we get....


Thanks for coming by again this week!! Don't forget to enter your own piece into the competition!

-DeeDee