Showing posts with label Big Ben. Show all posts

Saturday, August 09, 2025

Pigs can fly by Cathy N

 Good afternoon, Cathy here with a fun tag I made for you today.


                                                                      Stamps Used:

                                                            4070 side view flying pig

                                                             4006 flying pig rear

                                                             19563 grunge circles

                                                             19391 Big Ben


I started out by making a tag from scrap paper that I had. Then I stamped grunge circles with some distress ink around the tag. I then took some dark brown distress ink and inked the edges of it.


Next, I stamped Big Ben on the bottom and colored it in with copic markers. 


Lastly, I stamped the flying pig rear and the side view flying pig on the top of the tag and colored them in with acrylic paint pens. I stamped them again after I was finished with the acrylic pens so you could see them again.


Sunday, November 03, 2024

Big Ben postcard by Cathy N

                                Good morning, all Cathy here with a postcard for you today.


I stated out by making the background with some lost shadow distress ink.


Then I stamped Big Ben and the dragon and colored them in with copic markers. I did add some glimmer pens to the dragon wings.


I had part of the moon from another card I made so I added that to the top of the postcard. I edged it all in brown ink. and the last thing I did was add some cloud die cuts.


                                                                       Stamps Used:

                                                                 3226 dragon side view

                                                                 19391 Big Ben

                                                                 20157 The Moon

Tuesday, June 07, 2022

Werewolves of London by Tracy Blackwolf

 Hello art friends!

I have a new card for the blog today- I got the big ben stamp and I knew exactly what I wanted to do with it.....

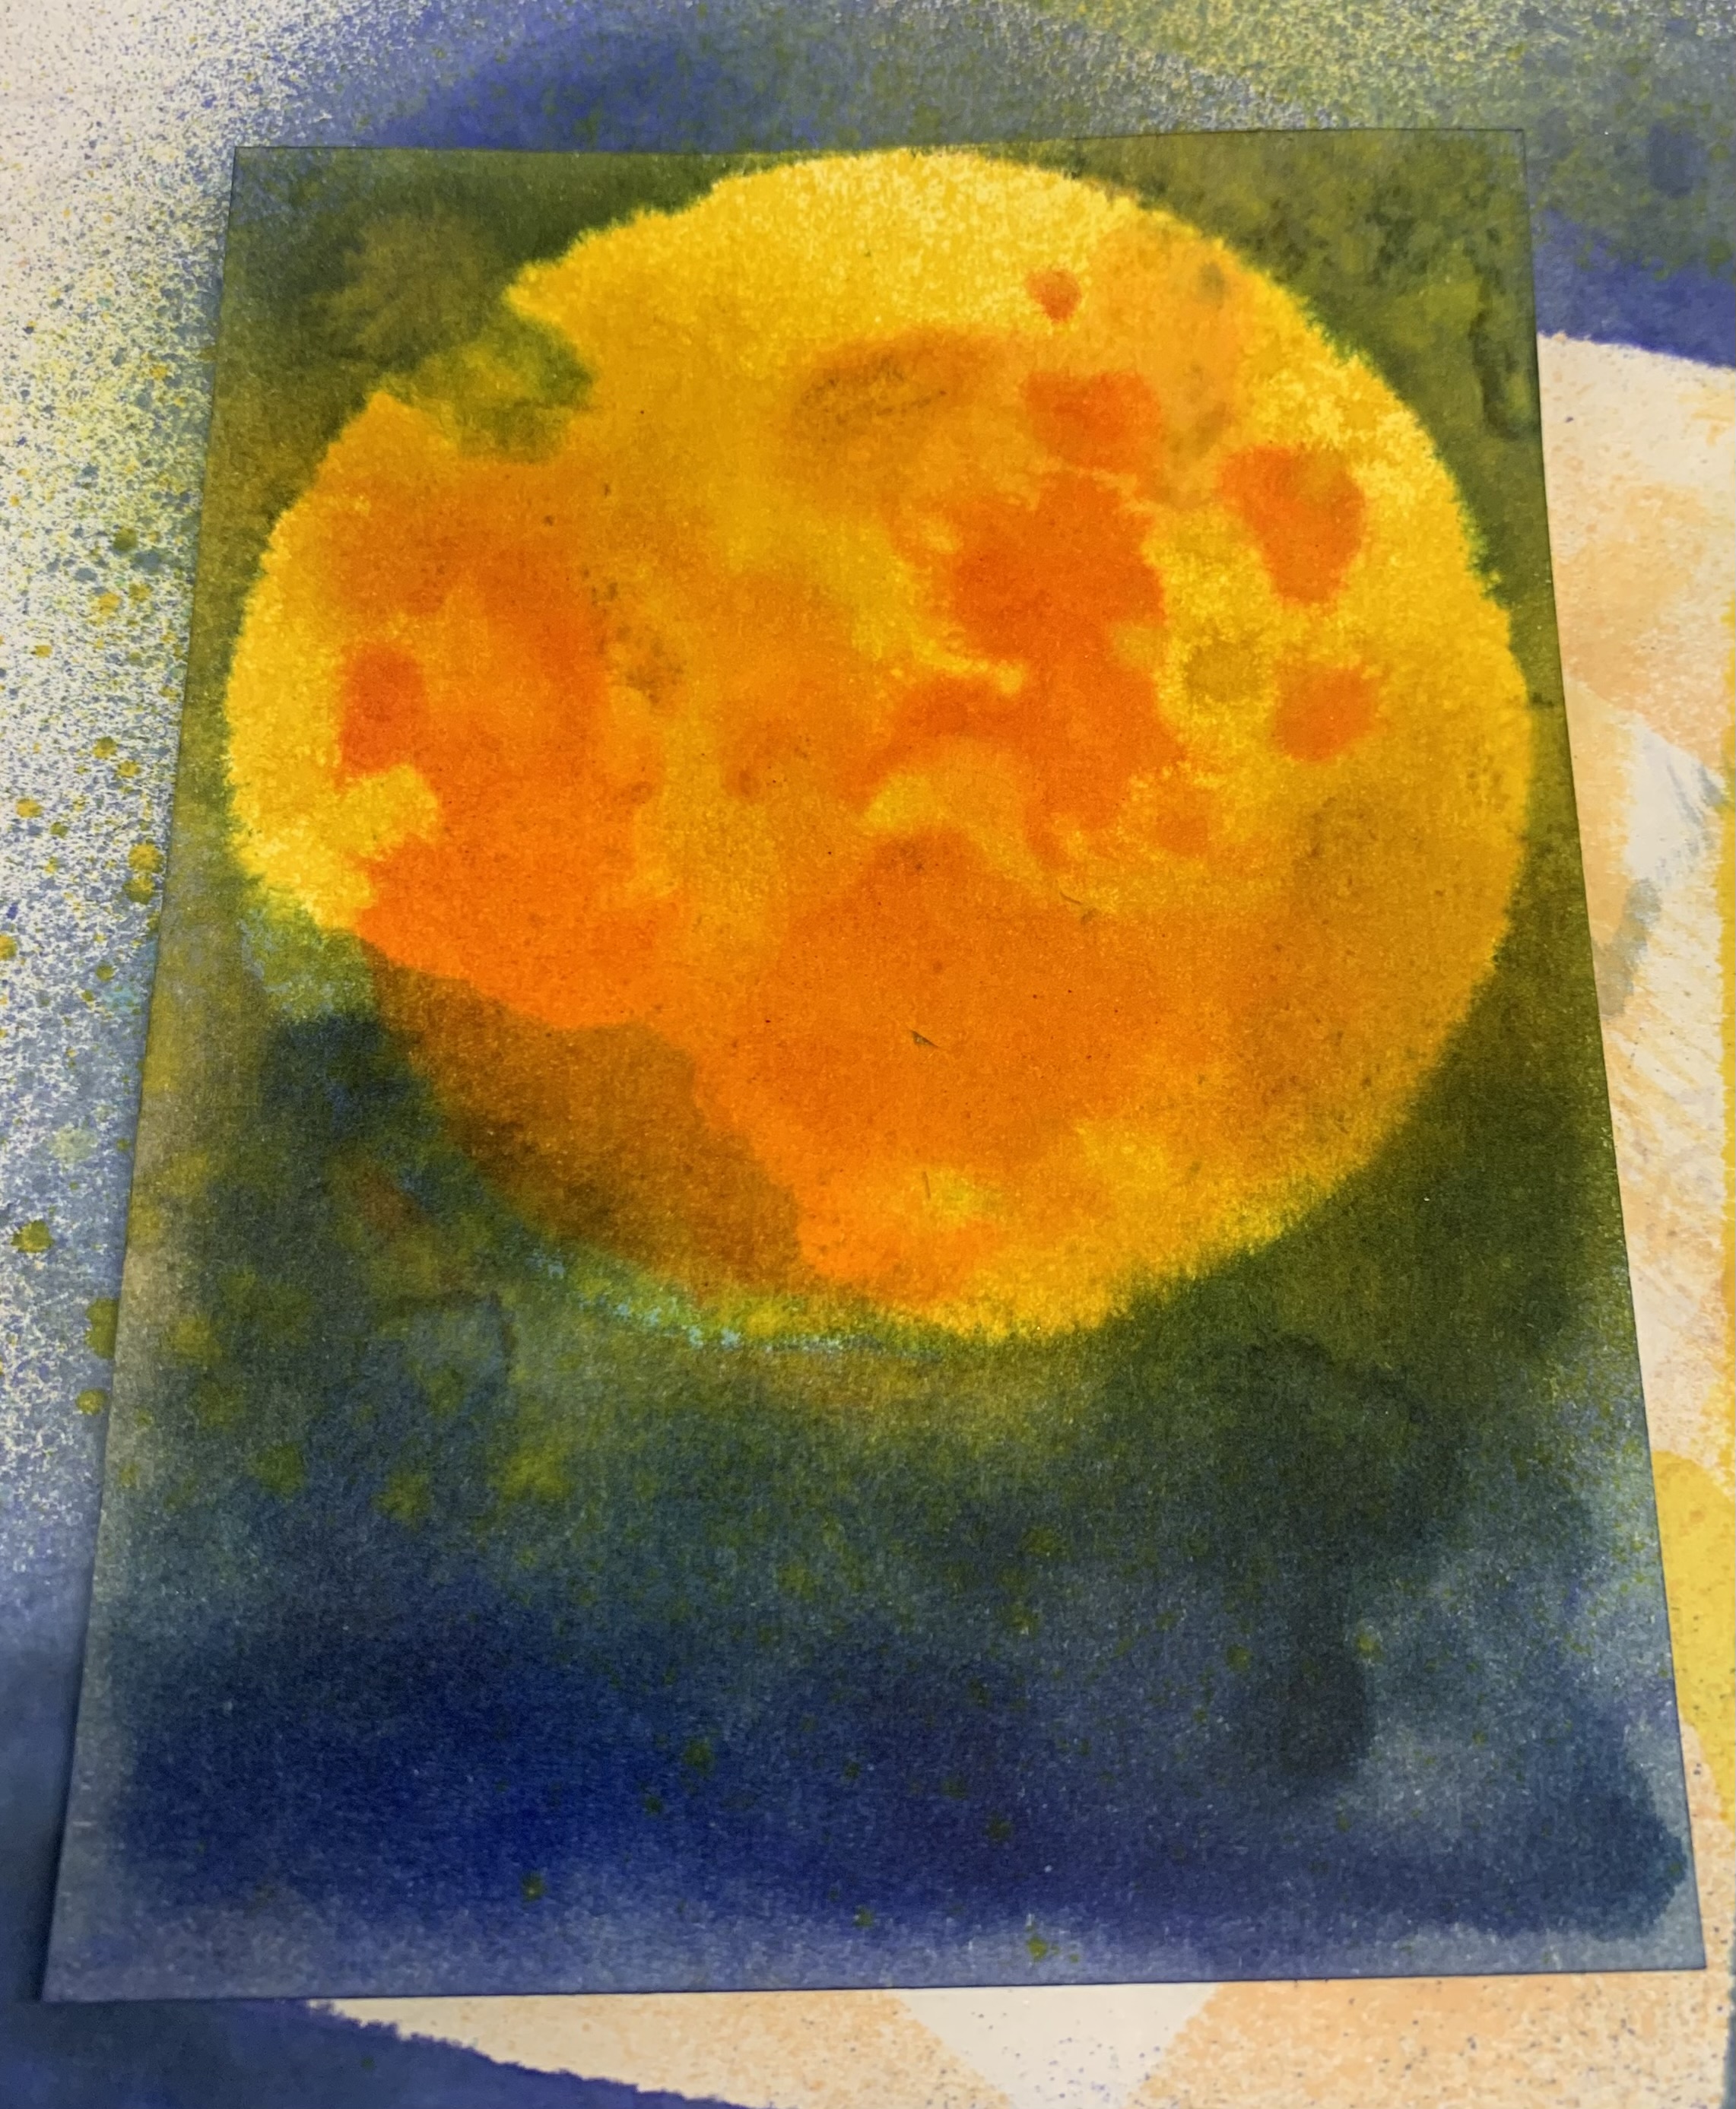
So to start, I sprayed Squeezed Lemonade spray stain onto a heavyweight cardstock. 
Then I got out my moon mask set and used the large one. after I dried the yellow, I placed the mask down and sprayed salvaged patina and stormy sky and blueprint sketch.
The ink does go under the stencil if you do it too heavy, which I tend to do. But that's okay it will just add to the effect. Then I sprayed a little mustard seed to darken the yellow a bit. After dry, Next I put  the second part of the mask onto the moon and sponged some desert heat oranges through.
Next I put the full moon mask back on the moon and sprayed black soot around all the edges of the card. Then I put the second part of moon mask back on and sprayed with speckled egg to give more depth to the moon craters.


I used a paint brush to drag some of the wet black ink into the moon for creepy clouds. Spritzed with water to get the black to run a bit. then dried it and stamped the Big Ben .
Then I got my guys ready, painted and cut out, 3D foam tape on the backs. This is a good time to have some extra stamped images cut out and even colored and ready to go. You can always add more color to fit the project you're doing. I do that when I'm Not feeling project driven but still want to create or use stamps i have or even new ones you're not sure how to use yet.

I found a good font on my computer and made the phrase and inked the paper. I put it on with foam tape. At that point it was done! And that is my blog for today...I hope you enjoyed. Until next time~ stay crafty!


Stamps Used:
Big Ben       19391
Wolfman     19725

Other supplies:
TH moon mask set of 3
Disstress spray inks: Black soot, salvaged patina, speckled egg, stormy sky, blueprint sketch, mustard seed, squeezed lemonade, dried marigold.
Kaleidacolor ink pad- Desert Heat
Computer generated words


Tuesday, July 21, 2015

VLVS and Pocket Letter Pals

Hello Everyone!!
I'm So excited to be back as a part of the VLVS design team!! I hope you all are ready for some fun stamping inspiration!!!
(It may get a little photo heavy in here)


Have you heard of the new fun craze in the crafty mail world? 
It's called Pocket Letter Pals!! Read about it HERE or a short video HERE from the woman who started it. 

I am in love with creating these!!! 
Naturally I love creating ATC's and you know any excuse to create a decorative envelope gets me excited!! So, needless to say this new trend is right up my alley!!!

 I hope you all love what I have to share with you and give it a try also! I know you will love it too!


Other supplies: 
 Dylusions paints (or whatever you want to create your background with)
Black Ink
Memento Ink in pink (optional used for some background stamping)
Scissors for fussy cutting the owl out
pink marker (color in top right card)
White Gel Pen (add highlights and depth)
Black Marker (to draw "hello")


I started with these super fun painted backgrounds (these two were actually created for me by my mom :D whom is also a craft addict! her blog is HERE) 


           (created the owl card with a cut out from this sheet)


Next I cut the paper up into individual cards measuring 2.25in x 3.25 in (if you don't want to mount yours on black standard ATC size is fine also)... NOW the fun begins!!!
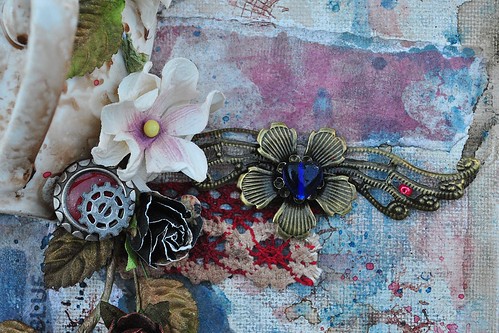
(Here you can see how my layout started... {Sorry this photo is a bit washed out}
and
from the final picture you can see things have been moved around some)

I start by arranging my base cards so that they are pleasing to the eye.. then I start stamping :D I like to add something tea or coffee related since people often send these items with thier letters, so thats what I start with. my next step is usually my "Hello" or about me card. From there i tend to bounce around adding qoutes, and things that blend nicely and make me smile :D 
(Feel free to simplify yours I got super excited and went stamping crazy!! )

Below are some close up - detail shots


(the boots and fish are my 2 favorites... :D )


(had to share one more close-up of this one! I love it!!)


(with VLVS there is no limit to what you can do with these things! Some prefer to work by theme, or style or even color inspiration... Heck you could do cats, dogs or things that start with a specific letter..lol) 

I hope you feel inspired and as excited as I am about these! Let us know if you'd like to see more Pocket Letter inspiration!! 

Friday, August 15, 2014

Vintage Britophile Mixed Media Canvas

Britophile canvas, VLVS!
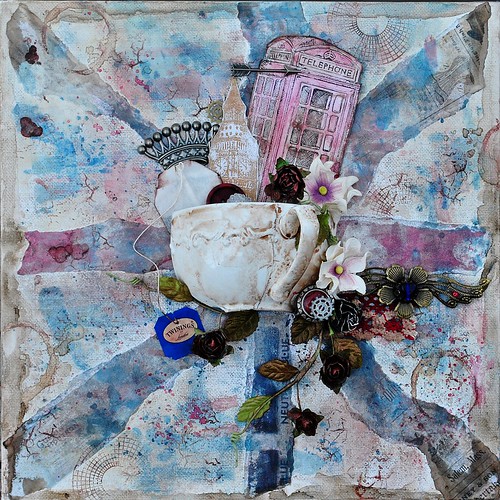
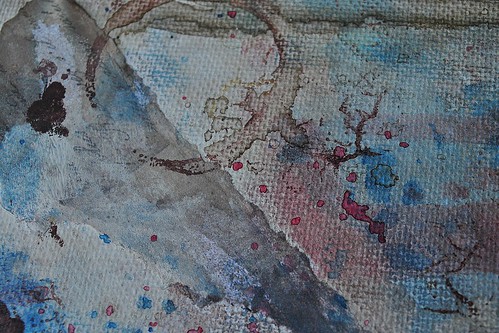
Hello stamperphiles! It's Amy here today, to share a canvas I made for my daughter, who is a serious Britophile. She loves ALLL things UK. I wanted to make something that encompassed all things she loves about Brit style, and so I started with a 12x12 canvas board, and strips of vintage style papers. I arranged the torn strips in a loose interpretation of the union jack, and adhered with Mod Podge. To distress the background, I added several mists in light browns, and rolled over them with a brayer to blend. I used the cracked background stamp to add more "distressing," and to go with the tea theme, I stamped with the coffee ring stain stamp. To give the stamp a more muted look, I went over it using the blunt end of a paintbrush, and actual coffee in small amount.
tearing, brito
stamping close, brito
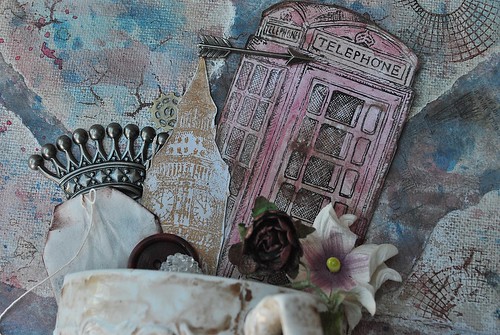
 I took a thrift store teacup, and broke it, adding half to the canvas with E6000. I misted over the cup with brown mist, to give it a vintage look, and then stamped the London telephone booth with Memento ink in tuxedo black. I sprayed over it with fixative once dry, to keep it safe for misting and watercolor. I misted/brayered, and then painted using red watercolor. I like the faded appearance it gives. I also stamped the Big Ben using Delicata Ink, by Imagine Crafts in gold, and fussy cut it out. I added them "inside the teacup, along with a teabag, and embellished. Because I thought the canvas needed a little extra movement, I finished by stamping with the color wheel lines. floral flourish, brito Thanks so much for having a look today, and I hope you go get your stampin' on!! ;) Loves, Amy

Monday, August 11, 2014

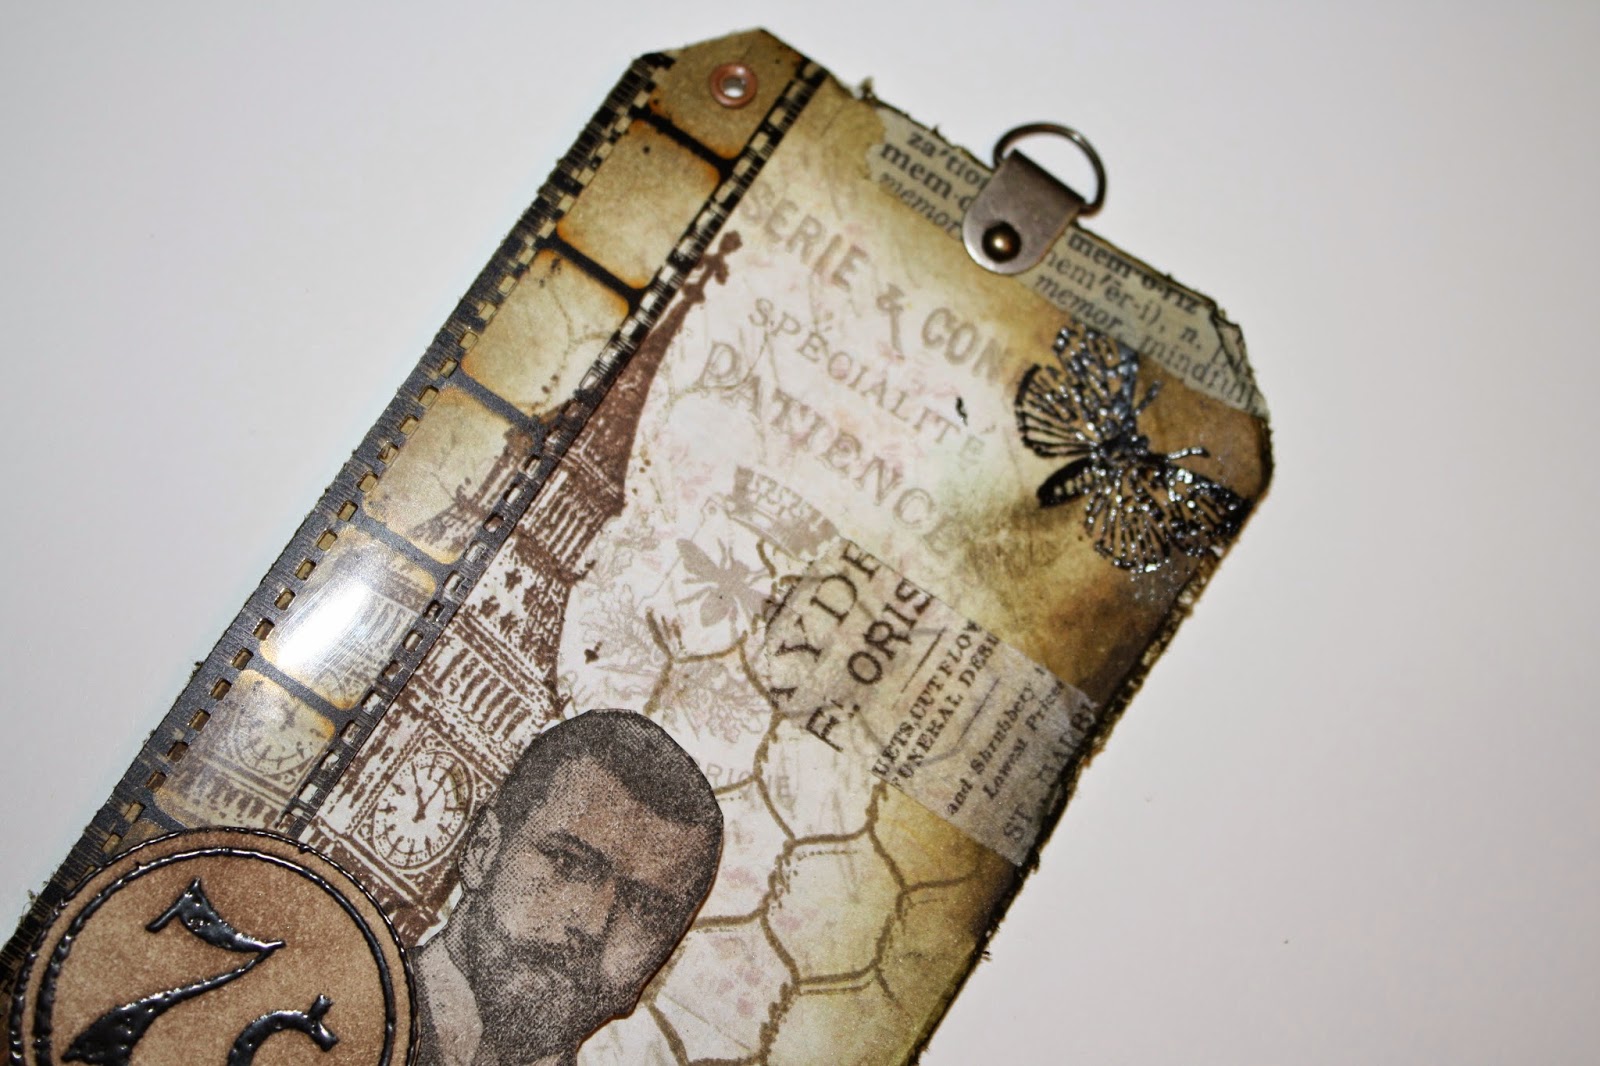
A Vintage Game of Tag

Hello, Its Me Tera here again with another fun project to share! 
Today I am sharing a fun Vintage themed Tag that I created. 

I started  with a base of patterned paper by Prima, and a main focal image that I wanted to build around. 
(From here I really got into the swing of everything and forgot to take progress shots as I went so bare with me while I try to explain my madness :-D) 

 I started by stamping Chicken Wire 3 3/4 x 4 1/2 randomly on the background in frayed burlap. 

Next I stamped the Big Ben 1 3/4 x 4 1/4 on the left side in VersaFine Sepia.
 I also inked and distressed around the edges in various shades of browns.  On a separate sheet of paper I stamped the Bearded Man 2 1/4 x 2 1/4  in verafine black and distressed it with versafine sepia. I also stamped the #7 from Plate 1430  then embossed it with black embossing powder before i cut it out and distressed it.  At the top right I stamped Butterfly Specimens 1 1/2 x 4 1/2 then also embossed it in black. To finish things off I added some film strip by Tim Holtz to the side, as well as some random spots of Tim Holtz washi tape. I popped up the 2 pieces on pop-dots, then embellished with UmWow Studio Gears. 

Below are a few more detail pictures :-D


Monday, August 04, 2014

Inspired

Hello Everyone! Karen here with you again today..
for all of us inspiration comes in all sorts of forms, and at all different times..
For me,  as soon as I saw the Businessman Silhouette,
 

it's like a little light bulb went off inside my head.. I knew he just had to be paired Big Ben.
 

 For me they just go hand in hand.. and then August 1st came along and Tim Holtz posted his tag and technique for his August tag...and bang, there it was again, this stamp combo popped straight into my head  and I knew what I would be sharing with you all today.
 
I've also used the waybill/invoice background
  in my background layer as well ( this one is another favourite!!)
 
and
 
 
 add in a little distress ink, tissue tape and a few idea-ology embellishments and rub-ons, and I was done
 
 
and as always I can't not share a few close ups with you..


We'd love to hear about what you find inspiring, or a VLVS! stamp or combination of stamps that inspire you..
 
Thank you so much for stopping by,
until next time.. Happy Creating
 
Karen xx