Showing posts with label 1455. Show all posts

Thursday, June 25, 2020

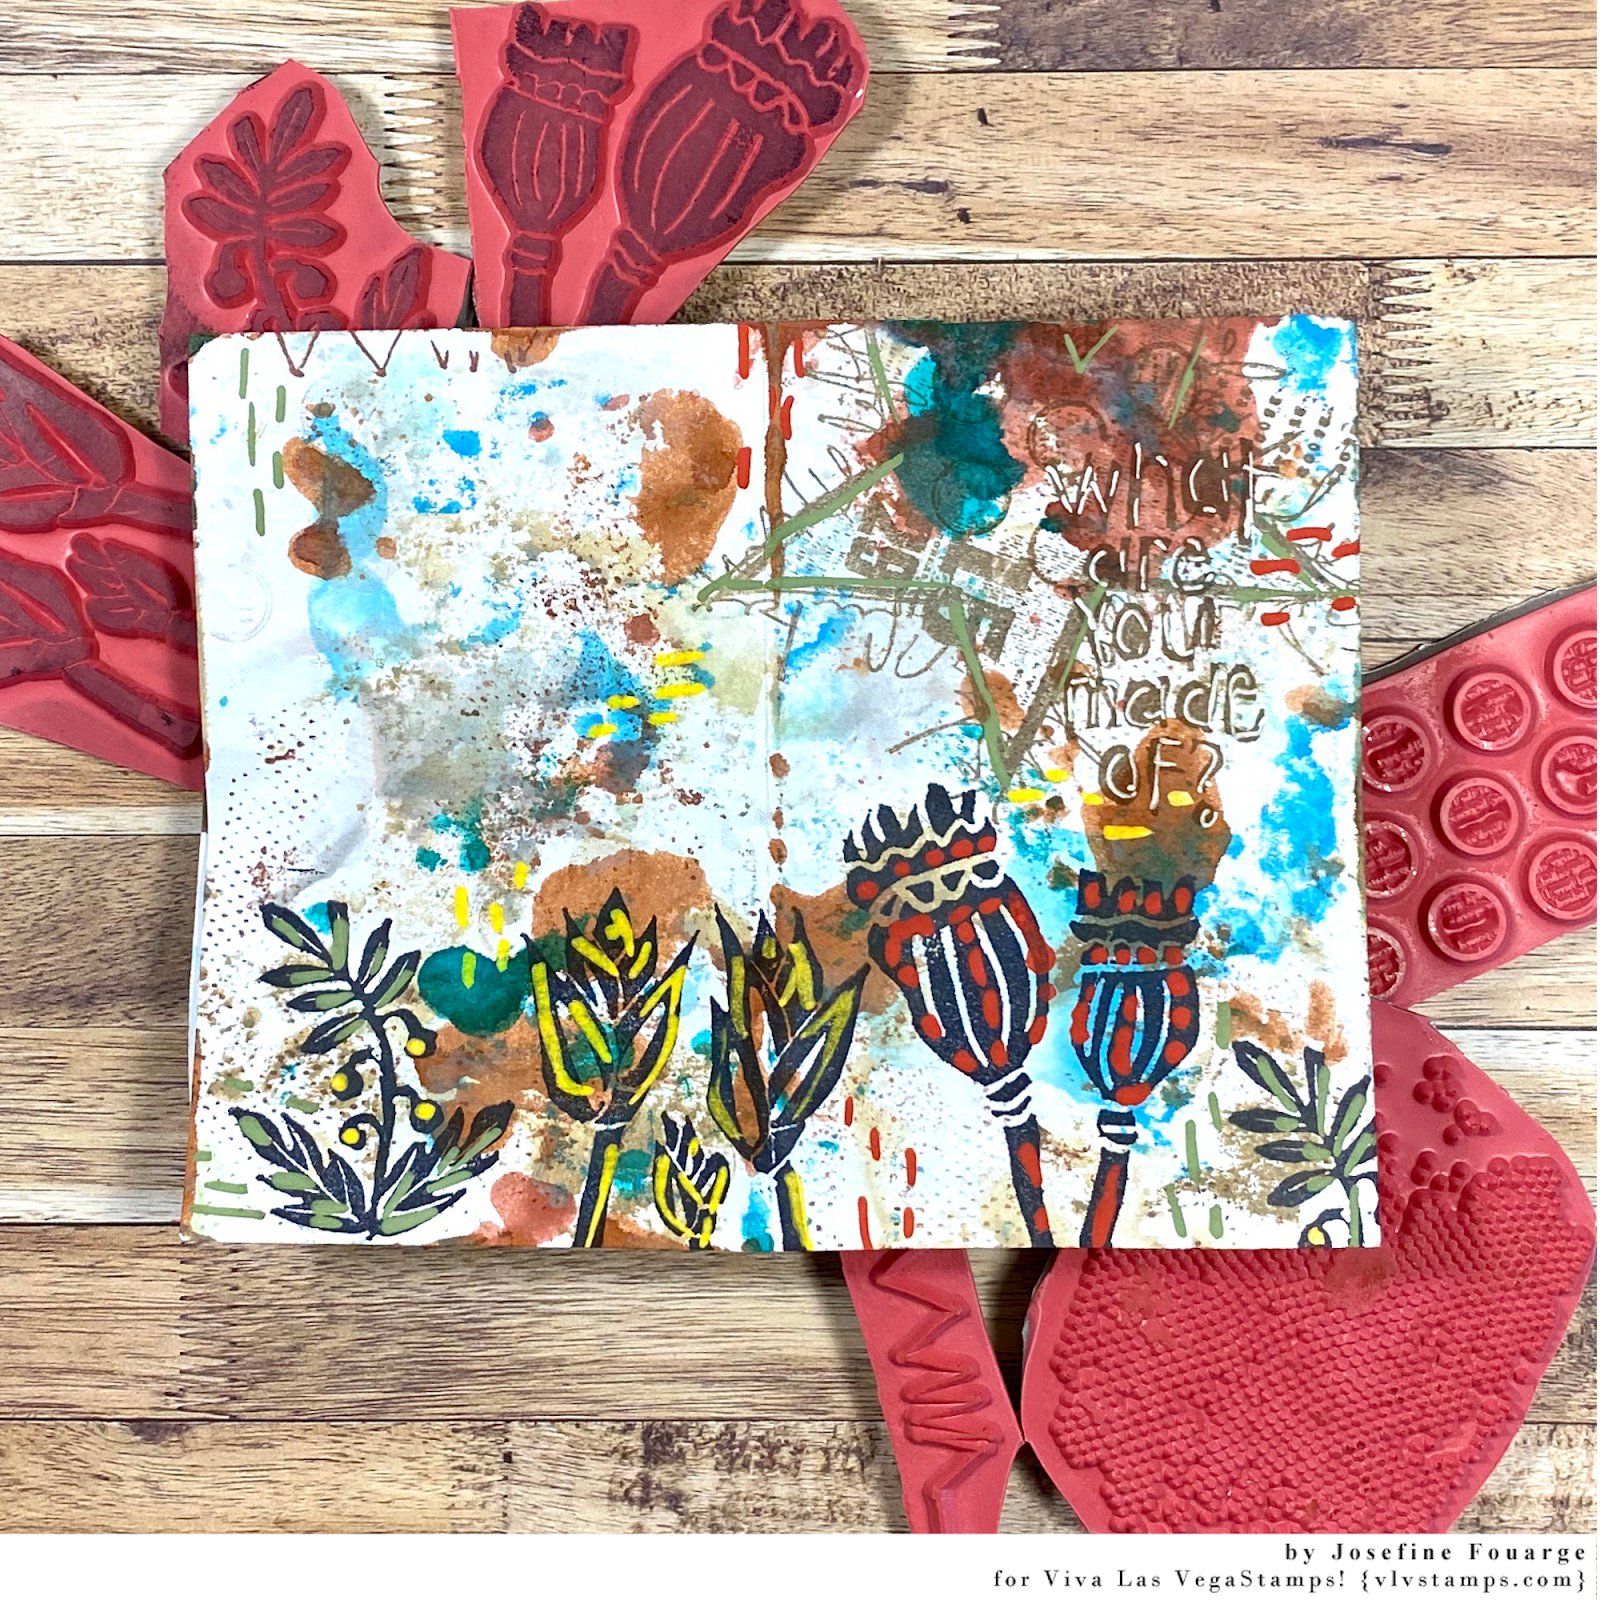
A page in the zine art journal with Josefine Fouarge


Hi everyone, last time, I showed you how to put together a zine art journal and today I wanted to work on one of the pages. This time I made a video though (yay me :) ).


I stayed in a similar color scheme as the overall journal and played with some more stamps from plate 1512 - Tina Walker's designs. Check it out:


Aren't these sheep just so adorable? I totally fell in love with them!


Also, like the effect the embossing powder for the sentiment.


Here are the stamps I used:
- I kept these stamps together as one: Six Staples, Staple, Three Staples

Thanks so much for stopping by! I hope you enjoyed my art journal page and the journal itself :)


Wednesday, June 10, 2020

Making a zine art journal with Josefine Fouarge

Hello everyone, and welcome back to the VLVS! blog. I just recently saw a post on social media about someone creating a zine art journal and I remembered how much fun they are to make. So, I decided that now is the best time to make another one ;)


If you are wondering what a zine art journal is, let me explain that briefly. It's a small journal made out of one sheet of paper. I found the pattern in a book on how to make books (I know ;) ) and have loved this pattern ever since. Super simple, you just need a pair of scissors.

I started this one from a sheet of copy paper that had printer settings printed on one side and some clean up stamp marks on the other (funny enough, those stamps are all from VLVS).

Once folded and cut, I picked a few Distress Oxide inks and smeared them on my glass mat. Then, I spritzed the ink with water and dragged my paper through the color. I repeated that a couple of times.


Not just with the Distress Oxide inks though. I also used some of Seth's new ink sprays. Same way - I spritzed the inks onto the surface and dragged my paper through it.


Then I used a few background stamps and added even more texture to the entire piece. That star you can see in the picture below was one of the clean up images.

By the way, that Mesh Texture stamp might be my new favorite background stamp...


Once I finished with the backgrounds, I focused on the front and back cover. I folded the paper in a way that the star appears on the front. Then I added a bunch of the flower stamps from Tina Walker to the front and back.


And then added a few marks with my chalk markers (also a new favorite of mine). 


I finished off with a sentiment and a few more doodles.

Here is the front.


And the back.


A few close ups.


Here are the three inner pages. All still empty, but I'll fill them for my next post. Stay tuned :)


Stamps used:

Thanks so much for stopping by! I hope you got inspired by this super fun little journal and want to try it yourself!



Thursday, February 21, 2019

She was...

Hello crafty friends!


I hope you are all having a wonderful week! Today I want to share a fun art journal page using some of my favorite Viva stamps. 

Stamps Used:

I started with a blank page that was 8.5 x 5.5in. 

 
I created my base with distress oxide- mustard seed, and picked raspberry. I also added a few flicks with the distress oxide spray. 


I also used my distress oxide picked raspberry to stamp my background details. 


My focus pieces were stamped with Black soot distress oxide ink. 

 
On a separate page, I stamped my 2 sentiment stamps and I cut them out. To add extra depth I matted the cut out bits. 


I hope you enjoy this piece as much as I do.


Tuesday, July 10, 2018

Time for some art journal love

Hello Everyone!

Today I want to share a little art journal page.  I love how freeing it can be to art journal. 


STAMPS USED:
Creepy Bald Guy
Creepy Ball Cap
Tape X
Row of Chevrons
Row of Numbers
Row of Distressed lines
Color Wheel lines
Tiny Arrow Heart

OTHER Products:
Tim Holtz -distress oxide, chit chat stickers
Glue
Wink of Stella
White paint pen
Markers
Dylusions stencil

This little page was based with distress oxide ink and a dylusions stencil.  
(I love adding texture to backgrounds with stencils) 


I started with a base image of my "bald creepy guy" and his "creepy ball cap". (which I had stamped on a separate piece of card stock).


Before gluing my guy and hat down I used my black distress crayon to add a base for him to pop off of... I love black shadow to pop images up.  


 I added all of my background journal stamping after my guy was glued down.
(You could go this before if you choose.)


To finish everything off I added one of my Tim Holtz chit chat stickers.

I hope you enjoy this little page. 
Thank you for visiting!


Monday, May 28, 2018

Books and Dragons in the mail

Hello Crafty People!

Happy Memorial Day and Mail Art Monday!!!

I hope you are having a wonderful day, and I hope you had an amazing weekend!

As I'm sure you know, I love creating mailart... This piece is no exception!
I loved this little dragon stamp, so it was a clear winner when I sat down to play!


(You know how a stamp just calls to you some time, this was the one that called to me when I was pondering what to create.)

Blue and Green combos are always a favorite color combo, so when it came to a dragon envelope, what better color combo to use?! 

I started by stamping the dragon in memento ink. Then I built the rest of my envelope around him. I chose to use a variety of my favorite art journal style stamps.  The edging was colored with distress oxide inks.


I colored with alcohol markers. I also used Wink of Stella clear glitter on the belly of my dragon
(you can see in the GIF below)


I hope you all like this envelope as much as me. :D 

I may have to keep this envelope around for a while! 


Have a wonderful week! 

Monday, September 05, 2016

Celebrate it's Mail Art Monday! Video Tutorial

Hello Again! 

(and Happy Labor Day to those of you in the USA) 

It's me Tera, here again with another fun piece of mail art to share with you! 


For the step by step make sure you watch the short video 

(and please let me know if you like this new video format or if you prefer the older method of me talking and showing everything even though they are longer)


Stamps Used: 

Banksy Girl Floating With Balloons 1 1/2 x 3 1/2


Thank you for visiting!! 
Stay inky and have a great week! 


Tuesday, May 03, 2016

Mousey Monthly Challenge inspiration

Hello Every one!! 

Tera here today with a little something to inspire you for this months 

monthly inspiration challenge!!! 


The words that inspired me were: weird, different, grey, tan, black, white, neutrals, mice, rays, critters, cheese, numbers, splatters, light bulb, bright ideas, light bulb moment, spritz, distressed and grungy
(Stamps used at bottom of post)


To start I used plain card stock to cut out a tag measuring 2 3/4" x 4 3/4"
Next I stamped my mouse/rat and the set of 3 triangles so that I would have the placement of my focal images.. 


(if you want to make masks this is the time to mask them off... this time I just glued cut outs on top of each of these after I did the background).

now I stamped all of my background images in a kind of randomness... The coffee ring was stamped in distress ink- pumice stone, I also used this to sponge ink onto the entire background. all of the other images were stamped in black ink. (archival and versafine were on my desk today).  I also used the black ink to distress the edges of my tag

(same thing for the back of the tag)
(to make the light bulb Pop and look 3D I edged it in black pan pastels)

For the crinkle ribbon I used vintage photo, pumice stone, and black distress ink on my craft mat with a little water. 


I hope this inspired you to join in our challenge! 

I can't wait to see everyone's creations!!! 

Stamps Used: 

Creepy Rat With Cheese 2 x 2 1/4

Large Lightbulb 2 x 3

 Writing Triangles 1 1/4 x 3 1.4

Tape X 1 3/4 x 1 3/4

Plate 1455 (the last 4 above are all from this plate... Honestly this is my must have all time fave plate... so here is the link to it too)