Showing posts with label distress spray stain. Show all posts

Friday, February 24, 2023

Stop Wars by Tracy Blackwolf

 Hello Everyone!

This weeks blog is a bit dark but fitting for the one year mark of the war on Ukraine. 

Not to be too grim, but I felt the sentiment is fitting. 

I chose my colors of  distress spray stain and sprayed, keeping in mind to leave a lighter area at the horizon. After spraying my tag, I spritzed with water and a bit more color and let them blend together. I tipped the tag various ways for the ink to run together a bit here and there. When I pleased with the result, I dried it with my heat tool.


Next I inked the broken fence stamp with a grey ink and stamped it. Then I turned it  around to stamp it facing the first one.
So It looks like a hole in the fence. Next I stamped the bird. I used a white gel pen to highlight his bones as they got a bit lost in all the color. I wanted a sort of rotting corpse so I painted some red and added some texture paste to help that look. Next I stamped and fussy cut the gas mask guy and added paint his jacket and gray under his eyes.
I used foam tape behind him to give him dimension. Then placed him on the tag.
The next step I did was to  Stamp the tree on each side. I used gray ink to paint some smoke coming off the branches, billowing up. Next I took the banksy stop wars stormtrooper  stamp and inked  just the words and stamped at the top.
I went in with a paint brush and some black ink to fill in the missing parts of letters a bit. Then went in with my white gel pen to make the o and p show a bit more.

And then I called it done. I hope you like what I've done this week, until next time....Stay artful!


Stamps used:
Jagged chain link fence     19140
Raven specimen    20058
Man in gas mask    19135
Banksy storm trooper stop wars    19974
Weathered tree   19467

Other supplies:
Distress spray stains: Mustard seed, Twisted citron, Forest moss, Lumber jack plaid
White gel pen
versa claire ink pads: Nocturne, morning mist
Texture paste


Tuesday, June 07, 2022

Werewolves of London by Tracy Blackwolf

 Hello art friends!

I have a new card for the blog today- I got the big ben stamp and I knew exactly what I wanted to do with it.....

So to start, I sprayed Squeezed Lemonade spray stain onto a heavyweight cardstock. 
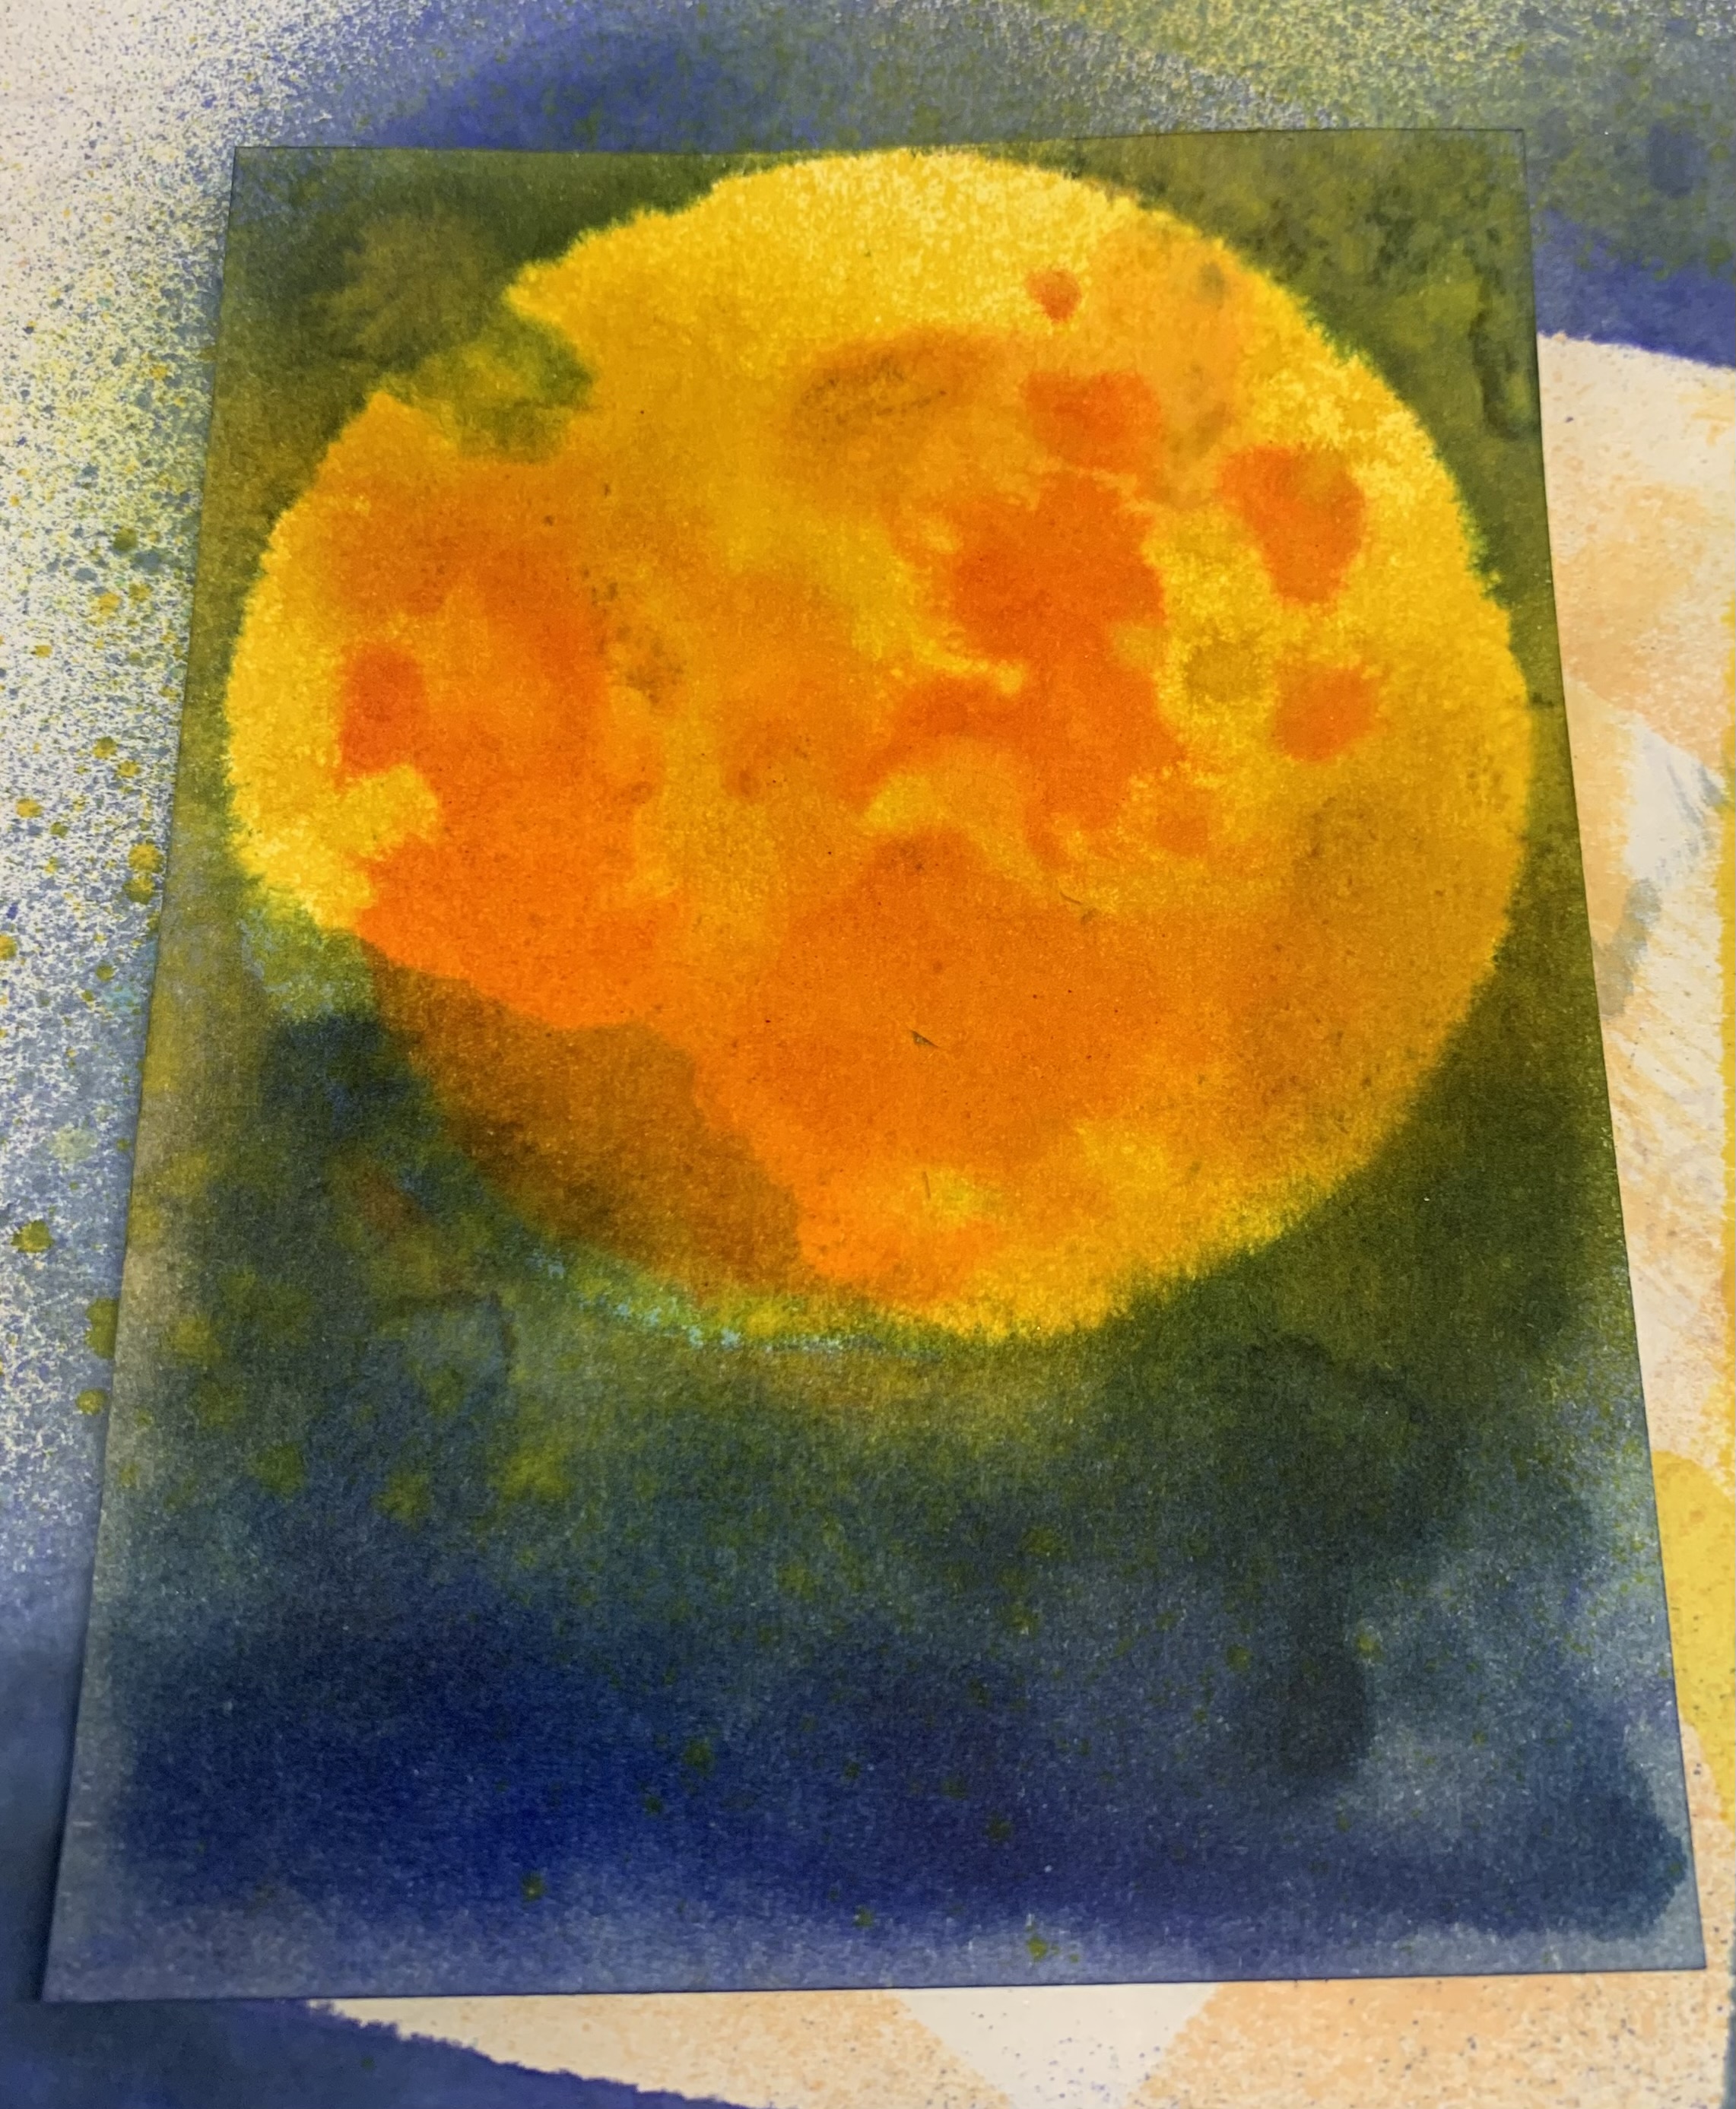
Then I got out my moon mask set and used the large one. after I dried the yellow, I placed the mask down and sprayed salvaged patina and stormy sky and blueprint sketch.
The ink does go under the stencil if you do it too heavy, which I tend to do. But that's okay it will just add to the effect. Then I sprayed a little mustard seed to darken the yellow a bit. After dry, Next I put  the second part of the mask onto the moon and sponged some desert heat oranges through.
Next I put the full moon mask back on the moon and sprayed black soot around all the edges of the card. Then I put the second part of moon mask back on and sprayed with speckled egg to give more depth to the moon craters.


I used a paint brush to drag some of the wet black ink into the moon for creepy clouds. Spritzed with water to get the black to run a bit. then dried it and stamped the Big Ben .
Then I got my guys ready, painted and cut out, 3D foam tape on the backs. This is a good time to have some extra stamped images cut out and even colored and ready to go. You can always add more color to fit the project you're doing. I do that when I'm Not feeling project driven but still want to create or use stamps i have or even new ones you're not sure how to use yet.

I found a good font on my computer and made the phrase and inked the paper. I put it on with foam tape. At that point it was done! And that is my blog for today...I hope you enjoyed. Until next time~ stay crafty!


Stamps Used:
Big Ben       19391
Wolfman     19725

Other supplies:
TH moon mask set of 3
Disstress spray inks: Black soot, salvaged patina, speckled egg, stormy sky, blueprint sketch, mustard seed, squeezed lemonade, dried marigold.
Kaleidacolor ink pad- Desert Heat
Computer generated words


Saturday, February 26, 2022

Enjoy what's left of winter.... by Tracy Blackwolf

Hello all!

Hope you're all doing well - this week on the blog is a quick and easy card, enjoy.


The background is done using spray stains. I just love how the colors blend together. When you're happy with the color blend,  dry with heat tool to stop the process. Once the background was dry, I stamped the running lady and dried her. Then I used a paint brush and a bit of the spray stain to color her dress a bit.


I then took the bubble wrap texture and stamped it with two different ink pads ,one on each side just for some texture. after that I took a sheet of acetate and stamped the bugs around so they are chasing her.. Its hard to tell but doing that on the acetate gives a bit more dimension. And also if you don't like the placement of the bugs, you can stamp another sheet of acetate..


After that I used the computer to make the words I wanted for this card...A little more spray stain brushed on with a paint brush and some foam tape on the back and done. I also used some tiny black foam tape on the back of a couple of the flies to attach the acetate.

I know most of us are sick of winter but the sentiment is so true- spring/ summer brings the bugs.LOL

Be safe ,find humor where you can, and keep doing art!

Stamps used:

Running lady    1080

Bubble wrap texture    19566

Mosquito   1885

Fly   18952

Other supplies used:

Kaleidacolor ink pads: Riviera and Desert Heat

Disstress spray stains: Salvaged Patina, Mustard Seed, Picked Raspberry, Dried Marigold

Acetate

Black Staz on ink for the acetate

Versafine ink for lady


Thursday, July 23, 2020

A Tag and Train


Tag You're It!

Today I want to share some tag love with you!

I just love creating vintage grungy tags!


Stamps Used:


I chose to start with some scrapbook paper I had left over from a project. I created a 3x6 in tag and used various brown distress inks to ink the edges and add a bit of color through a Tim Holtz layering stencil.


Using Archival ink, I then stamped my row of numbers and my scribble circle. 


To add visual interest I ripped up some scrap pieces of book pages then glued them down.  To make them pop, yet blend i used brown distress ink to watercolor around the edges.  I wanted this piece to be grungy, so added flicks of vintage photo and antique linen distress stain. 


To finish everything I mounted this tag on a piece of dark brown card-stock, and stitched around it.  I stamped my train on a separate piece of paper and inked it to match the tag.  When it was just like I wanted I added some string in the area of the scribble circle and glued the train down on pop-dots. 

The stickers and metal tab I used are both by Tim Holtz

Thursday, May 30, 2019

Art Journal Page by Jenn Engle "Wings"

Hey everyone! I have an art journal page to share with you today. This one has a lot of layers, a lot of steps and a lot of my fave VLVS stamps.
To see exactly how I made it, be sure to check out the process video at the end of this post.


STAMPS USED:


STAMPS USED:

Other Supplies Used:
Distress Paint
Distress Spray Stain
Dylusions Spray
Tim Holtz Dies
Silks Acrylic Glaze
Art Stones in Medium and Small
Clear Droplets
Embossing Powder
Acetate
7 Dots Studio Word Stickers
Jewelry Wire
India Ink

Thanks for Watching!
~Jenn


Tuesday, August 07, 2018

Birthday Card ► Majo

Good morning, dear crafty friends.

Today I'd like to show you a birthday card I made for a close friend. 


I stuck to her favorite colors and decided since it's her 60th birthday, it should be something special. I know she adores butterflies, so of course I used one on the card.

I started by applying gesso with a stencil.


I added Distress Spray Stain in different colors, making sure to dry each layer in between. I wiped the paint off the raised parts.


After I stamped my sentiment, I added more stamping on the background for some texture. 

I cut the butterfly with a Sizzix Movers & Shapers die and applied the same colors Distress Spray Stain. After distressing the edges I adhered it with glue dots. In order to let the butterfly have some antennas, I used a butterfly stamp, which I then covered with the die cut. 


 Here are some close ups of the background ....


I adhered the panel to a black card base with miracle tape.

I have used the following stamps:


I also used:

Distress Spray Stain
Movers & Shapers - Butterfly
Stencil
Gesso 


Thanks so much for joining me here today, you all have a wonderful time and Happy Crafting ♥

Tuesday, December 20, 2016

Art Journal Page "Find Your Tribe" by Jenn Engle

I have an art journal page to share with you today using some of my current favorite VLVS stamps.

STAMPS I USED:


     I started out by stamping the Doodle Circles and MeshTexture stamps all over my background. The, I sprayed Distress Spray Stain in Cracked Pistachio. While the Distress Spray was still wet, I flicked splatters of Mermaid Lagoon Distress Spray Stain.


     While my background was drying, I started work on my tag. I first ran the tag thru my Big Shot with a geometric embossing folder. Then, I applied Golden High Flow Acrylic in Permanent Violet Dark across the top of my tag. I sprayed the paint with water as I tipped my tag to get the paint flowing down. After that was dry, I flicked Distress Paint splatters in Mermaid Lagoon over my tag.


     On a piece of cardstock, I stamped the Hearts and Magic Maker Paint Brush stamps. I colored the hearts with a yellow Copic Marker. I then stamped the Find Your Tribe stamp on a piece of Gelli printed paper  that sort-of matched my background colors. Before I glued everything down, I stamped Find Your Tribe over and over behind where my tag will go. Then, I glued everything down and journaled around my tag with a White Uni-Ball Signo pen.


Thanks for looking!
~Jenn