Showing posts with label altered. Show all posts

Tuesday, May 14, 2019

be an ADVENTURER by Guest Elisa


Hi Viva Las Vegas Stamp fans,

Elisa here from the Guest Inspiration team with my next project for you featuring some gorgeous VLVStamps.

I had cleaned and dried a lot of old teabags recently for another project and had a few left over and decided they would be perfect to stamp on for an off the page project. I had come across this lovely VLVS Shell stamp and it hadn't been used as yet....so of course I had to test run it on a sea-themed project and I think the teabags are a perfect addition to achieve a vintage look on your project.


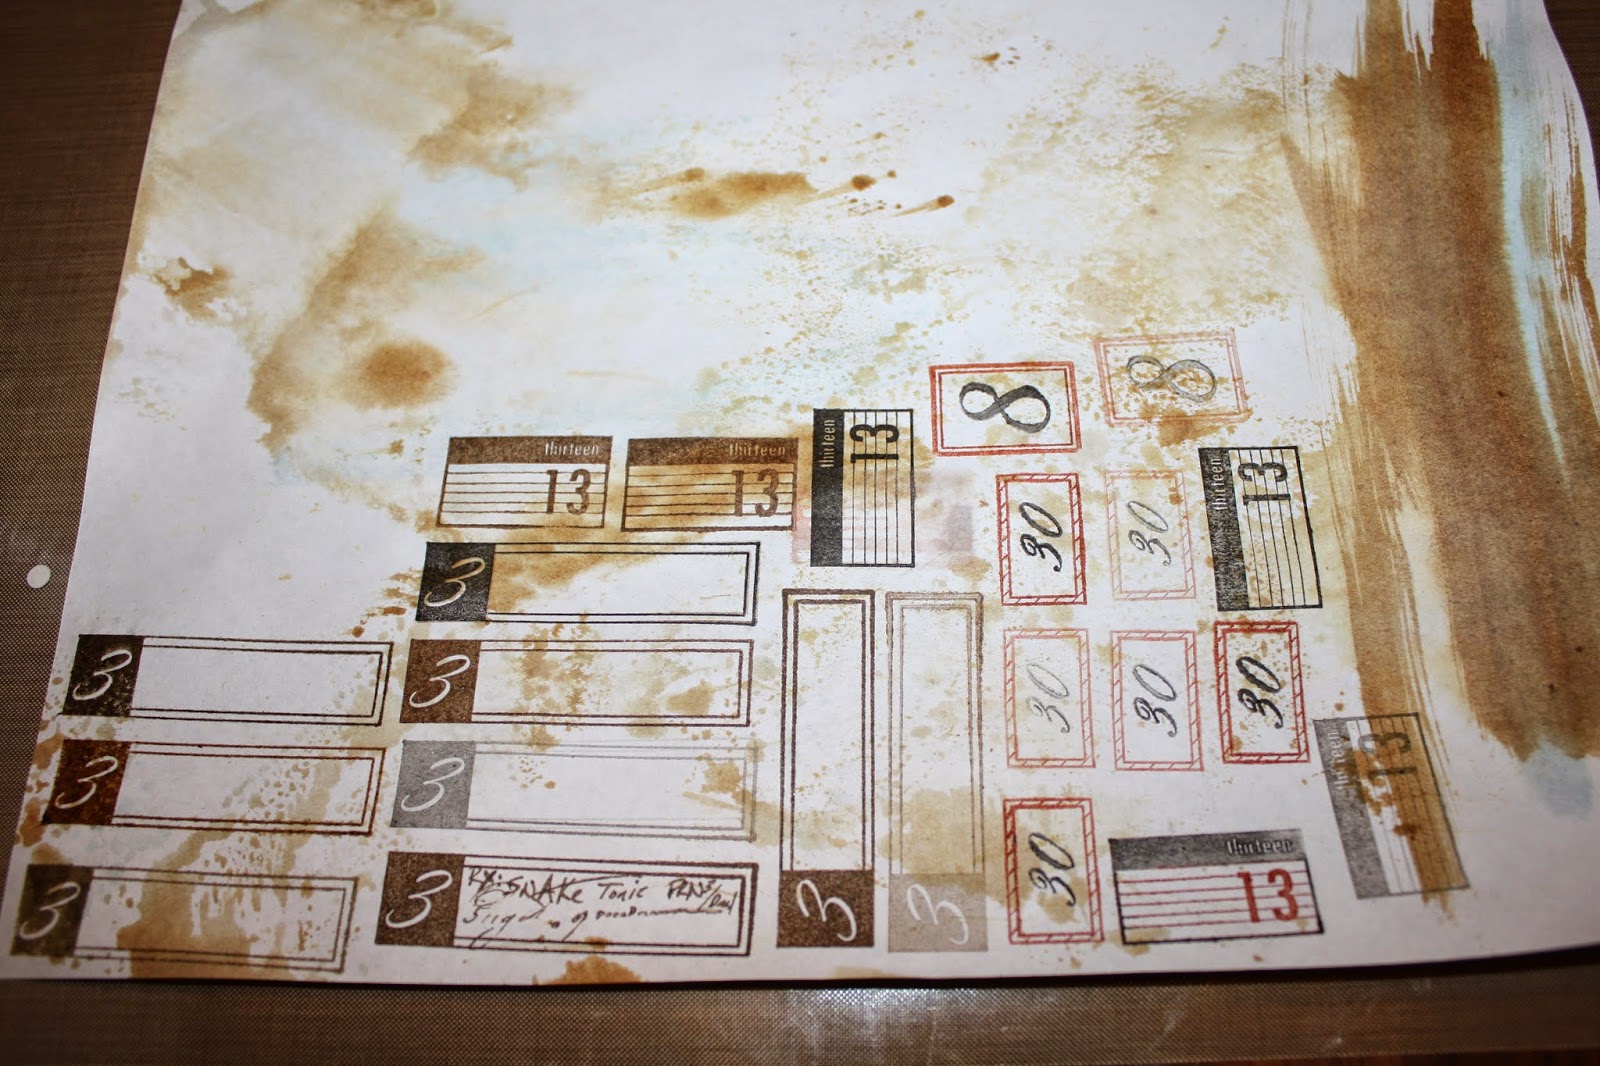
Let's take a closer look at the Viva Las Vegas Stamps that I have chosen to use on this project.


The main feature stamp to my project is the gorgeously detailed 'Nautilus Sea Shell', stamped directly onto a dry recycled tea bag. I tore the edges of the tea bag a bit to make it look a little more worn. The tea staining on the bag gives a great vintage look and ties in well with the Vintage Photo Distress Oxide Ink colour on my project.


TIP: Add modelling paste or texture paste to your project with a palette knife and then tip a paint brush upside down and poke the paste with the end creating circles in the paste. Dry the paste and colour, creating textured coral - great for a sea themed project!


I also used a 'bubble background' stamp to create texture in my background, you can see glimpses of it in the close ups!


Lastly, the 'Be An Adventurer' saying stamp was used to finish up my sea themed project. I stamped and then hand coloured to match. then fussy cut out and adhered to my project.


VLVS! Supplies:
Bubbles Background.

Ink pads : Staz on - Black 
Other Supplies:
Box Board ATC
Coral Die - Kaisercraft
Crafting Wire
Netting Chipboard - 2Craftychipboard
Green Seed Beads - Finnabair Art Ingredients
Prima St Tropez Anchor Embellishment
Music Paper
Tea Bags
Modelling Paste
Paint Brush
Straw
Black Gesso
White Acrylic Ink
Ranger Distress Oxide Ink = Cracked Pistachio and Vintage Photo
Colour Blast Colour Spray in Lagoon
Faber Castell - Gold Gelato
Dental Gauze

Thank you for stopping by the blog today !
Hugs

Elisa xo


Thursday, September 24, 2015

Out of the Blue and Proud: altered cube

Hello my dear crafty friends and welcome to my new tutorial made with delicious (even if those are a bit odd) VLVS stamps.
As you all know I always have a story to share about the " brainstorming"  of my art piece.
So this time it's not different and here is a story.
I ordered VLVS  new stamps set as I wanted to get some stamps that are totally different from my usual Mixed Media picks.
Then, when those stamps came, I was not sure about them. They are gorgeous, but so much not me.
At that moment I felt that I was " out of the blue" ordering them. But them it was like" let's make lemonade from the lemons": lets make " Out of the Blue" piece with blue shade and some new slogan.
So this is how my own " OUT OF THE BLUE AND PROUD" slogan was born. I think that it can be used in many different ways, just like this " Keep calm and..." one.
It can be "out of the blue and going " or" out of the blue and dreaming" or even " or of the blue and feeling great". But those will be used next time. Today I am totally proud with my " OUT OF THE BLUE" 3d foam cube.
So here is my step by step tutorial:
1. Paint the foam cube into a shade of blue color; pick the color that is not totally blue, but close to it.
I used Earth Safe Finishes Rock Candy Chalk it up paint and made just one single layer that covered the foam perfectly. 


2. Cut thick cardstock into 2 3/4'' size that fits the cube . Stamp 5 different focal images and add some backgrounds. You can see the full stamp list on the bottom of my post. I used blue Clearsnap ink and clear embossing powder over each stamped piece.

3. Color the stamped  images with distress markers and ink them over with distress inks. I tried to make them colorful, but to stay mostly in blues (remember the title? ).Add two more stamped images cut outs : those will hold the title panel.

4. Glue all 5 stamped piece over the painted cube. Leave the bottom  as is.


5. Make the title panel using a chipboard. chipboard and sticker letters and 2 stamped cut out images.
I painted the chipboard with inks and clear embossed it . The letters were colored two using different markers and inks. This is how the top panel is looking.

6. Glue the title panel over the cube and your project is done.
This is  one side look of it.

And from other side:


And from the back:
I also painted the back as this 3d project can be seen from all corners.

And from the top:


Now this " OUT OF THE BLUE" cube is on my craft table and I am totally proud of it!
Hope you like it too.

Stamps from VLVS used to make this project:
Cracked background  Item 16208 Plate 1287
Grunge circles Item 19563 Plate 1451
Whimsical rat Item 19531 Plate 1448
Whimsical Beaked Guy in crown  Item 19530 Plate 1448
Whimsical Jester lady Item 19521 Plate 1448
Whimsical Beetle man Item 19525 Plate 1448
Whimsical key man Item 19527 Plate 1448
Whimsical star hat lady Item 19526 Plate 1448
Whimsical Man face- Fish Item 19678 Plate 1457

Other products:
 Ranger distress markers and distress inks
American crafts Thickers
Chipboards from different companies


Tuesday, June 23, 2015

Altered Canvas by Shanna

Hey everyone. Shanna here today to share with you a fun creation. 
I have been wanting to play with this resins I got and had no clue what to do with them. Well I figured that out really quick! What do you think?


I did create a video so check it out. 


I loved using my stamps to create the background of this piece. 


I added some glass beads and glass glitter with a matte gel on some of the corners. 


Of course there is no glass on this but I thought the sentiment stamp Through The Looking Glass - 19353 was fitting. 


The stamp Pair of Butterfly Wings - 19647 went perfectly off the side of the frame too. 


Items Used:


Monday, November 17, 2014

October Challenge WINNERS >>>

Hi Hi stamping friends :)

Let's announce some winners from October's SPOOOOKY challenge shall we??

Voted on by our DT is this beauty by Kristiina :


Congrats Kristiina! Please feel free to use the following image on your blog as our voted winner :)


Our Random Winner for October goes to Corrie Herriman as chosen by random.org.

Ladies please email me @ deedee430@gmail.com to collect your winnings :) include your shipping address!

Don't forget to enter THIS Month's challenge to win your own feature and rubber!

Thursday, September 25, 2014

Just What the Doctor Ordered!

Hello Again Everyone!!! 
It's me Tera here again with another super fun tutorial!! 
Today I want to share something that would be great as Halloween props, or for general decoration if you have a cabinet of curiosity's like I do! This is still in keeping with the creepy medical theme I have had the last few projects, as you can tell I LOVE this theme!!! 


Ok lets get started to create these vintage style medical labels I used the following:

Stamps:

Plate 1430 


Other Supplies:
Inks:  in Browns, Reds, Blacks, (any other colors you like) I really LOVE VersaFine in Sepia, and VersaFine Black (because these two won't run if you need to add more distressing) as well as the distress inks in Vintage Photo, Walnut stain, and Antique Linen 
Stamping Markers:in RED, BROWNS, BLACK, etc (these are optional if you want 2 tone labels like I made
Miracle Tape (or your adhesive of choice to adhere labels to you bottles)
Small Bottles to alter
DISTRESS STAIN (vintage photo, weathered wood)
Cardstock (for string tags) 
printer paper (for labels that will go directly on the bottles) 
DieCut Tags (optional)
Scissors 
String for tags
Non--Stick Craft Matte to work on
water spritzer


Start by swiping your distress stains (or distress ink) a crossed your craft mat, then spritz with water so the colors will flow better. Drag and blot your paper and cardstock through the stains (let dry between layers so it doesn't become "muddy", I love the look of the spots!)


Now (making sure that your paper/cardstock is completely dry) start stamping your numbers for your "Labels" In various colors to decide what you like the best, This is the fun Part!!! 


Once you have your desired # of "labels" cut them out, and decide if they need any "EXTRA Distressing" (many of Mine did!!) 


Once you are satisfied with the look of your labels, use your Miracle Tape and adhere to your bottles!! If you've also created form hanging tags, grab some string and tie it to your bottles


Thank you all in advance for your comments!
Hope you enjoyed this fun adventure!!! 

Wednesday, February 05, 2014

Into the Abyss~ Altered Altoid Tin

Greetings, stampers! It's Amy here today, to share an altered Altoid tin I made into a fun little "shrine" of sorts on the inside.
I used a regular Altoids tin, and covered it with vintage book pages in layers (on both the inside and outside), using gel medium. When those were dry, I added a layer of copper paint, that had been thinned in half with water........to cover the entire tin and papers. This half paint mixture allowed the papers to show through, and gave a cool realistic metallic shimmer.
abyss bottom tin
For the outside of the tin, I added flicks of turquoise, olive green shimmer, and Mediterranean blue, and when that was dry, I added stamping with the Area 51 Warning  stamp.
abyss detail stamping
I added the whimsical diver stamp in two layers. One is stamped on cardboard, and fussy cut, and a second is stamped onto a library card, fussy cut, and added on top with foam adhesive. I then stamped the into the abyss stamp onto a small scrap, and adhered it, along with the metal wing (with a little bit of cheesecloth behind it),and chipboard star. I sprayed the outside with a protective gloss spray, and wrapped it with copper wire, attaching a clasp. tin inside, abyss, ALLassiter
 The inside was simple to complete, since it has already been covered with the vintage pages. To the top, I simply added some washi tape,a chipboard piece,button and a fussy cut vintage image of octopus tentacles. The wire from the front wraps to the inside, so it adds a nice line of color, as well. For the bottom, I adhered a playing card to the bottom, and a strip of washi; added cheesecloth/twine to the sides/edges....and then added a stamped and fussy cut Octopus/Cephalopod...to happily slink along the bottom edge. A die, and a star pin stamped image, and little sewing machine charm (because every octopus thinks about sewing) complete the project!
I am going to give this little tin to my husband, for his desk at work. Because...everyone needs a little whimsy during a work day. :)

Thanks for having a look today, and for more inspiration from me, visit my blog at www.sparklinggnome.com! Have a great rest of the week!

Supply List: 
Viva Las VegaStamps!: Whimsical Diver, Octopus/Cephalopod, Star Pin, Area 51 Warning.
Ink: Clearsnap Mix'd Media Inx (black, denim).
Paper: Vintage, digtal download-Stampington and Co.
Chipboard: UmWowStudio
Metal Wing: Tim Holtz

Thursday, January 30, 2014

The End Is Near

Hello again! It's me Tera here with another fun project. This time I am sharing a Small keep sake box I made for youngest brother. We just helped him move into his dorm a few weeks ago. 
For this box I've created a distressed Apocalypse style box! 
Fitting for a boys Dorm room Don't you think!?!


To start I painted all of the edges of the box black with the ranger acrylic paint dabber.
 
Next I cut out some vintage book pages, for all of the edges I cut parts of pages without words. All of the  pieces were cut so that there would be a 1/8 inch boarder. Next I added some text. 
  To start I stamped  Man In Gas Mask 2 1/2 x 3, next I stamped Apocalypse 3/4 x 2 1/2  on a scrap then layered it. 


Next I stamped Radioactive 2 x 2 and Crime Scene Tape 1 x 4  on two of the sides 
 

 On the 3rd side I stamped Biohazard 2 x 2, I also stamped The End is Near 1 1/2 x 1 1/4 and layered it on the top.  

  For the finishing touches I added one of the UM Wow Studio Gear Mash  gears. I added some gold and silver mica pieces to symbolize his hunt for money in life!  I also added a grunge board #4 and splatted black dylusions spray ink. 

(all images were stamped with Ranger Archival Pad #0 Jet Black)
Thank you all so much for stopping by! I hope you are all inspired! 
Stay warm It's a snowy mess here!! 

Friday, January 17, 2014

THE APOCALYPSE IS HERE!

Hello, Tera here. I'm so excited to be sharing my very first Design team project with you. My first DT project was actually inspired by Amy's piece HERE I love the idea of a piece that makes you think and creates a sense of mystery and wonder. I decided to use some of my favorite Viva Las VegaStamps! to create a post apocalyptic feel to my new altered book/Journal cover.

To make this I started by covering the book I wanted to alter with a vintage book page to create a fun background to work with (this was after I placed the Eyelets and wire wrapping). Next I stamped the Man In Gas Mask 2 1/2 x 3  on a separate book page and fussy cut it out so i could play with were to position it. I decided I wanted to add a little grunge to the book so I partial stamped Nautical Collage 3 x 6 1/4 on the bottom left then took a paper towel and immediately smudged the image out a bit. (I also stamped It on a piece of shrink plastic which I later added to the upper right to bring in symmetry to the piece.) The next layer was the fabulous Coffee Ring Stain 2 3/4 x 2 1/4. After the base stamps were placed I added a clock sticker, a lace Doily, a set of Tim Holtz wings and a fragment doll. I added some chain around the angel with a fabulous UMWOW Studio Gear Mash Gear with a tiny heart and golden chips inside. I also added gears above the clock the decide to add a clock key as well. Now that I had the cover built up I decided to add some detail to the spine, I made a fun label with some inked grunge board scraps I had, placed some Eyelets and used a word from the book pages (I adhered this with Miracle Tape, as well as the shrink plastic piece since this fabulous tape is super strong and clear). I decided the Apocalypse 3/4 x 2 1/2 stamp was the perfect word for the side and also stamped it on some scraps from the book page. The Finishing touches were the knob, chain and keys. As well as one of my favorite stamps the Pen Tips 2 3/4 x 2! I decided to only use one of them and stamped it on a piece of cardboard which I had colored with silver Inka Gold, I fussy cut the piece and bent the edges down to look like a real pen nib tip! :D I Hope you love this piece as much as I do. I love the feel of vintage meets apocalypse, the good vs evil, and the pieces of lost history like the keys and pen tips. 


All stamping was done with Ranger Archival Pad #0 Jet Black except the stamping on the shrink plastic which was done with StazOn Jet Black Ink Pad. 

Happy Stamping Everyone, I hope you enjoy the mystery and sense of curiosity that this piece invokes!
-Tera


Wednesday, September 04, 2013

Swap Time!!

Hello Friends! Every couple of months(ish) we host a swap through this group on facebook. Our most recent swap were large match boxes. This post today shares the matchboxes that were received and sent back out!

Right now we're signing up for the next swap.. Altoid Tins in a Halloween Theme! Stop by, read the rules, and join us!

But take a gander at these beauties!

This one is by Mary Vogel Lozinak. She used Caution Frivolity Enclosed and  Braids Lady.


Carol Hodges used the Mermaid with Drink. I really love the gorgeous watery effect of the whole box.


Lea Cioci used Whimsical Fish, A fish out of water, and  
Mermaid holding tail in her nautical themed goodie!


Michele Kosciolek used Sm;)e, Sunflowers and Small Spotted Butterfly to
create this gorgeous nature based bit.


This is by Anne Squire and this girl uses so many stamps all the time, it's INSANE. 
The two major ones on this piece are Eye and Lashes and Butterfly Eyes.


This box is by Marilyn Hughes and she's really great at using a lot of stamps, too! I can't get over that adorable little kitty on the chair, and how witty putting in corrugated cardboard to line the walls!


This one is by Barb Rankin -- full of lots of beautiful sewing goods and
is a total gorgeous vintage sewing box with Lady Sewing ATC on top.


Jennifer Walker combined lots of found goodies with our Wanderlust, Leaves blowing from Tree and Children Playing on toy Car stamps. 


Karen Knight chose to open the front of her box and peek her Steampunk Cat through. She also used Adventure Awaits, Dictionary Page and Hot Air Balloon With Flags.


I knew as soon as I opened this one it was from Dawn. She used our  
Dress From stamp to complete her Paris Match Box.


Lyneen Jessie brings a little softer side to her normal steampunky goodness with this box 


Can you believe all the goodness that arrived at the store for me to sort through? Just glorious! Each and every one.