Showing posts with label Washi Tape. Show all posts

Monday, November 07, 2022

No one took me serious by FRAN CHALMERS

Hi everyone :)

I have lost my mojo a bit so I have made only a simple postcard this time.


First, to make the background I blended three distress inks - Kitsch Flamingo, Picked Raspberry and Wilted Violet.  I went round the edge with Villainous Potion.


 I then stamped the elephants on card, making sure they were really black.  I wanted them to stay just black and white as they are so detailed. I then cut them out.


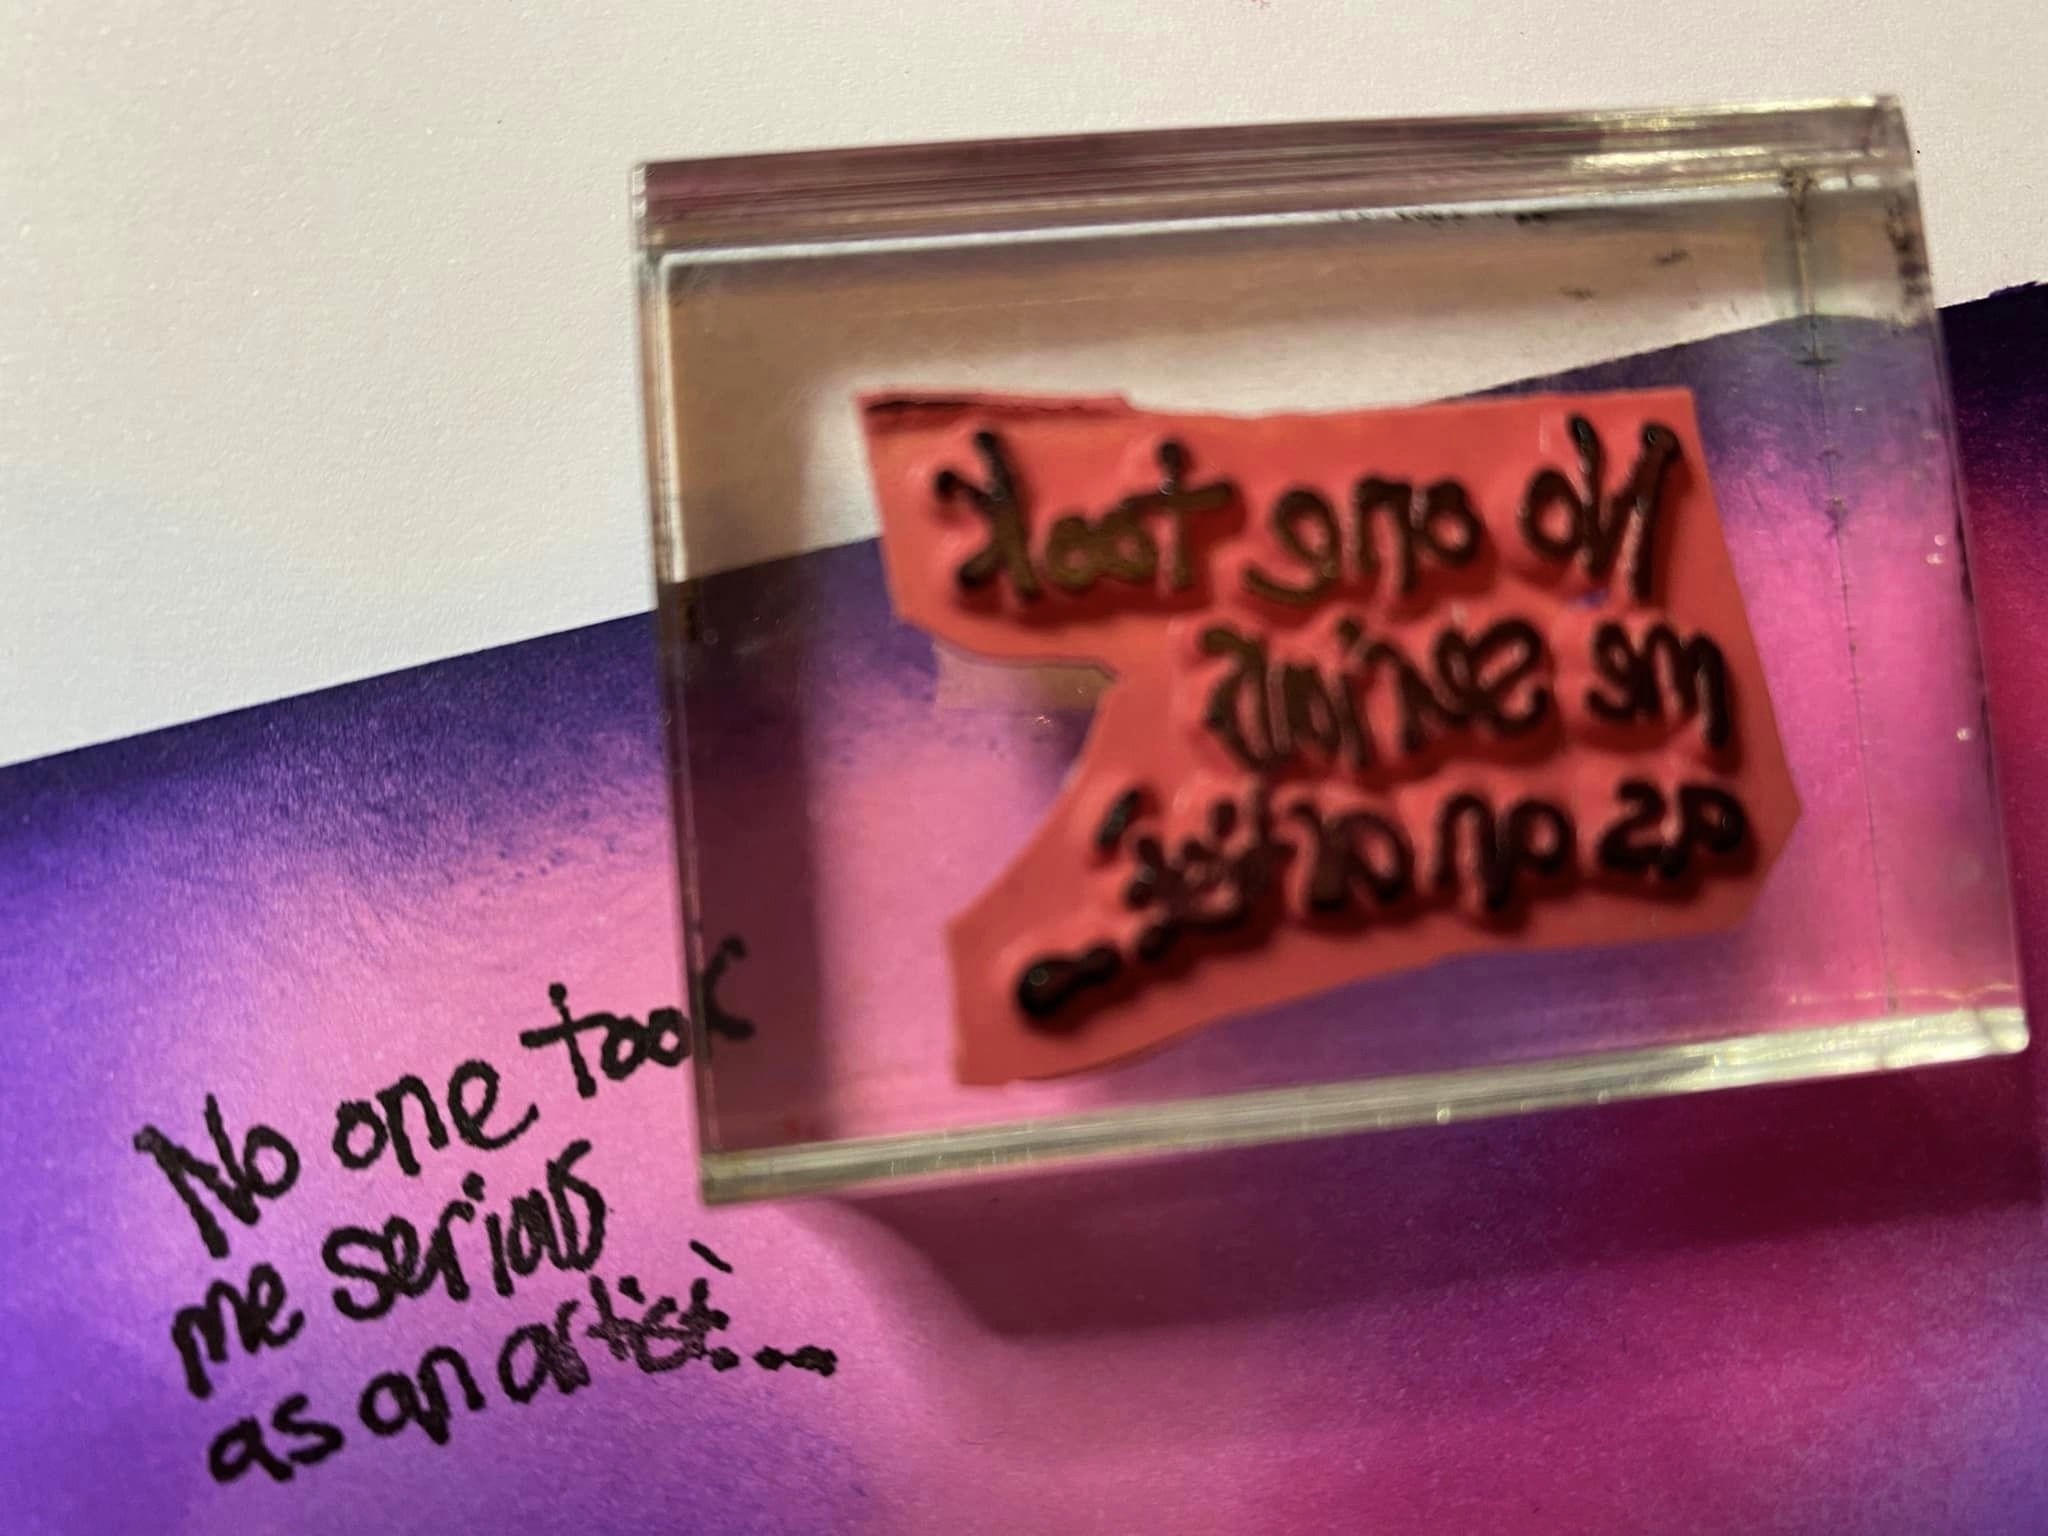
I stamped the sentiment straight onto the background.


.I went round the edge of the elephants with a black pen to make sure all the white bits weren't showing after cutting them out.


Before sticking the elephants onto the card, I stuck some washy tape for them to sit/stand on.  I also went round the edge of the card with black fine liner to add more interest.


Quick and easy! See you next time.x


Stamps Used:

Whimsical Elephant 19219

Sitting Elephant 19157

Banksy No One Took Me Serious 19963


Other Items Used:

Distress Inks in  Kitsch Flamingo, Picked Raspberry, Wilted Violet, Villainous Potion

Versafine Clair ink in Nocturn

Washy Tape

Black Fine Liner


Monday, April 25, 2022

BANKSY ATC's by Fran Chalmers

Hello again everyone!

Today I have made some ATC's featuring Banksy stamps (which I love).


 I had all the gelli plate backgrounds in my stash, so cut them to 3.5" x 2.5" size.

For the first ATC, I stamped the image and then cut out the zebra and the woman.  I stamped the image onto the card so I wouldn't have to cut out the stripes.


I added washi tape to add interest to the finished ATC.


For the second ATC, I edged the card with blue to frame it, then stamped the image in black.  I added washi tape to add interest.


With the third ATC, I edged it with purple and stamped the image onto the ATC, and then thick paper so the sign is left white.  I cut it out and added washi tape to finish it off.


I coloured in his Peace necklace with gold glitter pen to add a bit of interest too.


Hope you like them :) See you next time.

Stamps Used:

Banksy Zebra Washing 20297

Banksy Girl Watering TV Antennae 19603

Banksy Rat Protester 19489

Other Items Used:

Elements Inks in Blue Lagoon and Violet Chalk

Copic Pens

Assorted Washi tape

Gold glitter pen


Tuesday, November 02, 2021

Make art not war - by Corrie

 Hello everyone,

For today's project I have made an artjournal page and I had to use some Banksy inspired stamps again. I simply love them ! 


The background was made by painting it turquoise and lime and adding stencilling with the same colours, white and dark pink acrylic paint. I used Dina Wakley acrylics. I also used a brayer and white paint to tone the whole thing down again. I added stamping, doodling and washi tape and placed the soldiers on the top of the washi tape to ground them. The sentiment was cut apart and glued onto the page. I added some of the dark pink paint along the bottom edges of the words and at the end of the brush that the soldier on the right is holding. 

I have used the following stamps:

I also used:
Dina Wakley acrylic paints:
Turquoise - Lime - Fuchsia
Amsterdam Acrylics Titanium White
Archival Inks - Aquamarine - Leaf Green - Jet Black
Washi tape
Posca white paint pen

Thank you so much for stopping by today!


Thursday, October 08, 2020

That VooDoo That You Do

 I think Halloween celebrating has started early this year because we are simply looking for something fun to take our minds off of what is happening in the world these days!!

I have a fun Halloween card to share today AND I have changed up the way I typically color my Viva Las VegaStamps! images!!


The VooDoo doll is colored with Copic markers and fussy cut to be adhered on a gelli print I had in my stashed (Dina Wakley Paints).


He is sitting on some custom washi tape from Um Wow Studio, designed by our very own DeeDee Catron.


I just love how it all came together!!!

Are you doing any Halloween creating??

Until next time...get inky!!

Wednesday, September 09, 2020

Sweetie

Hello everyone,

For today's project I have made a mini journal page. These are really just postcard sized pieces of paper that I stick in my journal. I really like how this one came out.


It was made with a piece of watercolour paper. I recently bought some Infusions powders and I had a play with them to create this background. I also used some white gesso to tone it down here and there. Next I added some modelling paste; this is a graphite one and it has little sparkles in it. 
I added a tiny bit of stamping and some black paint around the edges. I stamped the girl and the sentiment, matted them both on black card stock and adhered them to my panel after putting down some washi tape. 


I have used the following stamps:


Thank you for stopping by today ! 


Tuesday, March 05, 2019

#Hastagthis

Hello everyone,

Welcome to my blogpost, the first one of March! I have made another art journal spread. It is still my favourite thing to do.


I started out with painting the pages from blue at the top via yellow to orange at the bottom. 
Next I stencilled the whole pages with a Tim Holtz stencil and white acrylic paint and then used a brayer to tone it down even further. 


Next I stamped, and stamped some more, lol, I love stamping and usually do it in clusters. I also added some washi tape. 


Next I stamped the sentiment and the main image and adhered them to the pages. I also doodled along the edges and around the sentiment. 


I think it turned out OK. 

I have used the following stamps :

Other materials :

Amsterdam Acrylics in the colours:
- Napels Yellow Deep
- Azo Orange
- Sky blue light
- Azo Yellow Medium
- Titanium White

Archival inks: 
- Jet Black
- Watering can

Distress Oxide Inks:
- Tumbled Glass
- Carved Pumpkin
- Mustard Seed

Tim Holtz stencil:
- Ornate THS076

Dina Wakley Washi tape 

Bookpages

BLack Pen


Thank you so much for stopping by today ! 


Monday, October 08, 2018

Mail Art from the Great Unknown

Hello Crafty Friends! 

Happy Mail Art Monday
and Columbus Day if you are here in the USA.

Now, Time for some explorer themed mail art... (with a hint of steam punk)


Stamps Used:

I started by using an A2 envelope. I stamped my 2 foreground stamps and traced my mini playing card (address label block).  


Next I created a "cloud" background with scarp paper and ink in weathered wood, hickory smoke,  and broken china distress ink. 


Next, I used my waybill/ledger stamp to add random texture and detail to the background with cornflower blue archival ink.


I also stamped my numbers randomly in watering can archival ink.  Across the top, I also added a bit of texture with my punchinella stamp. (below you can see a close up of some detail for the numbers, ledger, and texture)... you can also see I added a few flecks of black stain, and glitter spray.... I also added white dots with a white gel pen. 


Below you can see the whole picture, I added color detail, and bits of washi tape, and glitter. 


More detail...


And even more details... 


I hope you have all enjoyed this explorer themed envelope. 


Thursday, September 13, 2018

Something Wicked...

Hello Crafty Friends! 

I hope you are all safe from the storms and doing well. 


Today I want to share an easy Halloween card.  I'm naming this card "something wicked" because of the sentiment inside... :) 

Stamps Used:

Other products:
Distress ink- carved pumpkin, spiced marmalade, and mustard seed. 
Distress oxidize -black soot and fossilized amber. 
Washi tape (bought at a yardsale)
Cardstock- black and white
Distress stain- black soot
Pop dots
Adhesive (miracle tape is a great one)

I started by creating my backgrounds.  The layer I stamped on I created with my inks and a blending tool.  The base was created with water and smooshed ink on my glass craft mat. 


(Look how great this creepy tree and owl are... this is just stunning on own!)
 
After the base pages were dry I stamped my tree on the top card base.  To add extra grunge I flicked a few drops of water on the base, and a few flicks of black distress stain added to the grungy creepy feel. 

I added the top layer to the base using the pop dots. 


(Sentiment on the inside)

I hope you enjoy this quick and easy Halloween card!

(I need to get to work making more for some crafty friends!)


Thursday, May 24, 2018

I'm late, I'm late....

Hello everyone,

and welcome to my inspiration post today !

I have made an Art Journal spread and I have gone for an Alice in Wonderland theme. I love Alice in Wonderland. Strange really if you know that I only started to read the books as an adult. I got really interested when I started crafting as the characters are great for cards, tags, journals... you name it.


This spread was made in my homemade gel printed book. I learned making this in a workshop with Birgit Koopsen. You make lots of gel printed pages and then glue them together to make a book. 
There is a video from Birgit to show the process HERE

I started with heat embossing the Dandilion here and there on the pages. I used fine detail white embossing powder by WOW. Next I stamped the background with similar colours of Archival inks as the background and with grey and black for contrast. Next I added some washi tape and stamped the rabbit and the sentiment. 


The rabbit was coloured with Copic Markers and cut out. I rest amped him onto my page and was then able to cut off small details like the watch chain. I then adhered the coloured one over the top. I also added some shading under him. 


The stamped sentiment was cut into smaller pieces and adhered to the page. A little doodling with a white pen finished the whole thing off. 

I used the following stamps:

Thank you for stopping by today !