Showing posts with label Twinkling H20's. Show all posts

Monday, June 13, 2022

Into the abyss - by Arwen

 Hey Lovelies

Today, I wanna share my newest postcard with VLVS ❤


close-ups:


Stamps, I used:

- Into the abyss

- Boy in tub boat

- Fuck Head


other stuff:

- Watercolor paper

- cardstock

- Staz on

- Distress reinker

- stencil

- Twinklings H2O


See ya soon *mwah*


Tuesday, March 29, 2016

"Still" an Art Journal Page by Jenn Engle

     Hello! Today I have a very simple art journal page using the Whimsical Jester Stamp on acetate. I think this stamp works well with the acetate stamping technique because you are able to see thru all those tiny lines and intricate details to the background.
 
     The Whimsical Jester can also be purchased on an entire plate of rubber (plate 1457), and I think that all of the images on this plate work so well with acetate stamping.
 
To see exactly how I made this page from start to finish, be sure to check out the process video linked at the end of this post.
 
STAMPS USED:

“Whimsical Jester”

"Numbers Set"


Here is how I created these pages from start to finish:
 
Thanks so much for looking,
Jenn Engle

Wednesday, September 16, 2015

September Inspiration Tags


Shanna here to share with you some inspiration for this month's challenge.  Check out the challenge here doesn't this inspiration board look fun. 


I really wanted to play with some paints and inks I have.


I started with Distress Paints and sprayed the paint with water. I smooshed the tag in the puddle. 


After I heat set it I used a Twinkling H20 (Lucky Apple). 


And made it dripped down the tag. 


I want to play with some black embossing glitter. I used the stamp Poison Apple - 19702 to add the embossing too. 

I ended up making two tags. 


The first tag I added some alpha stickers to make the tag "spooky".


I used India Ink to have running black ink from the top of the tags. 


For the second tag, I loved the witch in this stamp Witch Holding the Broom - 19705


I followed the same background technique. 


I added the sentiment In the Pale Moonlight - 19351.


I finished off the tags with some seam binding ribbon and twine. 

Hopefully your inspired. We would love to see you play along. 

Tuesday, May 26, 2015

She Was a Dreamer

Hey everyone. Shanna here with a fun take on a mixed media card. 


I wanted to play with some bright colors and some new stamps and I thought I would love to share with you how I created it. 


I used some paint and a stencil for the first layer on watercolor paper.


I then stamped the Squiggle Heart - 19644 with Magenta Archival Ink. 


Then I stamped the image Fed-up Vintage Lady - 19640 on some white cardstock and cut her out. 


I wanted to add a sentiment to the card, therefore I wanted to emboss and add more pop of color. So I grabbed some black cardstock and white embossing powder. I used some Versamark Ink to add the embossing powder. 


After that I wanted to add a little more pop of color. I used Twinkling H20's color Mango Mamba. 


I threw everything together and tucked a little thread behind it using chipboard to give some dimension to everything. 


Items Used:

Wednesday, January 28, 2015

Wonderland Tag


Hello everyone! Shanna here again to share and amazing creation with you all! 
I am just in love with Alice in Wonderland and thought to create a tag based on that theme!


I loved creating this tag using a variety of stamps and mixed media techniques. 


I used Alice Reaching - 12681 (Plate 1161) and Mason Jar - 18957 (Plate 827) for the main part of the tag. I used lots of Distress Inks to really grunge the tag up. I also used a Twinkling H2o to add some shimmer as well. 


Then I stamped the Butterfly Specimens - 19415 (Plate 1440) using a light colored ink and Wonderland - 19580 (Plate 1452) to make this tag a Wonderland of an idea to add for a tag collection. 

If you interested in watching a video on how I created this tutorial check it out below. 

Tuesday, January 13, 2015

Wings Are Ready

Hello everyone. Shanna here and I am beyond excited to be a part of the design team and here sharing my first post with you as a design team member. 

Now on to the fun parts right!!!

I had so much fun picking out stamps and your head just pops with so many ideas. The thing I love most about the stamps is that you can color them or leave them plain stamped images. I love doing that as it makes the stamps pop off the project.

So I decided to kick it off with an art journal creation.


First I had some Tim Holtz tissue wrap that I added to my pages with some mate gel medium. After that I gave the pages a white wash with gesso.  Then I added some Dina Wakely Acrylic paint in the color turquoise and magenta. Spraying each color with some water to create paint drips. 
Then I used the stamp Wildflower Silhouette - 19556 (Plate 1451) with a Distress Marker Crushed Olive and stamped it twice at the bottom of the page.


Then I thought the Girl with Wings - 19005 (Plate 893) would look perfect for this spread. So I stamped her with the StazOn Ink and fussy cut her out. Although I decided to go ahead and pop her wings up for dimension. 


Then I couldn't help but add some glass bead gel for a little more texture. 
Then I wanted to add some brown and went for my Twinkling H20's, using the colors Cedarwood and Autumn Butternut. 


I tried hard to stick to the January challenge them the mood board is just amazing but I love pink and had to splash some in there. 


Don't forget to enter the challenge HERE!

Tuesday, March 05, 2013

Enchanted

I think like everyone, I am ready for spring. I am ready for the gorgeous flowers that smile at me everyday.

I am one of those goddess women who believe in fairies and sparkles and smiles.

So when i came across this most awesome stamp I went literally all warm and fuzzy.


Yummy eh?

I created a couple of pretty cards.
My favorite this one.

And its super simple to make. The butterfly is an outline sticker. Place the outline sticker on a piece of watercolour paper.
Get out your favorite watercolours; twinkling H20's, Peerless Watercolour, Pencils etc.
Choose your favorite colours, using a brush wet the paper, and then start adding the colours, they will mix and blend together. Let it dry and then i used Prisma pencils to accent the butterfly.
Then i stamped "Enchanted"with a black dye ink, on a small piece of watercolour paper, and painted it to compliment the larger area.
Attach to a card and you have a lovely card.
Take care my art friends
L.
ANg


Thursday, October 25, 2012

Summer Memories

Hi my art friends. I have an awesome ART journal page using a VIVA LAS VEGASTAMP


The stamp is called SURF SHACK.

Here is the stamp

First I stamped the image with clear embossing ink, and then embossed with a green and blue embossing powder.

One of my favorite mediums is watercolor. And i love love love twinking H2Os.
I created a lovely blue,teal and green watercolor background.

Simple eh? But the results are so pretty!

Then I added some journaling doodles using a black pen and a whiteout pen.

For the journaling part I wrote about one of my favorite summer memories.

Swimming in the ocean, watching the dolphins swimming in the distance.

Its fun to let yourself go and remember the moments that feed your soul. AND to find a stamp that helps with that process.

Art on!

ANg

Sunday, July 29, 2012

Zentangle-Inspired Artwork Stamps-Ideas & Giveaway

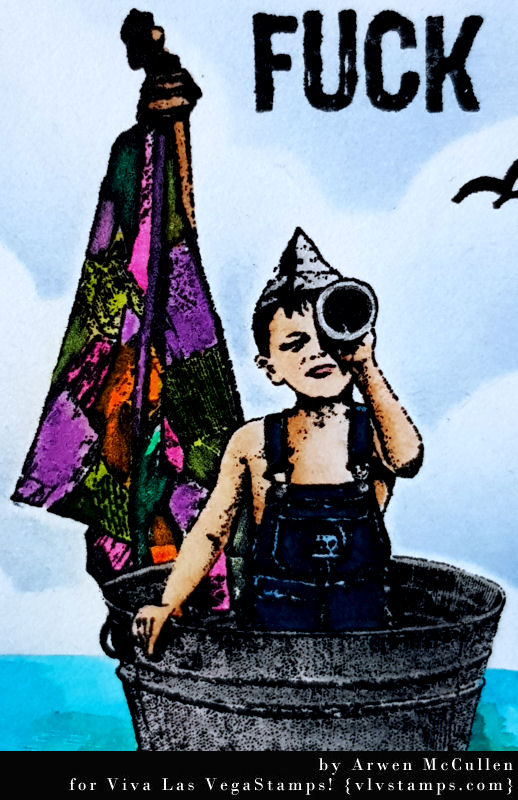
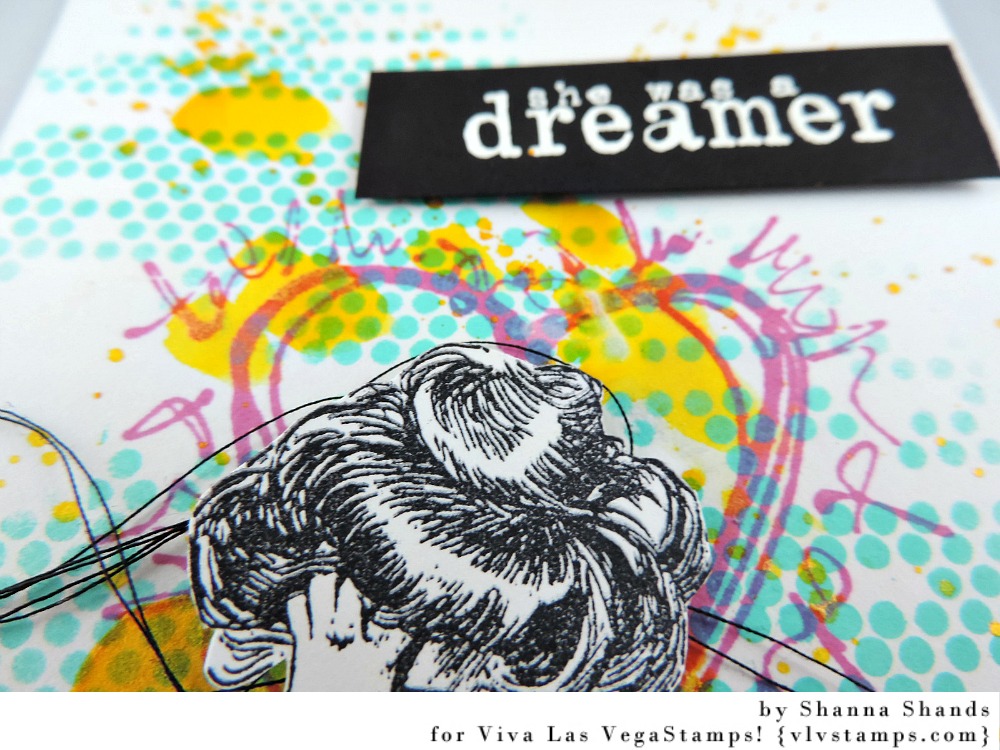
Recently two really exciting things have happened for me, both related to Viva Las Vegastamps!  The summer edition of Rubber Stamp Madness magazine came out, with two pages of VLVS! advertisements--one based wholly on my artwork, and one page where my artwork was the background.  The second thing is that VLVS! created seven stamps based on my artwork!


I thought I would share some of the ways I've been using these stamps--especially since I'll be giving some of them away! See more about that at the end of this post.

VLVS! stamps shown starting from top, Left to Right:  

Used as an underlying background
For the Zentangle®-inspired drawing at the beginning of this post, I used the mandala shaped stamp in the upper center of the stamps pictured.  You would hardly know it would you? I just used the image as a background, and guide for the new patterns that I drew over it. I taped it into a handmade journal I'm making with some Designer tape.

Supplies: Ranger Big & Juicy Waterfall stamp pad; white cardstock; Plike* Swatchbook; Elmer's Repositionable Designer Masking Tape.  Viva Las Vegastamps! Tangle 4 1/2 x 5 3/4-Item 18799 Plate 1423.

*I used Plike paper, but you could use any cardstock to get similar results.

Stamping on McCalls Dress Pattern Paper
In the same Plike Swatchbook, I colored a page using some acrylic paint pens.  The color was fantastic, but I really hated the layout I'd chosen.  I wanted to use the color somehow, and had the idea of stamping on tissue paper and taping it over the Painter penwork.  Unfortunately, I had no tissue paper.  

However, I'd just received a package and the shipper had used an old McCall's dress pattern for protection.  Tissue paper, right?  And the dress pattern and instructions printed on it added a some extra interest.  I just stamped, cut out the image and taped it over the original drawing.  

Supplies: Staz-on Midnight Teal stamp pad; McCall's Dress Pattern paper; Plike Swatchbook; Elmer's Acrylic Paint Pens-Pastel set. Scissors, Miracle Tape, Viva Las Vegastamps! Tangle  4 1/2 x 5 3/4-Item 18818 Plate 1425.


 Cut-outs from McCalls Dress Pattern Paper
I liked this Dress Pattern thing, and had the further idea of cutting out little critturs.  I saw tabby cas in the swirls of the top right stamp--yes, that is how my  brain works.  I saw cats as clearly as if they was meowing at me!

I outlined the cats on a piece of scrap paper with a sharpie marker.  After stamping on the dress pattern paper, I placed the outlined sheet underneath the stamped image, and traced the cats onto the pattern paper with a pencil, then cut them out.  Just to reduce the waste, I cut some circles--cat toys--as well.  I glued them all onto a black page painted with a background of Twinkling H20 watercolors.  My scanner can't pick up the shiny colors, but they are much more sparkly than it looks here.

As a last step, I outlined the cut-outs with a metallic gold gel pen.

Supplies:  Ranger Big & Juicy Waterfall stamp pad;  Plike Swatchbook;McCall's Dress Pattern,Twinkling H20's Carnivale set; Sakura Metallic Gold Gellyroll pen, Scissors, Elmer's All-Purpose Glue,Viva Las Vegastamps! Tangle Design 4 1/2 x 5 3/4-Item 18797 Plate 1424.

Embossing
I've also been using these stamps for embossing.  I haven't finished the swatchbook page, but it's going to be cool.  On the right, I was playing around with a small pocket folder (that I'm turning into an art journal--I seem to be stuck on that theme, lol).  I thought I had picked up my Ancient Copper embossing powder, but got the silver instead.  I think the Copper would have looked better but I'm still happy with the way it turned out.

Supplies: VersaMark Watermark Stamp Pad; Judy Kin Embossing Powder-Chablis; Ranger's Embossing Powder-Snow White;Stampendous Embossing Powder-Aged Silver; Plike Swatchbook; Exacompta Basic Pocket Portfolio, Viva Las Vegastamps! Tangle 3 1/4 x 4 1/4-Item 18812 Plate 1426 & Bird Thingie 3 1/2 x 2 3/4-Item 18821 Plate 1425.

The Giveaways 
One winner will be receiving a Set of Seven unmounted VLVS! Stamps based on my Zentangle®-Inspired Artwork..  The other will win a Set of four Wood-mounted VLVS! rubber stamps, 2 of which are based on my Zentangle-inspired artwork, and a signed copy of the Summer Rubber Stamp Madness magazine!

Head over to Life Imitates Doodles for a chance to win!