Showing posts with label red. Show all posts

Tuesday, May 01, 2018

May Challenge

May the 4th be with you!

ahahahahaaa... sorry.

MAY CHALLENGE :


Be inspired by ... STAR WARS! Octopuses, Victoria, vintage, retro, tea, magic, SITH, evilness, rays, gray, black & white, RED RED RED, and anything else that strikes your fancy from the mood board.

Meet us back here shortly for inspiration & our last challenge's winner!

Don't forget the rules:
-Create a new project based on our inspiration board (it has to be posted this month, but you can certainly link up to other challenges as well!)
-Use at least one (but certainly more if you want) Viva Las VegaStamps! rubber stamps
(We are now allowing competitors stamps to be on your work, but please make VLVS! the focus of the project, thank you.)
-Post it to your blog with a link back to us
-Upload to our linky using your direct blog post link (You may also upload via facebook, flickr or other gallery)
You could win a Project Spotlight post on our blog + some new rubber of course.
And visit us back here for inspiration!


Tuesday, December 01, 2015

December Challenge


It's time to break out your very own MAIL ART! Letters to Santa, Christmas outfits, fluffy hats, postoids, red, glitter, black and white, shades of gray, overstretch belt buckles, trikes, kids, Christmas morning, SANTA himself, stripes and anything else you can draw from our mood board.

Don't forget the rules:
-Create a new project based on our inspiration board (it has to be posted this month, but you can certainly link up to other challenges as well!)
-Use at least one (but certainly more if you want) Viva Las VegaStamps! rubber stamps
(We are now allowing competitors stamps to be on your work, but please make VLVS! the focus of the project, thank you.)
-Post it to your blog with a link back to us
-Upload to our linky using your direct blog post link (You may also upload via facebook, flickr or other gallery)
You could win a Project Spotlight post on our blog + some new rubber of course.
And visit us back here for inspiration! 


Monday, June 23, 2014

Blast From The Past

Hi guys, It's Tera again here to share my fun blast the past stamp project with you! 
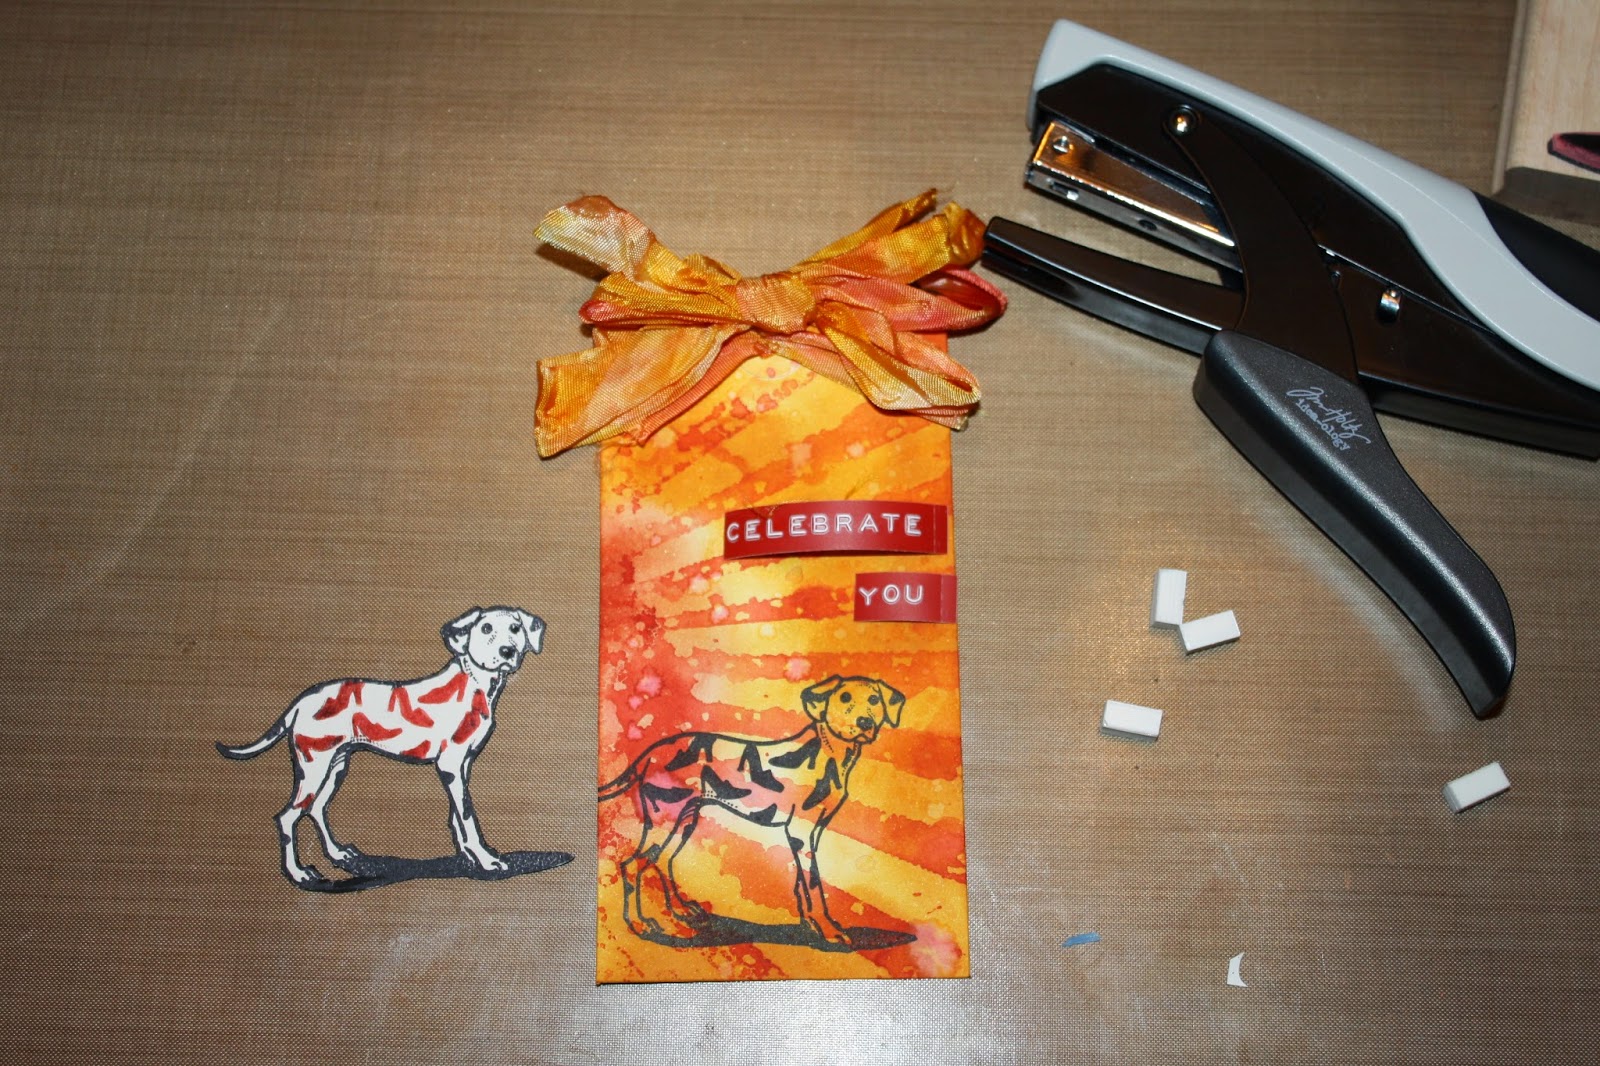
This was such a fun challenge for me! and I hope it will inspire you!! I love that this stamp can be used in so many situations, from birthday cards, to girls night out, dog lovers, and just about anything! 
For my project I thought I would do a piece on celebrate who you are and your own style!


Stamp used:

Shoe Dalmatian Dog 3 x 2 1/4


Start by inking your stamp in black ink, then carefully wipe the ink off of the shoes/spots that you would like to be a different color and stamp on card stock. Next clean off your stamp and color the shoes in with brick red distress marker and carefully line the stamp up over your already stamped image... 
(it doesn't have to be perfect :-D ... if you would rather you could also mask the area off)

Next if you are like me and need to touch up your edging from wiping the ink off just fix it with a black marker 


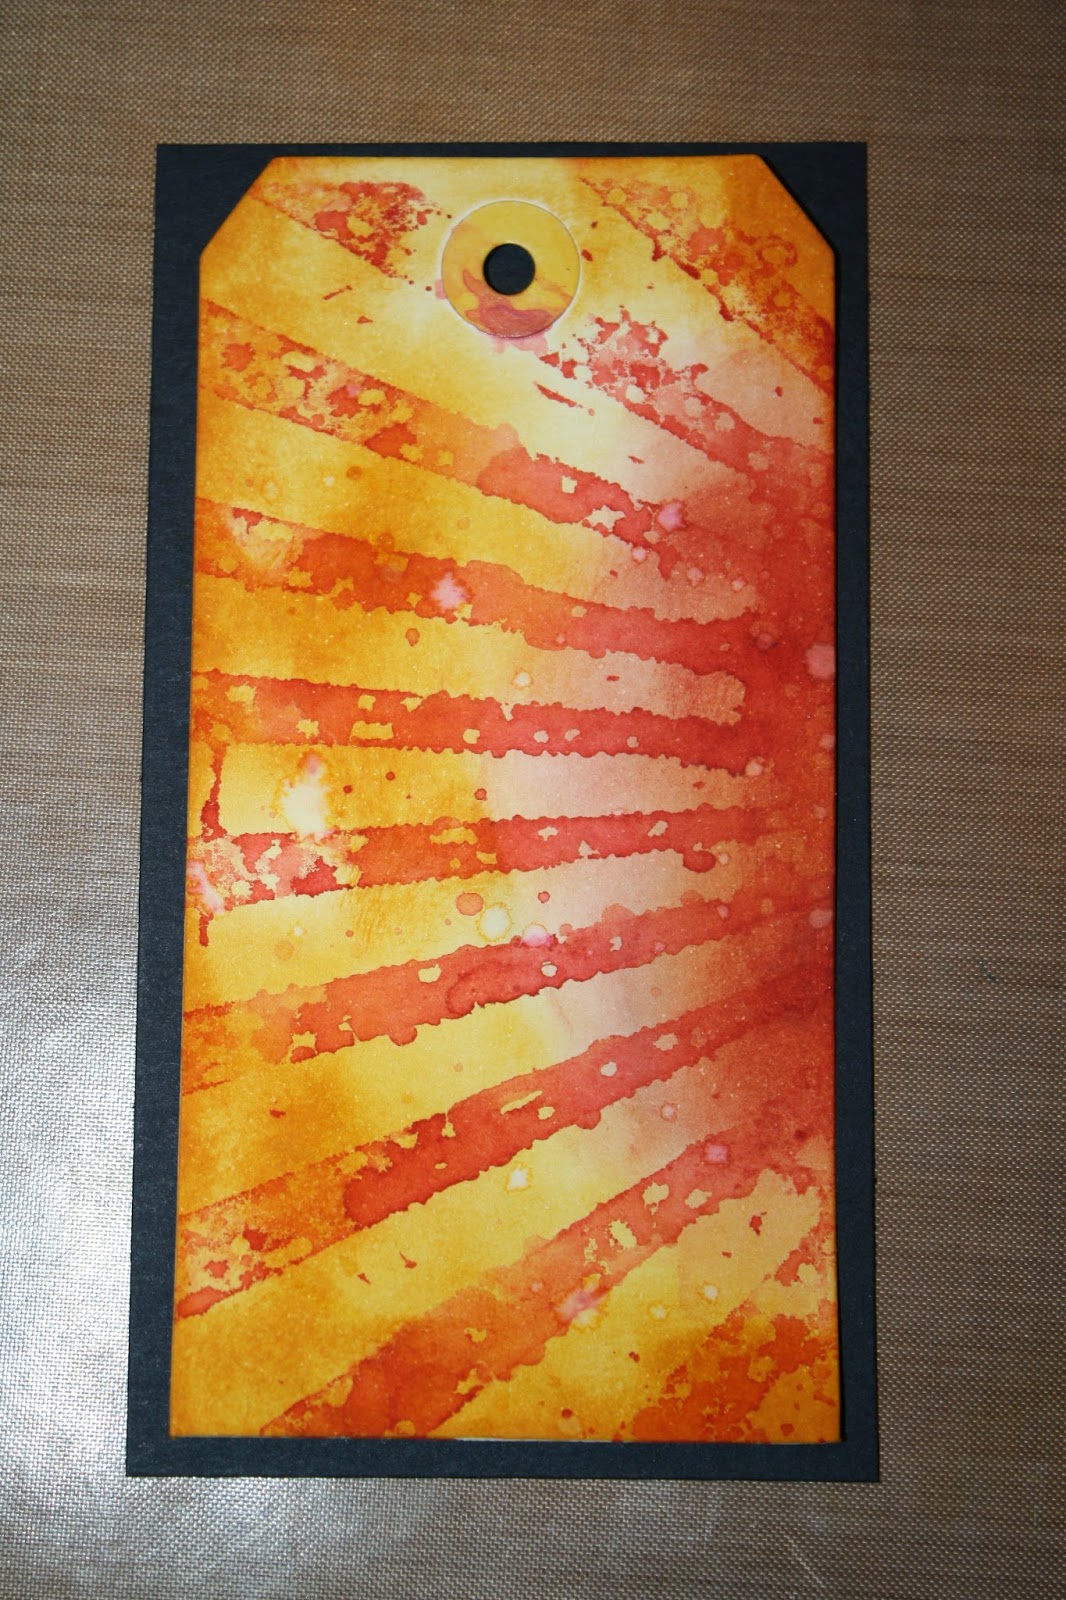
 Next ink your desired embossing folder (or stencil) in your desired ink color. I used Brick red again then spritz the distress ink on the embossing folder with water. Carefully set the tag on the embossing folder and brayer it or gently rub it to be sure the whole tag touches to pick up enough color


this is something similar to what you should see after lifting straight up (I heat dried mine, but you can wait on it to dry naturally if you are more patient than me!)


Now comes the fin part sponging on ink!! I used Wild honey and Fired Brick on a make-up sponge

 I made two so i could have options to which I liked best when finished and because it is so fun!

this is when you want to measure out a piece of cardstock about an 1/8 inch bigger to really make your colors pop.. it also fits and looks awesome as a card front for an A2 card!!! (set this piece to the side)


Next Create your desired quote with a Dymo maker if you have one
(or if not another stamp even!! goodness knows I love stamped quotes!!! hehe)


 Next take your two ink pads and stamp them on your craft mat. spritz the ink with water again then rub your seam binding ribbon (or any that you have) around in the colors until you get the look you want adding more ink as you go. I also crinkle mine and heat dry it 

make a pretty bow for the top of your tag and tie it on 


 next lay your pieces out and decide where you want your stamp to go. Stamp it in black ink then color it in solid black This helps add a nice finished look behind your image and a hint of a shadow
 
At this stage you are almost done!! add your pop dots, and staple down your quote! If you are pleased with the look attach your back with Miracle Tape and Enjoy!!!!
(here you can also see the nice shadow added by coloring the back black)

I Hope you enjoyed this tag inspiration!! I had so much fun making this piece and I know that I will have to use this Awesome stamp for some more super fun projects!!

Tuesday, April 02, 2013

Crazy in Love

Freud said it best. Love does make us crazy. We feel every emotion under the sun from elation and desire to sorrow and grief. One thing that has always puzzled me is that when I am sad I cry, and when I am happy I cry. I am married to a man who after one martini will tear up when he tells me how much he loves me. I love those tears of his. Freud said it best.

When I saw this HUGE 4 1/4" x 5 1/4" Freud Stamp I knew I had to add it to my growing collection of VLVstamps. I see lots of Freud inspired cards and projects in my future but I decided to start out small with an Artist Trading Card. I am crazy in love with this card. Hope you like it too!


Supplies
Freud Stamp
Heart Diagram Stamp
Embossing Powder
Miracle Tape
Scraps of red and white cardstock
Glass square piece
Heart Button
2 Photo corners

Monday, July 02, 2012

Uncle Sam Wants You for the 4th of July

Uncle Sam Wants You


Uncle Sam Wants You 2 3/4 x 3 1/4                                      Children Pointing/Looking 2 1/2 x 2 3/4

Uncle Sam Wants You                       Children Pointing/Looking
Item no.5794 (Military plate)              Item no. 6420 plate no.616

SUPPLIES:
Rubber stamps above
Brown ink
UTEE (ultra think embossing powder)
Heat Gun
12 x 12 Kraft paper
2 12x12 patterned Kraft paper
Paper cutter
Small sharp scissors
double stick foam tape
Cricket with Rosette die
Scoring board
Bone folder


I fell in Love with Sam the first time I saw him!!!  I have really
 been looking forward to using him for this 4th of July
 submission.

I also love Kraft Paper and I used Canvas Crop solid Kraft, 
Red/Kraft and Blue with Kraft stars.

The ink I used was a dark Brown and I embossed
both designs with UTEE (Ultra thick embossing
powder)  I love the texture and color match with the
embossed Dark Brown Ink and the Kraft colors.

I used a Cricket to cut out the large Rosette
I then used my scoring board and Bone Folder
to make the folds I needed.

I attached the rosette with double sided foam tape.

With the stamping completed I cut both designs out
with small sharp scissors.  Once cut I attached them to the rosette.  I put
Uncle Sam on with 1 strip of foam tape and the children with 2
to give them a higher elevation.

HAPPY 4TH OF JULY


Wednesday, February 22, 2012

TH Inspired Tag using VLVS! Swirls

Hey Everybody!! DeeDee here!! Have you seen the 12 tags of 2012 TH is now doing?? 

well I wanted to participate.. but As a design team member for VLVS! it is our duty to promote as much VLVS! as possible, and it's QUITE easy when you love a company as much as I do VLVS! The images that Wayne and CO produce are just ... the best. so I took on TH's tag challenge.. but with a VLVS! twist.. 

First.. Pick a background! 

I chose a combination of three stamps:

Swirl 3/4 x 1 1/4 - $5.00


Then.. grab your tag and stamp them in WHITE ACRYLIC PAINT. I stamped them sort of haphazard all over.. and I wasn't careful about covering the entire stamp in paint either.. it sort of made this.. fun swirly collage with an almost foliage resemblance! 

Give the paint ample time to dry and then ink your tag. I used Spun Sugar Distress Stain.. and sponged some Festive Berries and Brushed Corduroy ink over it. spritz with water.. and wipe the ink off of the painted parts!! Background CHECK!

(here's a closeup of the background)

I then embellished with a 3D heart made from punched hearts that I folded in half and glued sides together. There's a bit of old pattern wrinkled up underneath the heart.. and I used some vintage lace and snug hug for my trim embellishes! 

The Cupid was hand cut, inked and crackled! What do you think?? Aren't the VLVS! Stamps just SUPERB! they do the same thing as tim's giant stamp, but only BETTER!! 


Let me know what you thiiiiiiiiink!! -DeeDee

Wednesday, February 08, 2012

Simple with wings

Hey everybody!! DeeDee here today!! I've been needing some super simple yet nice note cards to throw into the bags that people purchase at the craft show coming up! So this weekend I sat down and spritzed some paper with ink.. then stamped some of my favorite VLVS! images! 

One of my favorites was using this butterfly:


Butterfly Gossamer/Small 1 3/4 x 1 1/4


to make this beauty: 


It was really very easy.. I used Barn Door and Mustard Seed distress stain.. I smeared them on my non stick craft sheet and then spritzed them with water. I did my best to gather tons of ink to my paint brush.. and flung it at the cardstock! I dried my piece with a heat gun and then grabbed my butterfly stamp. I used Memento's Tuxedo Black to stamp the beauties in :) 

A nice handmade card will make my customers want to come back! 

do you like simple cards with little embellishing? I'm finding that this really makes the stamp the center of attention!