Showing posts with label calendar. Show all posts

Wednesday, November 21, 2012

DD Inspiration Day #3

Hello!! Welcome back to our week full of inspiration using Plate1430! Stay tuned all week for some amazing works in which the Viva Las VegaStamps! Design Team has utilized our "December Daily" plate.


We've got two more lined up for today!!!

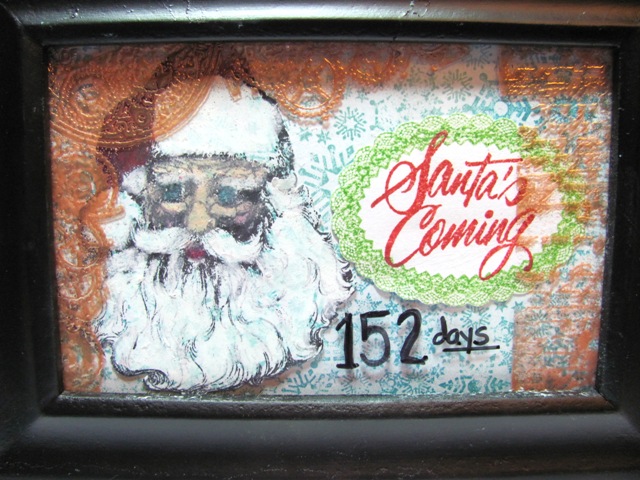
First up is Pinky! with this magnificent Magnetic Christmas Countdown!!! I love how bright and cheerful this is, and that she stamped in RED.


  1. Spray paint cookie tin.
  2. Cut out 2" circle using Silhouette Cameo & Jillibean Soup paper. 
  3. Stamp out 25 days using December Daily VLVS set & American Crafts Cherry Ink.
  4. Hand cut each number.
  5. Using foam pop dots attach one number to each circle.
  6. Add Pink Paislee Snow Day embellishments to each circle/number. 
  7. Adhere magnet to the back of each completed circle. 
  8. Punch Holes into top of painted cookie tin using Crop A Dile.
  9. Thread tulle through holes to create hanger. 
  10. Create "Days Til' Christmas" using alphas and leftover patterned paper. 
  11. Arrange magnets.

Supplies Used:
Cookie sheet, Krylon Paint (almond), December Daily VLVS set, Pink Paislee Snow Day embellishments, Jillibean Soup paper & alphas, Red tulle, magnets, American Crafts Cherry Ink, Silver Stickles, Silhouette Cameo, and Crop A Dile

And 2nd is my project! I've created a 31 page mini album specifically as a December Daily, with pockets, tags, pages and envelopes. 


Other VLVS! used: Chevrons, Miracle Tape
Other supplies: circle punch, scalloped circle punch, paper trimmer, tag die cut, May Arts ribbon, Gauche Alchemy tape, paper clips, walnut stain distress ink, archival black ink, water, zutter binding, bind it all, floral dots, martha stewart punch, black pen, Authentique paper, kraft paper, black cardstock, bobunny vintage double dot. 


Leave your comment for another chance at winning this plate of rubber!! Come back tomorrow :)  

Tuesday, July 24, 2012

Oh, let me count the days!

Happy Wednesday everyone! It's nearly the end of July and for my family that means a fast dash to the end of the year! We start school in less than a month. We have classes, concerts, games, and carnivals. Then Halloween then Thanksgiving and then the winter holidays. whoosh! Where did the end of the year go! I think it goes in warp speed but my kids are forever asking "when is...". 
I've seen these count down calendars all over the net and decided this would be PERFECT for the "when is" faction in my house...They're super easy to make and with the vast array of Viva Las Vegastamps! you can keep up with every season!! 

The Process

For this project you will need:
A frame with glass of your choosing [mine is 4×6"]
a variety of inks including versamark for the glass
Cardstock/papers
>

Remove glass from frame and clean with moist wipe.
Stamp images with versamark to "frame" the edges.
Cover with Embossing Powder--clean up powder along
images with a soft brush to remove powder from where
you don't want it.
Heat thoroughly to insure all the EP melts.
WARNING GLASS GETS HOT.
Give the melted EP about a minute to set...then dust with
Terri Sproul Mixers--I used Bronze but you could use any.


Dust off excess and return to pot. Wipe the glass again
with a moist towel to remove un-attached powder. I zapped
the embossed images with a heat tool one more time to
permanently set the EP with Mixers.

And now for a count down

Now return the glass to the frame. You are ready to make count down pages! You can count down to ANYTHING. I made a count down to Santa's arrival and one to the first day of school. Change the stamps and papers/backgrounds to match your countdown. Use a dry erase marker to write on the glass as your number changes.

Santa's background was made with the Snow background
stamped with versamark and dusted with silver and aquamarine
mixers. He was stamped with Archival ink, accented with
craypas, The Santa's Coming sentiment was stamped with
red and a green 2nd generation image of the oval doily was used
as a frame. The count down takes place below the sentiment.
For the beginning of school a primary background was made with Distress inks and
then the pens were stamped with blue, the oval doily in red, and School in...__days
was hand-lettered. The count down is written in the "hole" created in the oval.
Thank you for looking! I hope you enjoyed my projects as I try to quiet the "when is" faction in my life! ~leslierahye