Showing posts with label Wildflowers Silhouette. Show all posts

Monday, December 19, 2022

DREAM BIG - by Fran Chalmers

Hi everyone - and Merry Christmas!

Today I have made a postcard using the lovely unicorn stamp!


First I made the background.  I wanted it to be fairly dark so I blended distress inks in Uncharted Mariner and Villainous Potion, leaving the middle lighter.


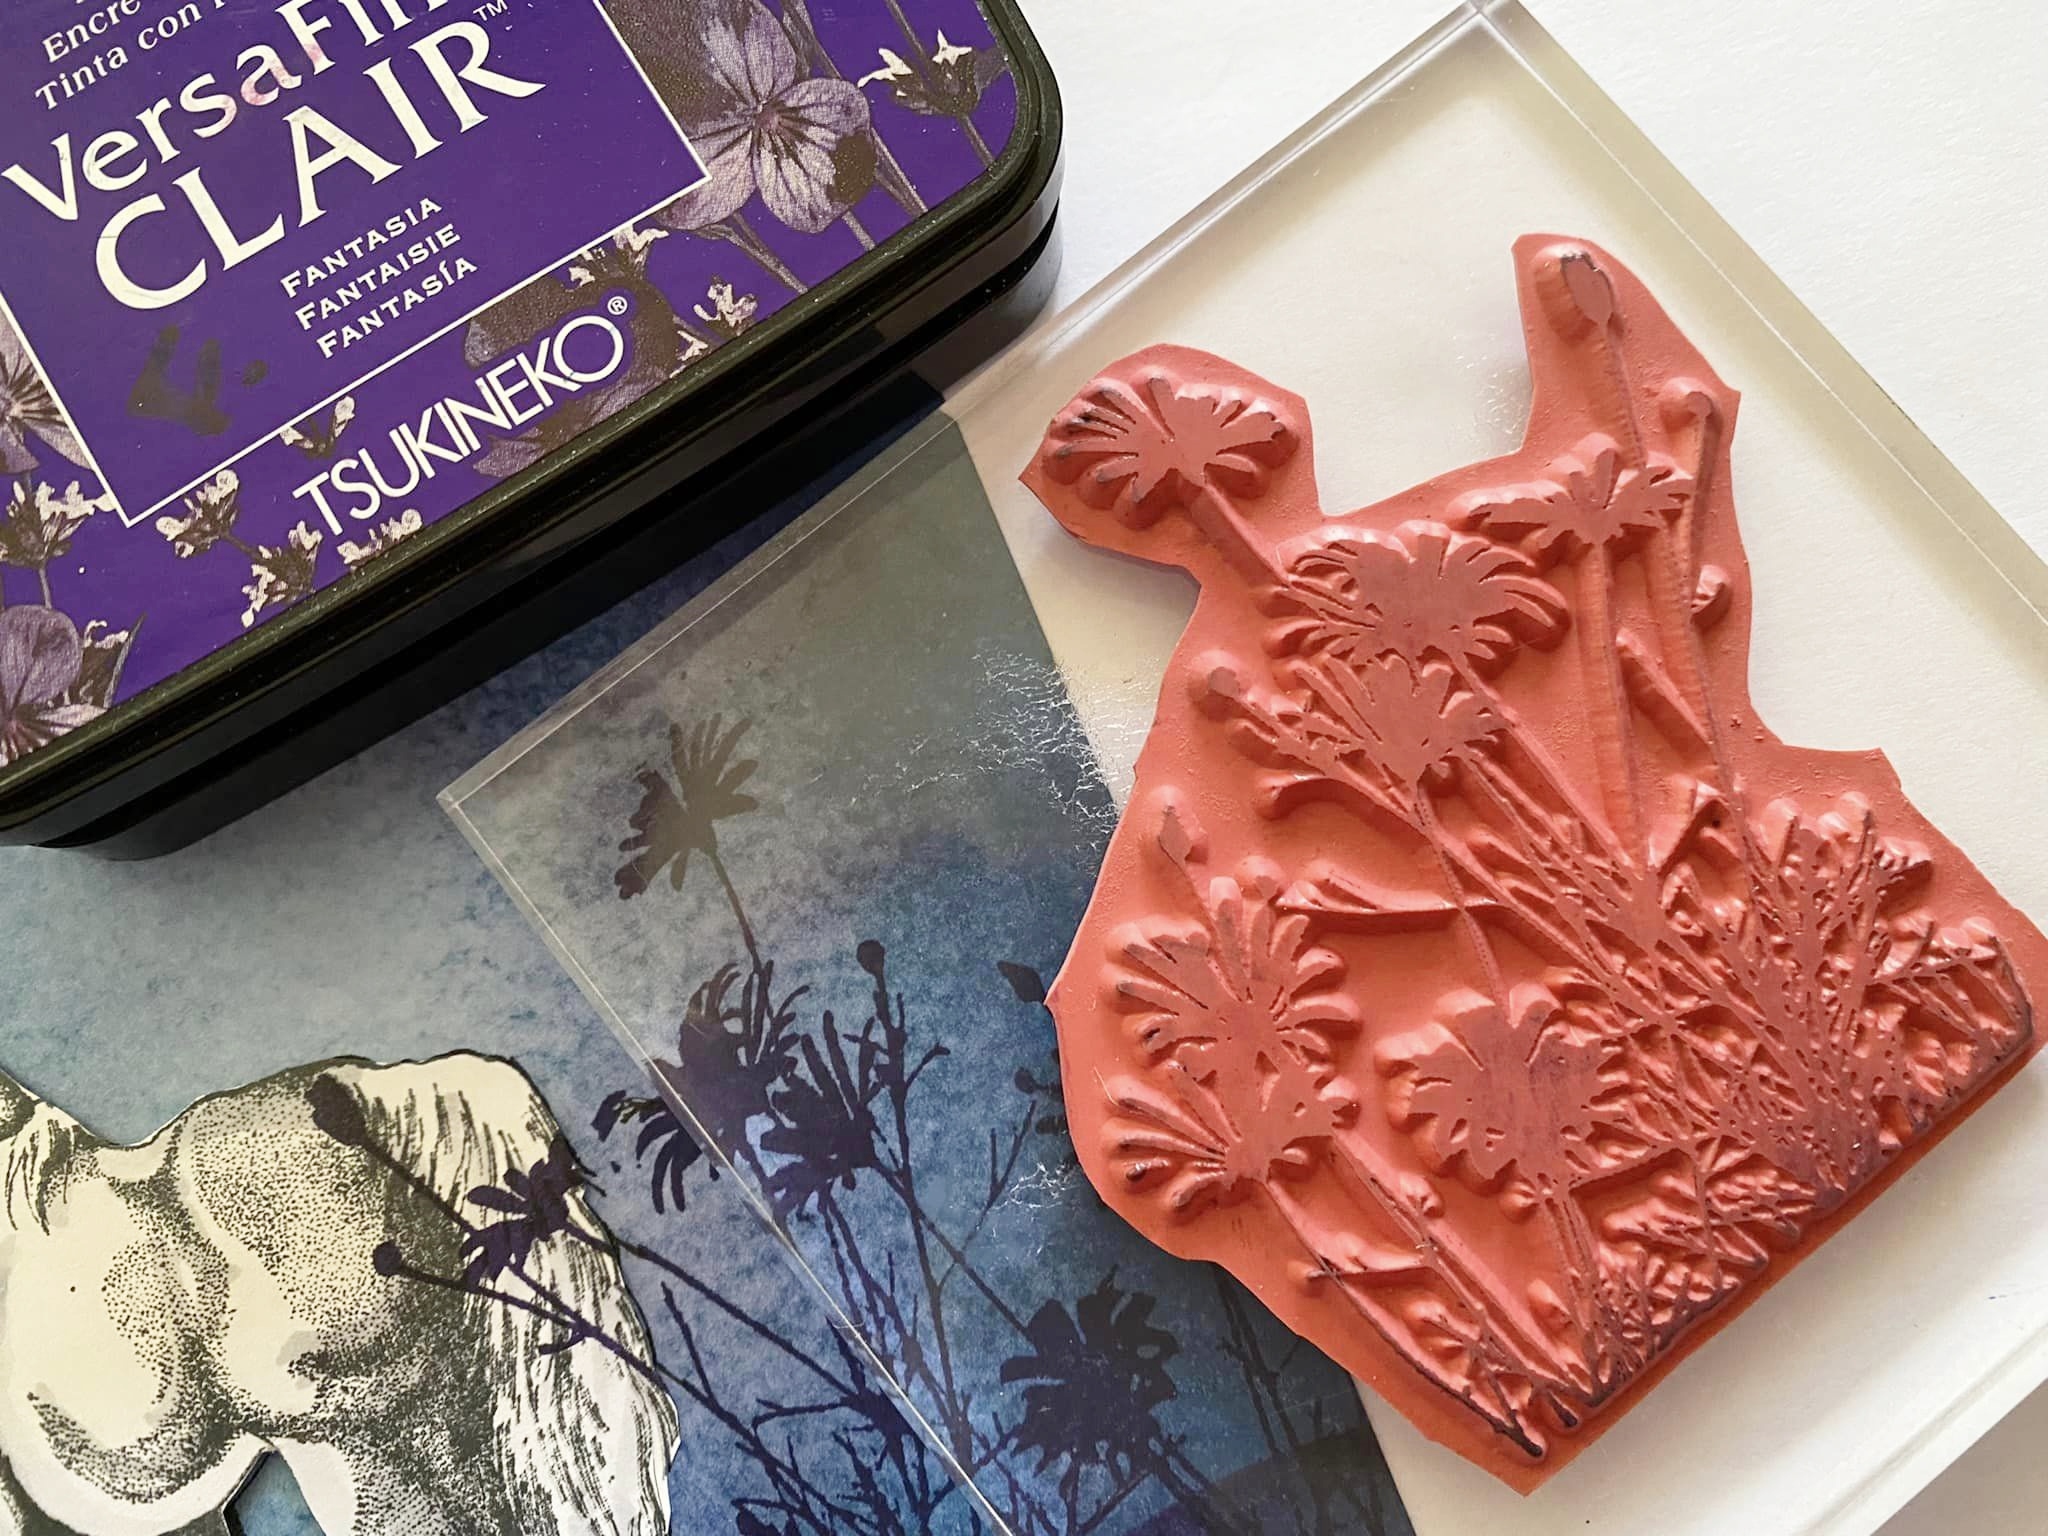
I then stamped the edges with the tree branches - I used Versafine Fantasia because I didn't want it to be black ink.


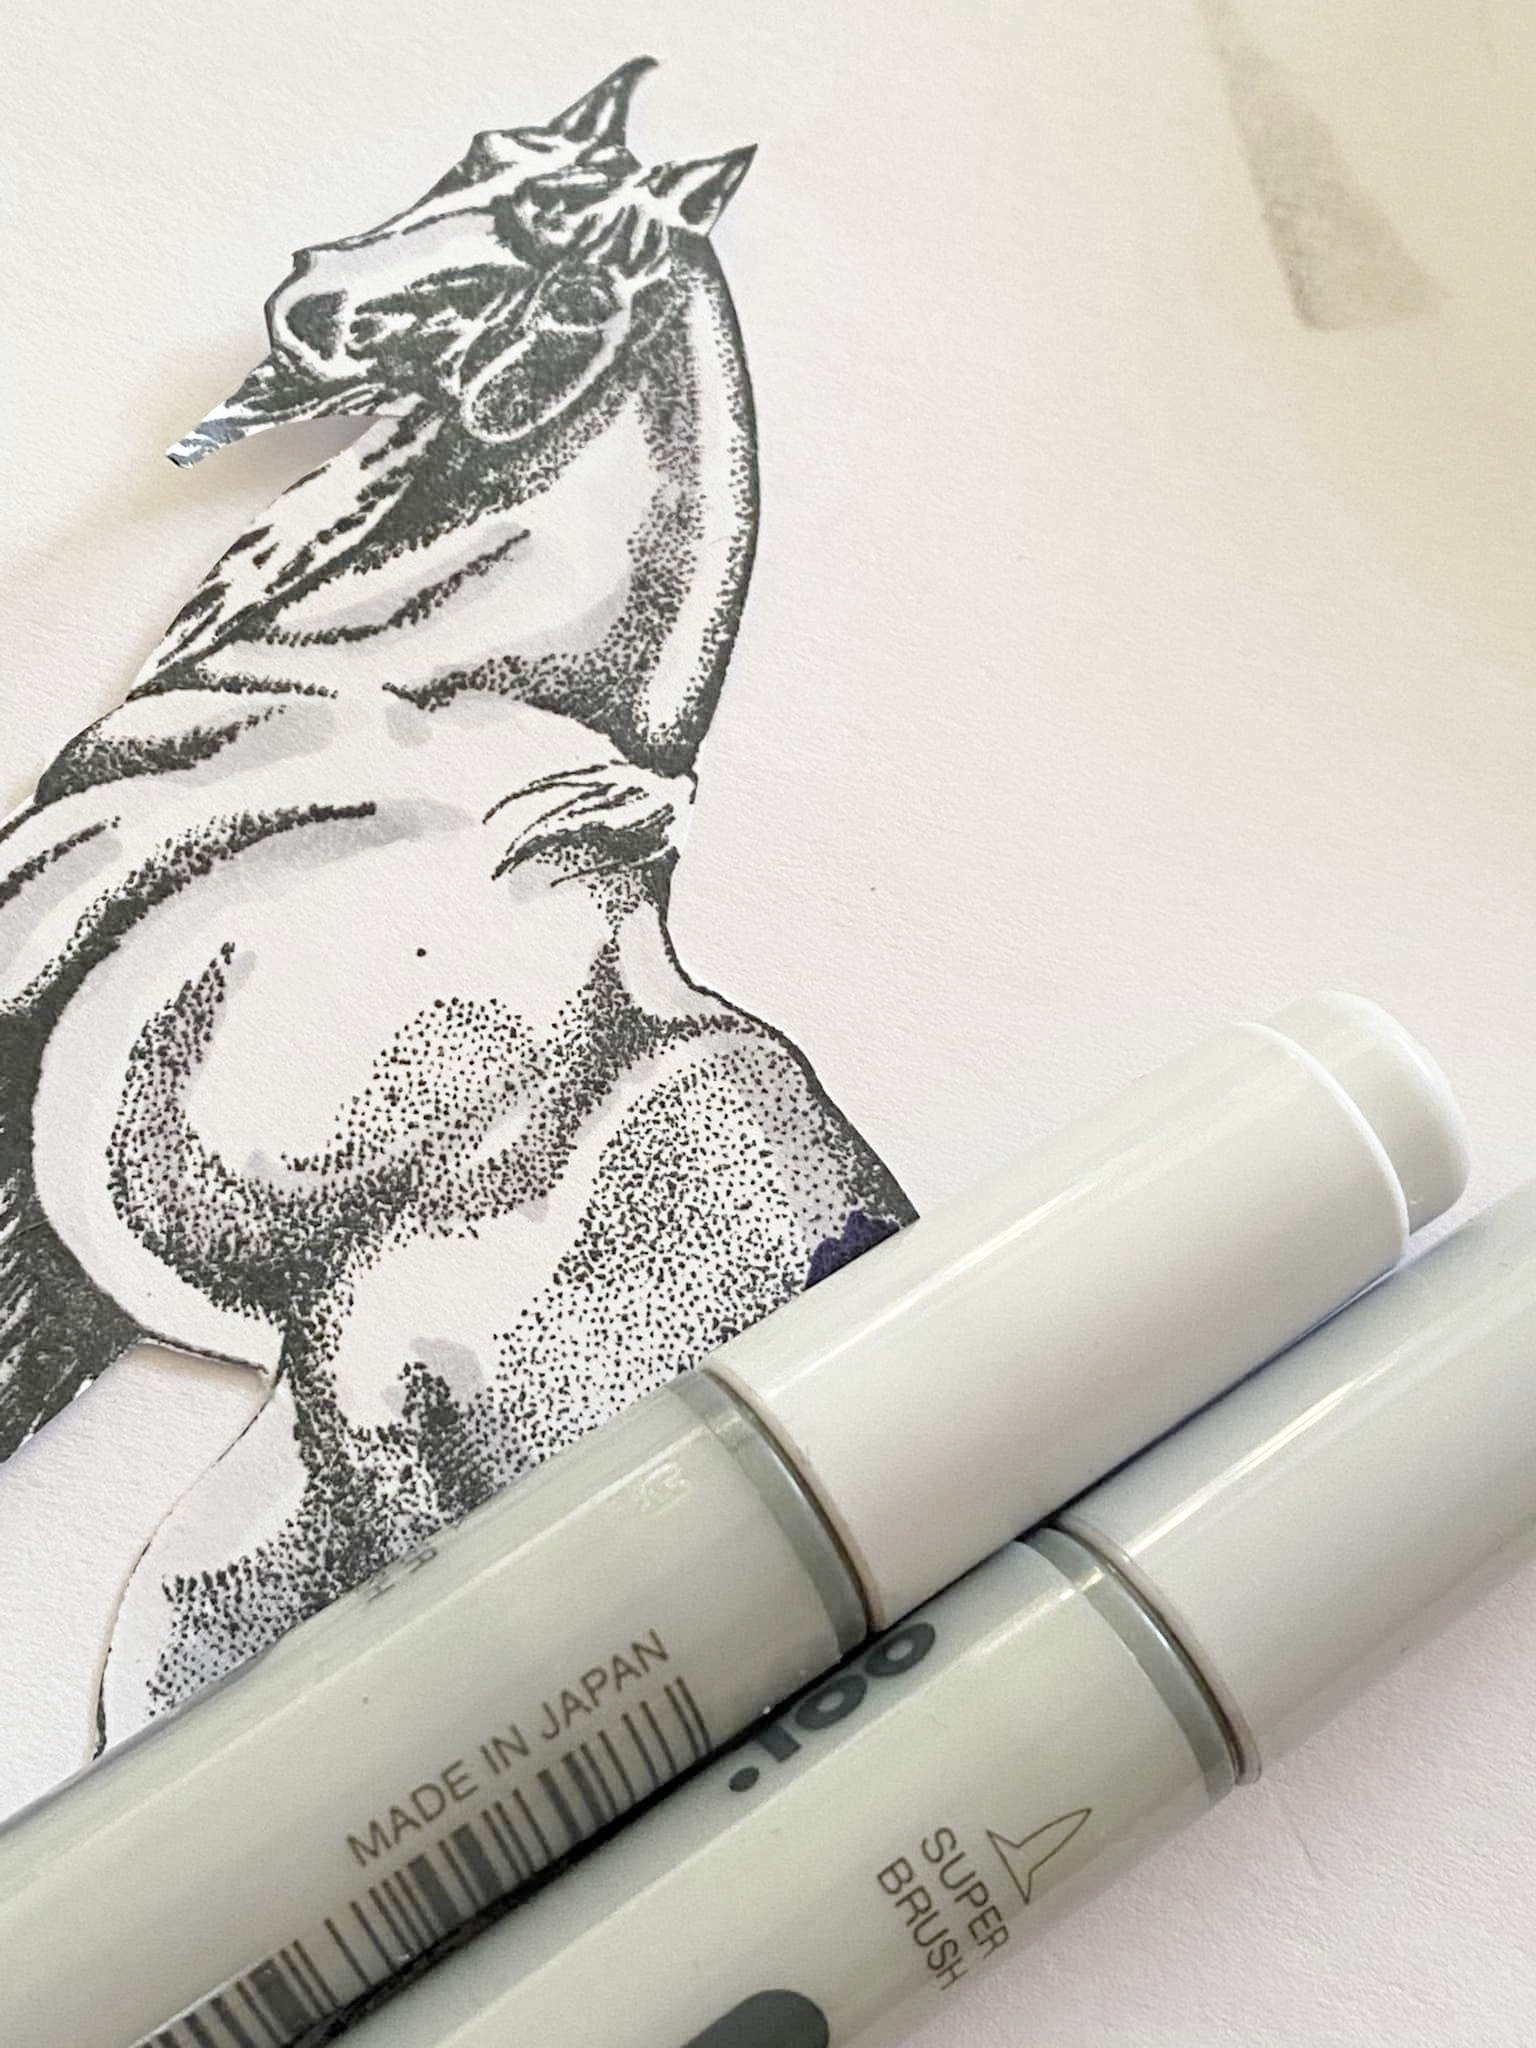
I stamped the unicorn onto thick card and coloured it with copic pens, just for some shading.

I stuck the unicorn onto the postcard, then stamped the plants over the top.

I used a moon mask to make a moon behind the unicorn's head, and went round the edges with a white pastel pencil to give it some definition.


 I stamped and embossed the sentiment in white, and made some dots as stars with a white gel pen.


Lastly, I used a white gel pen to make some rough marks on the plants, to represent the light from the moon


I love the contrast of the white and blue together.


Stamps Used:

Other Items Used:
Distress inks in Uncharted Mariner, Villainous Potion
Versafine Clair ink in Fantasia
Memento Ink in Tuxedo Black
White Gel Pen
Moon Mask
Ground Mask
White Pastel Pencil
Versamark ink
White Embossing Powder

That's all folks! See you in 2023 :)


Tuesday, January 30, 2018

"She Was a Wildflower" scrapbook page | Sue Plumb


Hi everyone!
It's Sue Plumb here and I am excited to be sharing my latest design team project with you. Today I have a mixed media scrapbook page that features some fun photos of my fellow VLVS design team member Fiona Paltridge and I. The photos were taken at a scrapbooking retreat after I did a class with Fiona; and as soon as my latest batch of stamps arrived I knew I had the perfect stamps to document these pictures!


I started my page by using the Wildflowers Silhouette stamp several times across my page to create a "garden" for my background; then I added some colour using Colour Blast Colour Artist Inks (Marine, Berry and Mermaid) and a small brush; allowing the colour to run down the page. I also added some splatters of Lime ink around the edges of the flower silhouettes.


While my background was drying, I stamped a large Gossamer Butterfly image onto some extra cardstock, then coloured it using Faber-Castell watercolour pencils and a waterbrush. I then cut around it, and added some shimmer to the wings using a Colour Blast (Silver) Shimmer Brush Marker before sticking it down amongst my garden.


I used several stamps to create the quote at the top of my page:
I also used the Row of Chevrons stamp to help highlight it.


I used my very favourite Doodle Dots stamp to lightly stamp around where I had splattered the lime ink to add more depth to the background.
 

I then added my photos to my page (using Miracle Tape and some scrap cardboard to mount it up) before sticking the She Was a Wildflower quote (stamped onto cardstock with watercolour pencil used to highlight the edges) onto my photos.


I added some subtle pops of texture by creating a few small "flowers" from cotton thread, using enamel dots as the centres.
I also added some coordinating enamel dots to the butterfly body.


Thanks for stopping by so I could share this - I hope I have inspired you to get inky today!


Stamps used:
- Wildflowers Silhouette
- Gossamer Butterfly (large)
- She Was
- An Artist
- She Was a Dreamer
- She Was a Wildflower
- Row of Chevrons
- Doodle Dots

Other materials:
- Miracle tape 1/2"
- Colour Blast Colour Artist Inks
- Colour Blast Shimmer Brush Marker
- Staz On ink
- Faber-Castell watercolour pencils
- enamel dots
- cotton thread

Monday, August 14, 2017

Mail Art Monday with Jenn Engle


Hey friends! Today I have an envelope to share with you.


Stamps Used:


I started out by putting a layer of gesso on my envelope. I taped off the center of Bug Specimens because I just wanted the frame. I could then heat emboss with black embossing powder to get a blank space for the address. Then, I heat embossed Wildflowers Silhouette with white embossing powder. I did this so it would act as a resist for the next step. 


I added some Distress Oxide Ink to my background to make it look like the sky. Where I had embossed the flowers, there was no ink and you can see the flowers perfectly now!


While my background dried, I took a piece of cardstock and several colors of Distress Ink and used a paintbrush to splatter all over the paper. I used Distress Inks, but any kind of watercolors or even acrylic paint would work. It just needs to be thin enough to be able to splatter with a paintbrush. Once I was happy with all the colors, I stamped Butterfly Specimens and fussy cut several of the butterflies. 


I glued the butterflies down with several strings of yellow thread behind them to make them stand out. I also only put glue on their bodies so their wings could stand up. If I was going to send this thru the mail on its own, I would skip the thread and adhere the butterflies completely. 

Finally, I splattered some watered down Dina Wakley Acrylic in Lemon around the envelope and that was it! To see exactly how I made this, you can check out the process video!


Other Products Used:
Distress Oxide Ink
Distress Ink
Black and White Embossing Powder
VersaMark Clear Ink Pad
Yellow Acrylic Paint

Thanks for looking!
~Jenn


Thursday, April 27, 2017

Altered Playing Card by Susanne

Hey there crafty friends!

Susanne here today and I share a altered playing card today. I have tons of 3 1/4" by 4 3/4" cards laying around. My kids got them twice during a promotion in our local discounter. I covered the card with gesso and started to play:


I used some light blue acrylic paint and applied it with my fingers. The "Dictionary Page" stamp is perfect for some texture in the background. I also used the "Writing Circles Background" for more interest. The "Wildflowers Silhouette" are a fab background for my main image. Everything is stamped with Archival Ink. I used some brown acrylic paint together with a stencil from stamplorations and applied some copper metallic acrylic paint with my fingers. Before I added the "Dancing Lady" I made some black splatters with a mix of black paint and water. The "Dancing Lady" is stamped onto the card and onto white cardstock. I cut it out and adhered it to my page. I decided to just add a tiny little bit of a skin tone to my main image and leave the rest black and white. Finally I used a black oil pastel to give the card a black frame and stamped the sentiment "She was a Wildflower".


Thank you for stopping by today!
xx Susanne.

Supplies:
Viva Las VegaStamps!
Dancing Lady
Dictionary Page
Wildflowers Silhouette
She was a Wildflower
Writing Circles Background
Others:
Archival Ink (Jet Black, Saffron)
Acrylic Paints
Gesso
STAMPlorations stencil
Faber-Castell Black Oil Pastel


Monday, April 10, 2017

Mail Art Monday with Jenn Engle


It's MAIL ART MONDAY TIME!

For Mail Art Monday, I made a card/envelope duo.

To see exactly how I made the envelope, check out the video at the end of this post!

STAMPS USED (on card):


STAMPS USED (on envelope):


For the card, I used circle drywall tape for texture on my background and then several colors of Dina Wakley Media Acrylic. I added a little bit of a light blue ink for splatters then tried to accent some of the texture with Tim Holtz Distress Crayons in similar colors as the paint. I added the adorable Fairy Girl three times, painting the one that I wanted to stand out. I added stitching to finish the whole card off.


For the envelope, I followed mostly the same steps as the card. I started out stamping Widlflowers Silhouette in the background on this one before I added my drywall tape and paint colors. To finish the envelope off, I added Open up your Heart Bird to the lower right corner so I could leave room in the middle to write an address.


Thanks so much for looking!
~Jenn


Tuesday, March 28, 2017

She was... Art Journal Spread by Susanne

Hi my dear crafty friends!

Susanne here and I'm sharing an art journal page today. I used the beautiful "Fed-up Vintage Lady " stamp as my focal point.

For my background I used a kind of embossing resist technique. Instead of watercolour I used white acrylic paint. I learned this in a video by Marion Emberson from WOW! Embossing Powder. She calles it White Out Resist technique.
Start by colouring the background with PanPastels. Next step is stamping the "" image with embossing ink. Use clear powder, so your background will shine through. Add a l layer of white acrylic paint on top. Let it sit for a short moment and wipe the colour off the embossed parts with a baby wipe.
The result is a shabby background. I used the "Scribble Heart" and "Sawtooth Stitching Lines" to add some details.
Finally I added my focal image with the sentiment on top of a silver thread.

Thank you for stopping by today!
xx Susanne


Supplies:
Viva Las VegaStamps!:
All stamps can be found on Plate 1495
Fed-up Vintage Lady
Scribble Heart
She was
She was a Wildflower
Wildflower Silhouette 2
Sawtooth Stitching Lines
Other:
WOW! Clear Embossing Powder
PanPastels
Archival Ink Jet Black
White Acrylic Paint
Thread

Thursday, February 23, 2017

Art Journal Page by Jenn Engle

I have an art journal page to share today. There is also a process video so you can see exactly how I made it!
STAMPS USED:


PROCESS VIDEO:

Thanks for looking!
~Jenn

Tuesday, August 23, 2016

Arist Trading Card Duo - "Frida Kahlo" by Jenn Engle

Today I have an ATC duo to share featuring a really cool new Banksy stamp, Frida Kahlo. Make sure you check out the process video at the end of the post!

STAMPS USED:


Sawtooth Stitching Line

Numbers Set

Banksy Frida Kahlo


Thanks for Looking!
~Jenn


PLACES TO FIND ME:
Instagram @mixedmediajenn
Email is the easiest way to get a quick response from me: