Showing posts with label Sheet Music background. Show all posts

Thursday, July 29, 2021

Index card - Dream big

Hey everyone,

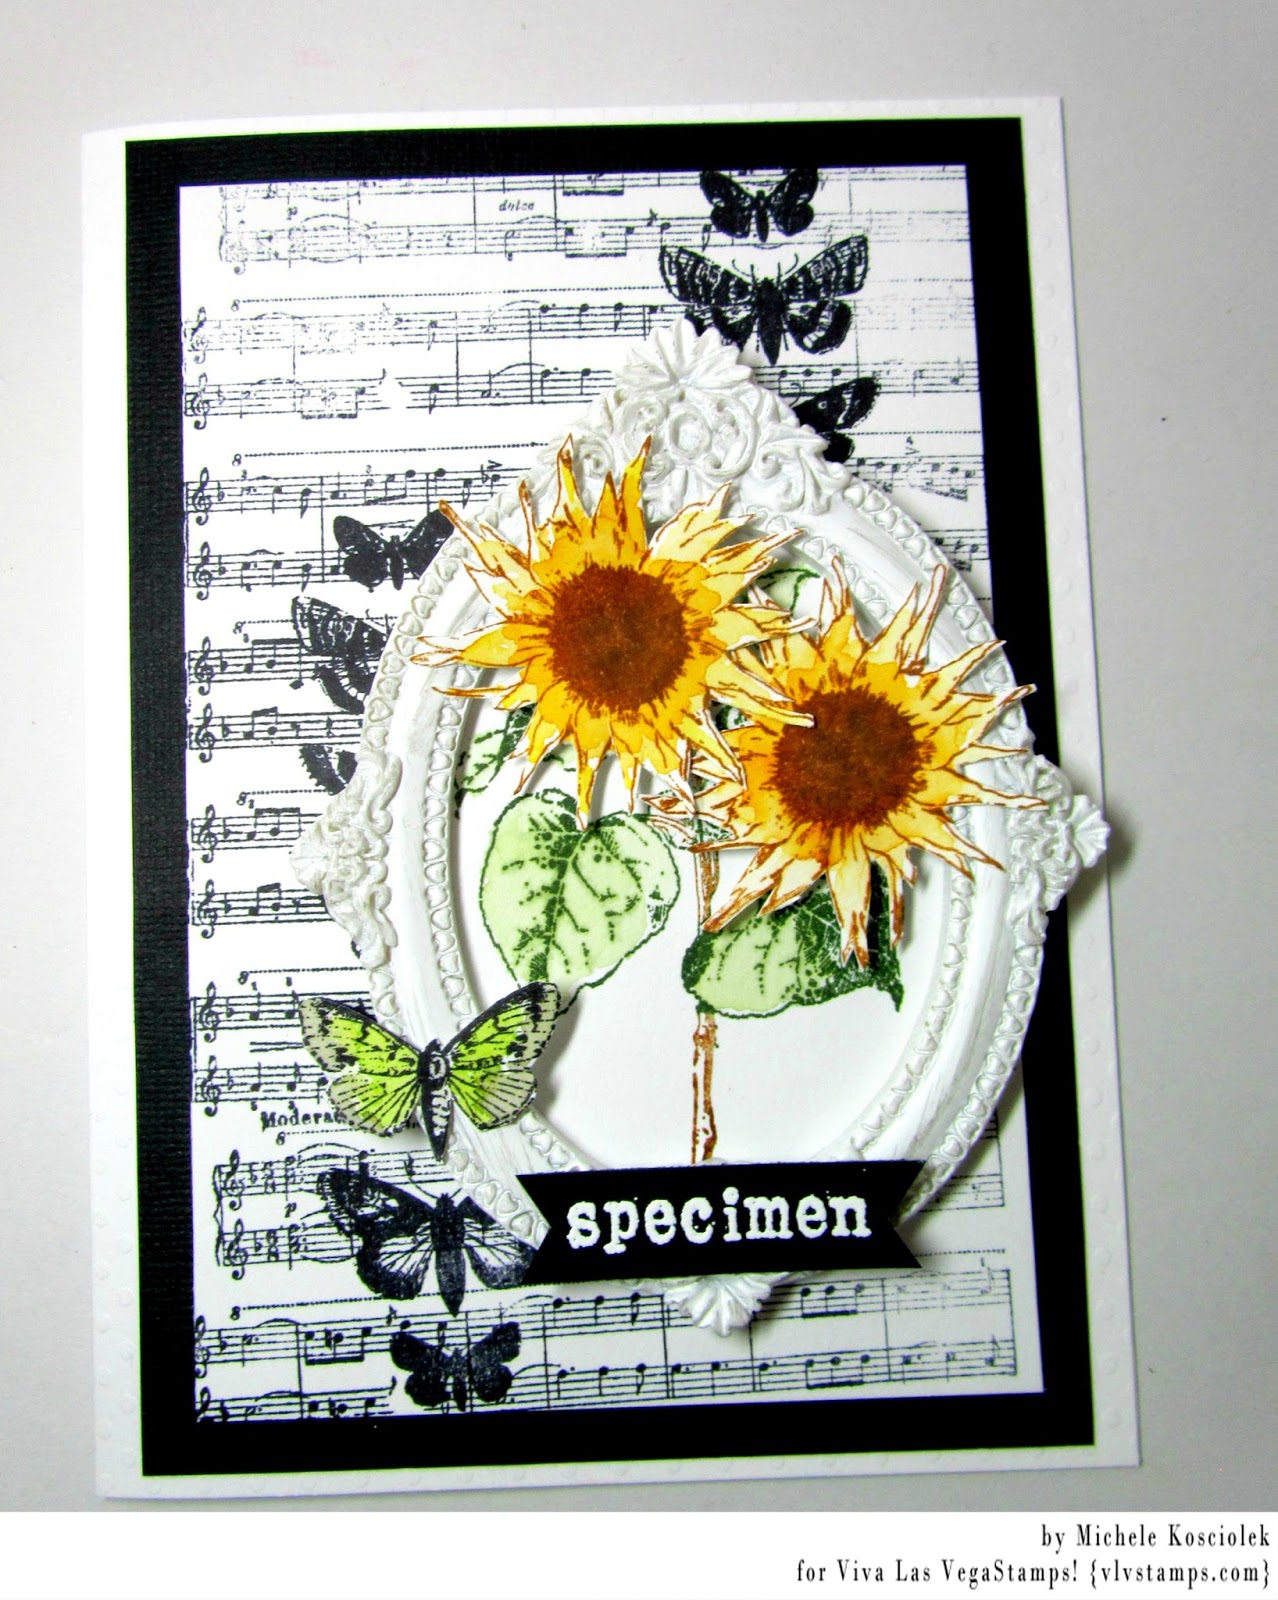
This will be the last index card for this year I'm sharing as we are in the middle of the last ICAD week. The weekly theme I'm following is all about music.


I did some grungy layering of acrylic paints for the background until I liked it and then stamped some sheet music on top.


The astonished boy looks a little like he could be singing, don't you think? So I chose him as my focal point. I stamped him on a piece of watercolor paper, colored him and cut him out.


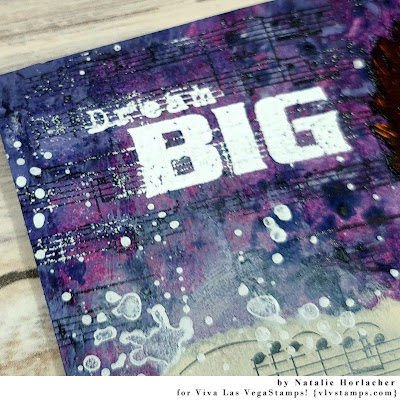
I also glued down a few strips of sheet music and blended it in with more acrylic paint and some splatters. After drying everything really well (and still it hasn't been completely dry) I heatembossed the words "dream big" onto the card to finish it.


Stamps used:
Sheet Music Background (19557)
Astonished Boy (1061)
Dream Big (19047)

Other material:
- index card (3 x 5 inch)
- Canson watercolor paper
- Versafine Claire Ink (nocturne)
- Lukas acrylic paints (prussian blue, mauve, sand)
- ZIG watercolor brush pens
- sheet music


See you soon!


Tuesday, April 07, 2020

Mixed Media Tag by Elisa Ablett


Hi everyone,

Elisa here from the design team with my latest VLVStamps inspiration for you.

I ordered the Tina Walker Scribble Girl plate a little while ago and couldn't wait to try them out with a lovely colourful background.

I started with a gel plate print on my tag and added layer of inks, stenciling and stamping in tropical colours.

I then stamped Scribble Girl with Earrings stamp on deli paper, fussy cut the image out and added a smidge of colour to her earrings and cheeks using a fine paint brush. 

To finish off the tag I added black water soluble crayon to the edges of the deli paper image and added some water to smudge the edging creating shadows and depth. 

Let's take a look at the products used from Viva Las VegaStamps website:-


Tina Walker Earrings Scribble Girl 2 1/2 x 3 1/2

Sheet Music Background 4 1/4 x 5 1/4 Melanthium Vulgare 2 1/4 x 4 1/4

Numbers Set 2 1/2 x 2

Thanks for stopping by the blog today, I hope this inspires you to grab a set of the Scribble Girls and start your own colourful tags or bookmarks!

Hugs

Elisa x


Friday, July 31, 2015

Her wings- my art: art page tutorial


Hello my dear crafty friends!
Irit is here and this time I made an art  journal page tutorial.
I know that making art page tutorial is almost mission impossible. There is no right or wrong way to make the art page and there is no workshop that can teach you " copy writing" of those book pages.
So it's just to show you my way to use products and to cluster techniques on one single page  with just  bit of real dimension.
Step by step instructions:
1. Gather your favorite VLVS backgrounds and make  a full letter size stamped piece with them.  I wanted those stamps to stay a background ones, so I used VersaMark ink and white embossing powder only.
Most of the stamps are not even masked, but just stamped one near another.

2. Grab you three primary Staz-On inks (Blazing Red, Azure and Mustard) and ink the stamped page with a mix of them. As you can see those 3 primary colors give us the full rainbow effect. I need to say that this works much better over the glossy paper, but I was short of the glossy one and used the regular Mixed Media thick white paper.

3. Now we need to add some dimension and the best way to do it on Mixed Media piece is with stencils and some paste. The paste I used is our Israeli Sand Texture one, but it's just similar to any non smooth texture paste on the market. I used a couple of Tando Creative stencils around the page and left the central part clean as we are going to add the focal point there anyway. Let the paste dry. 

4. While waiting for the texture paste to dry, I stamped my big focal image using  Whimsical Lettered Man stamp. I know it's a man; so what? It looks like a strong courageous woman to me, kind of an Amazon.
I decided to use pigmented ink and clear embossing powder for this main image: glossy one and durable too as it goes to the front.
5. As I was still waiting for the texture paste to dry I heat embossed a pair of bare chipboard wings with a mix of colorful embossing powders and added a bit of clear glitter too.


6. From this point and on it was just to arrange all pieces over the background and to add whatever you want to add.
So I added a bit of stamped blue images using Solid  circles  stamp and  Butterflies row stamp.
I arranged the hand cut head and the wings over the page. Then I stamped two sentiments with the same Crafter's ink over the sticky canvas (this is a perfect ink  for  fabric stamping and all you need to do is to heat it/iron it to make it permanent). Some splashes of mists were added and my art page was done.

Here are a couple of close- ups to this page:


As you can see this time I decided to make a page according to sentiments. If it says" bold and bright"-  it will be bold and bright, even if those are not my usual art colors.
Thanks for reading my tutorial and see you soon again!

Product list:
VLVS

Whimsical Lettered Man Item 19679 Plate 1457


Other products:
Chipboard  wings- Creative Embellishments
Stencils- Tando Creative
Cardstock, fabric- Ranger
Inks- Tsukineko, Clearsnap
Mists- Tattered Angels
 Embossing powders- WOW! Embossing Powders
Other- texture paste

My new design adventure


Monday, June 15, 2015

Specimen

Michele here today sharing my last post for this term of the Viva Las VegaStamps! design team.  It have been a true honor being on this team and I have been so inspired by all of my fellow team members and fans of VLVS!
Today I am sharing a card that can be used for practically any occasion.


I also have a quick tutorial on the stamping technique I used for the flowers.  

This stamp is Leafy Twig.

This stamp is Single Sunflower.


I created the background with Butterfly Specimens and Sheet Music Background.


Sunflowers scream summer to me and since summer is right around the corner...


The Specimen is stamped and embossing in white.  The resin frame is Prima and attached with miracle tape.

Thanks for sharing this awesome journey with me and thanks to Vivs Las VegaStamps! and DeeDee!!